Customising Your Widget
Enhance your web presence by tailoring the CINNOX Widget directly from the Dashboard. This feature lets you design and personalise various widget styles for different languages, craft greetings, and configure visitor forms. Establish a captivating and uniform widget interface that embodies your corporate image, ensuring a memorable experience for every website visitor.
Let's explore the step-by-step process of customising your Widget to represent your brand identity.
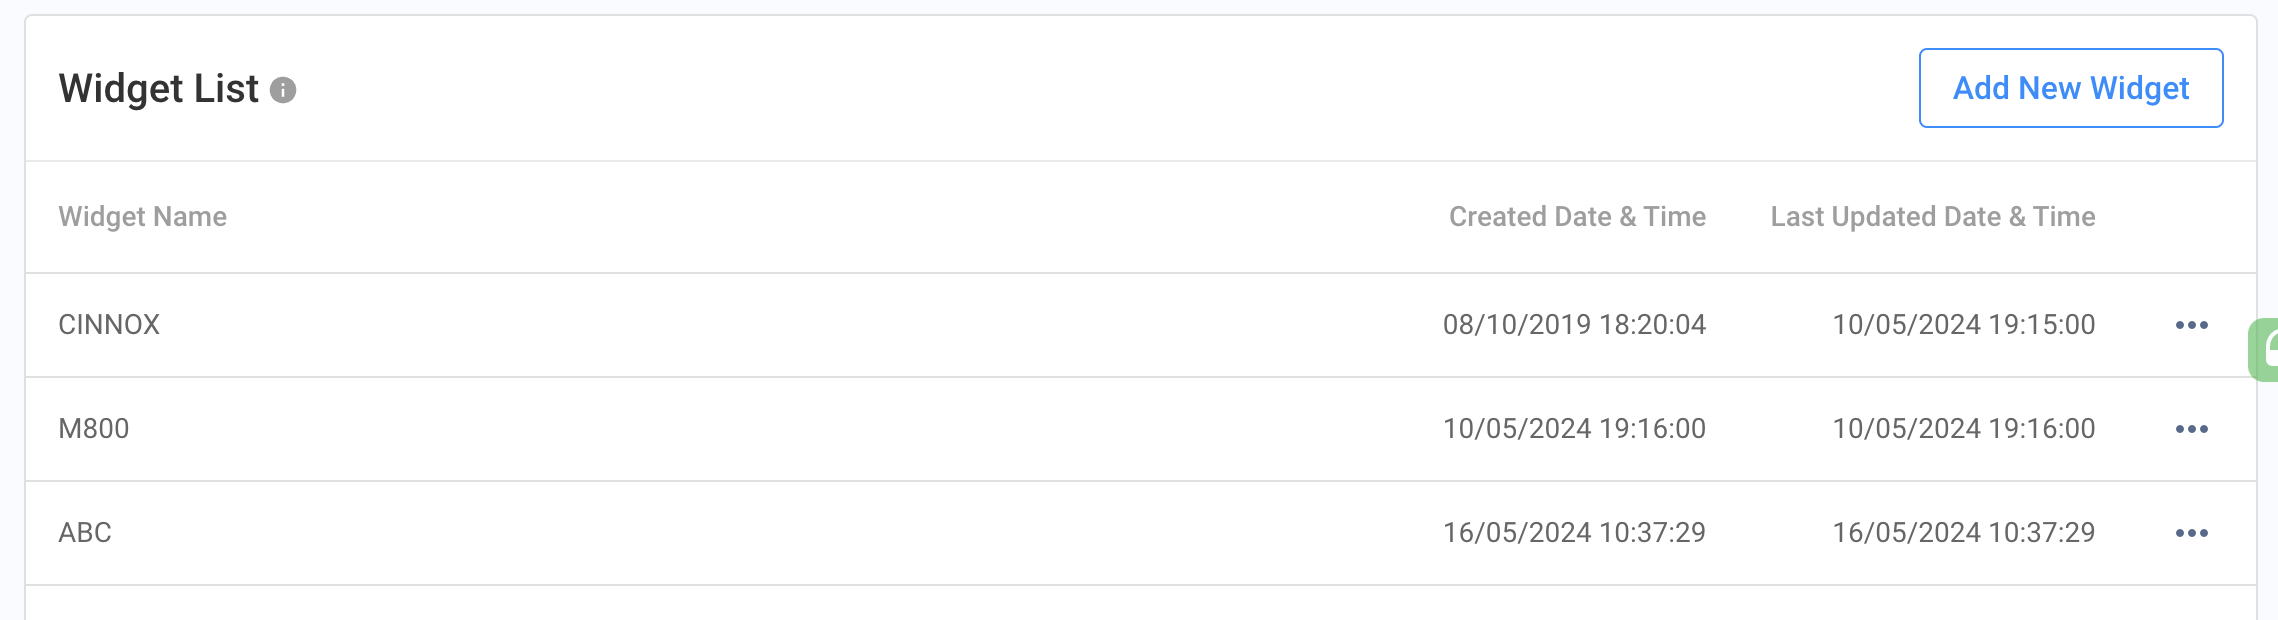
Add New Widget
- Go to Administration > Widget > Customisation.
- To create another widget, click Add New Widget and enter the widget name.
- If you already have one, click the widget name to customise the Widget with the Basic Settings per language, Smart Greeing and Visitor Forms.
- You can add up to 30 widgets for your different websites.
- Start customising your Widget by language. By default, these languages will have the same Enterprise Name, Master Colour, Widget Icon and In-call Video/Image.
- English
- Chinese (Simplified)
- Chinese (Traditional)
- Italian
- Japanese
- Korean
- Russian
- Spanish
- Thai
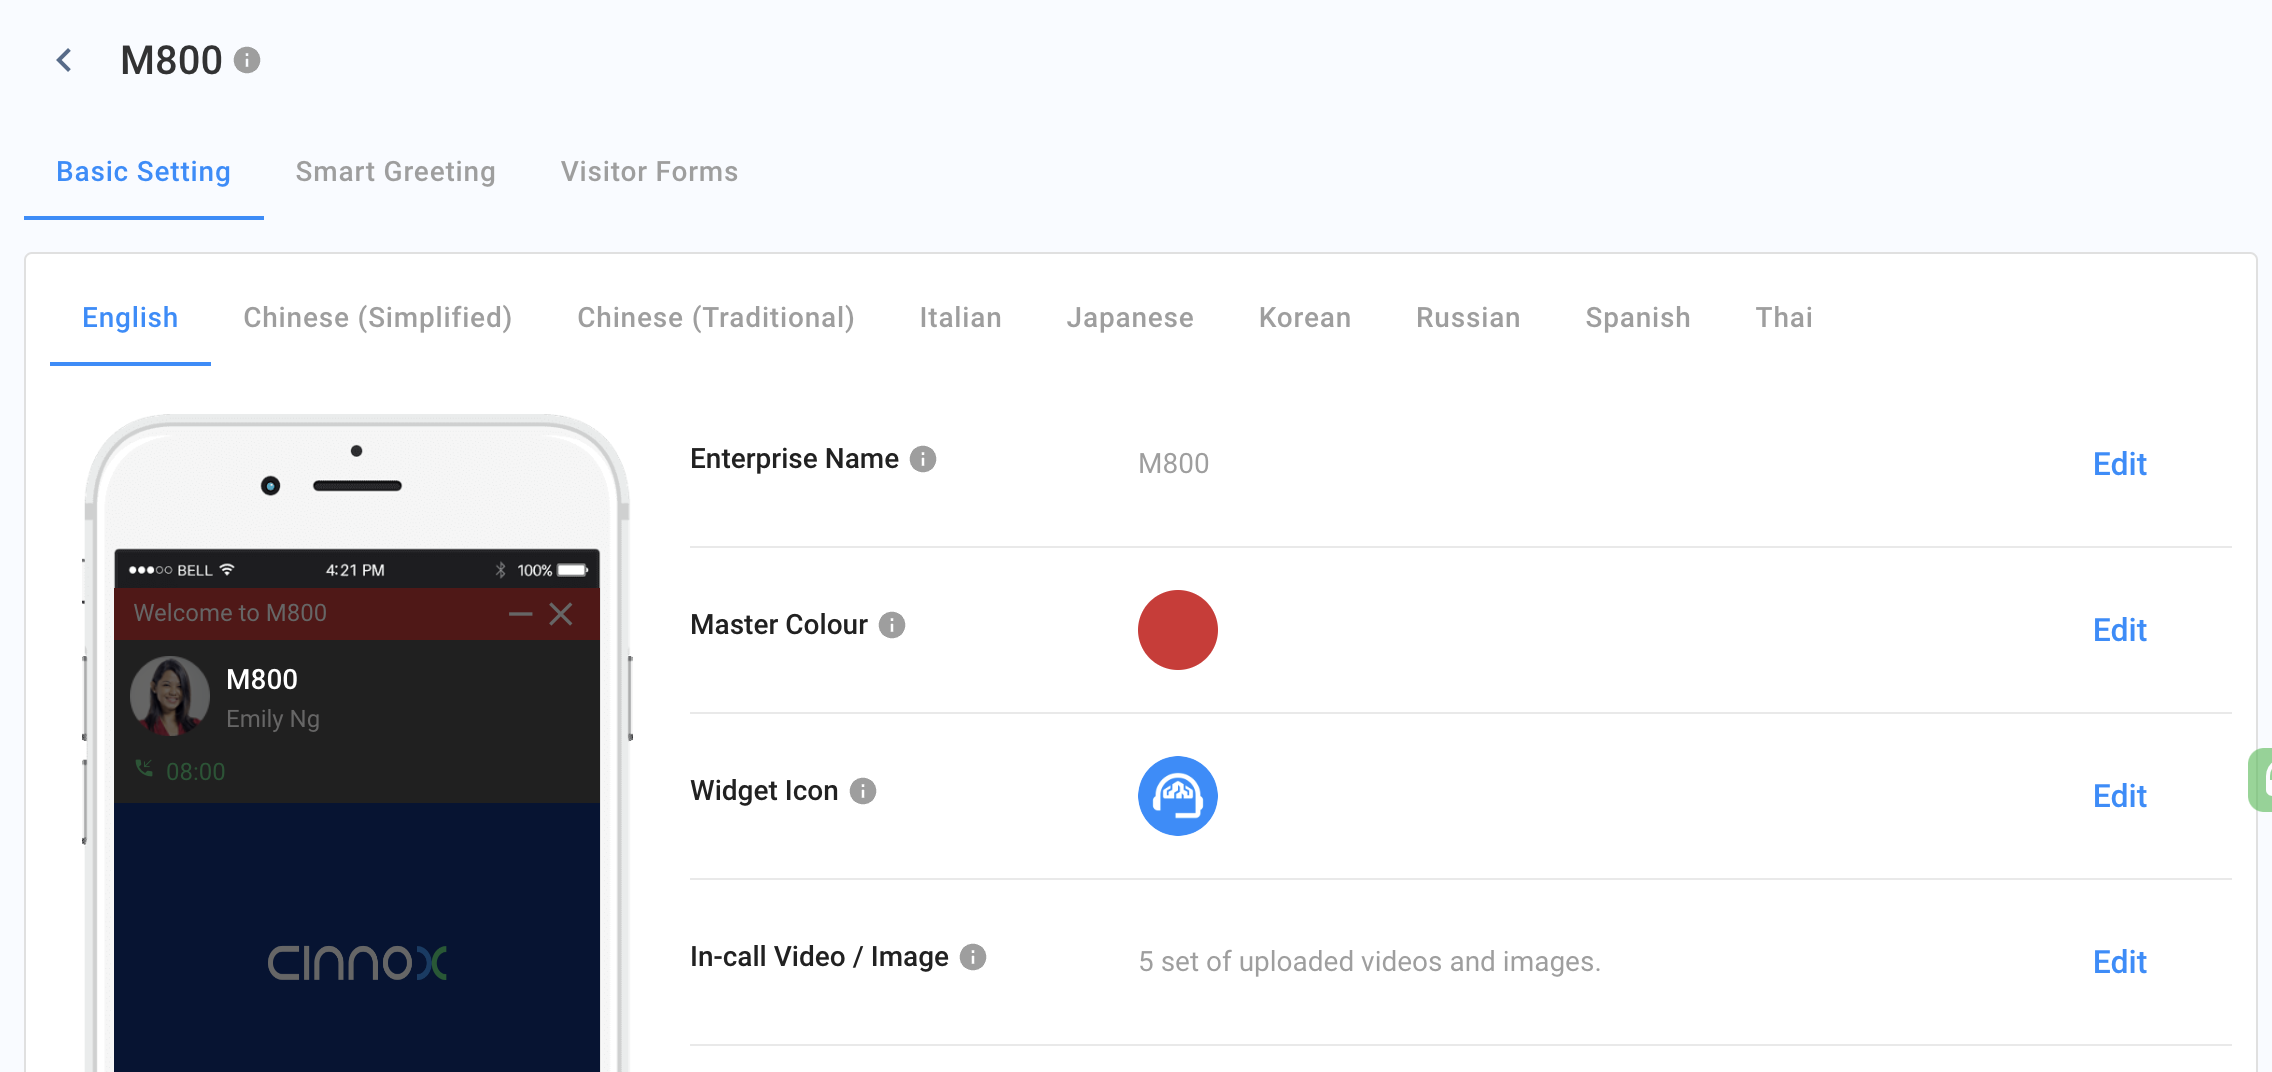
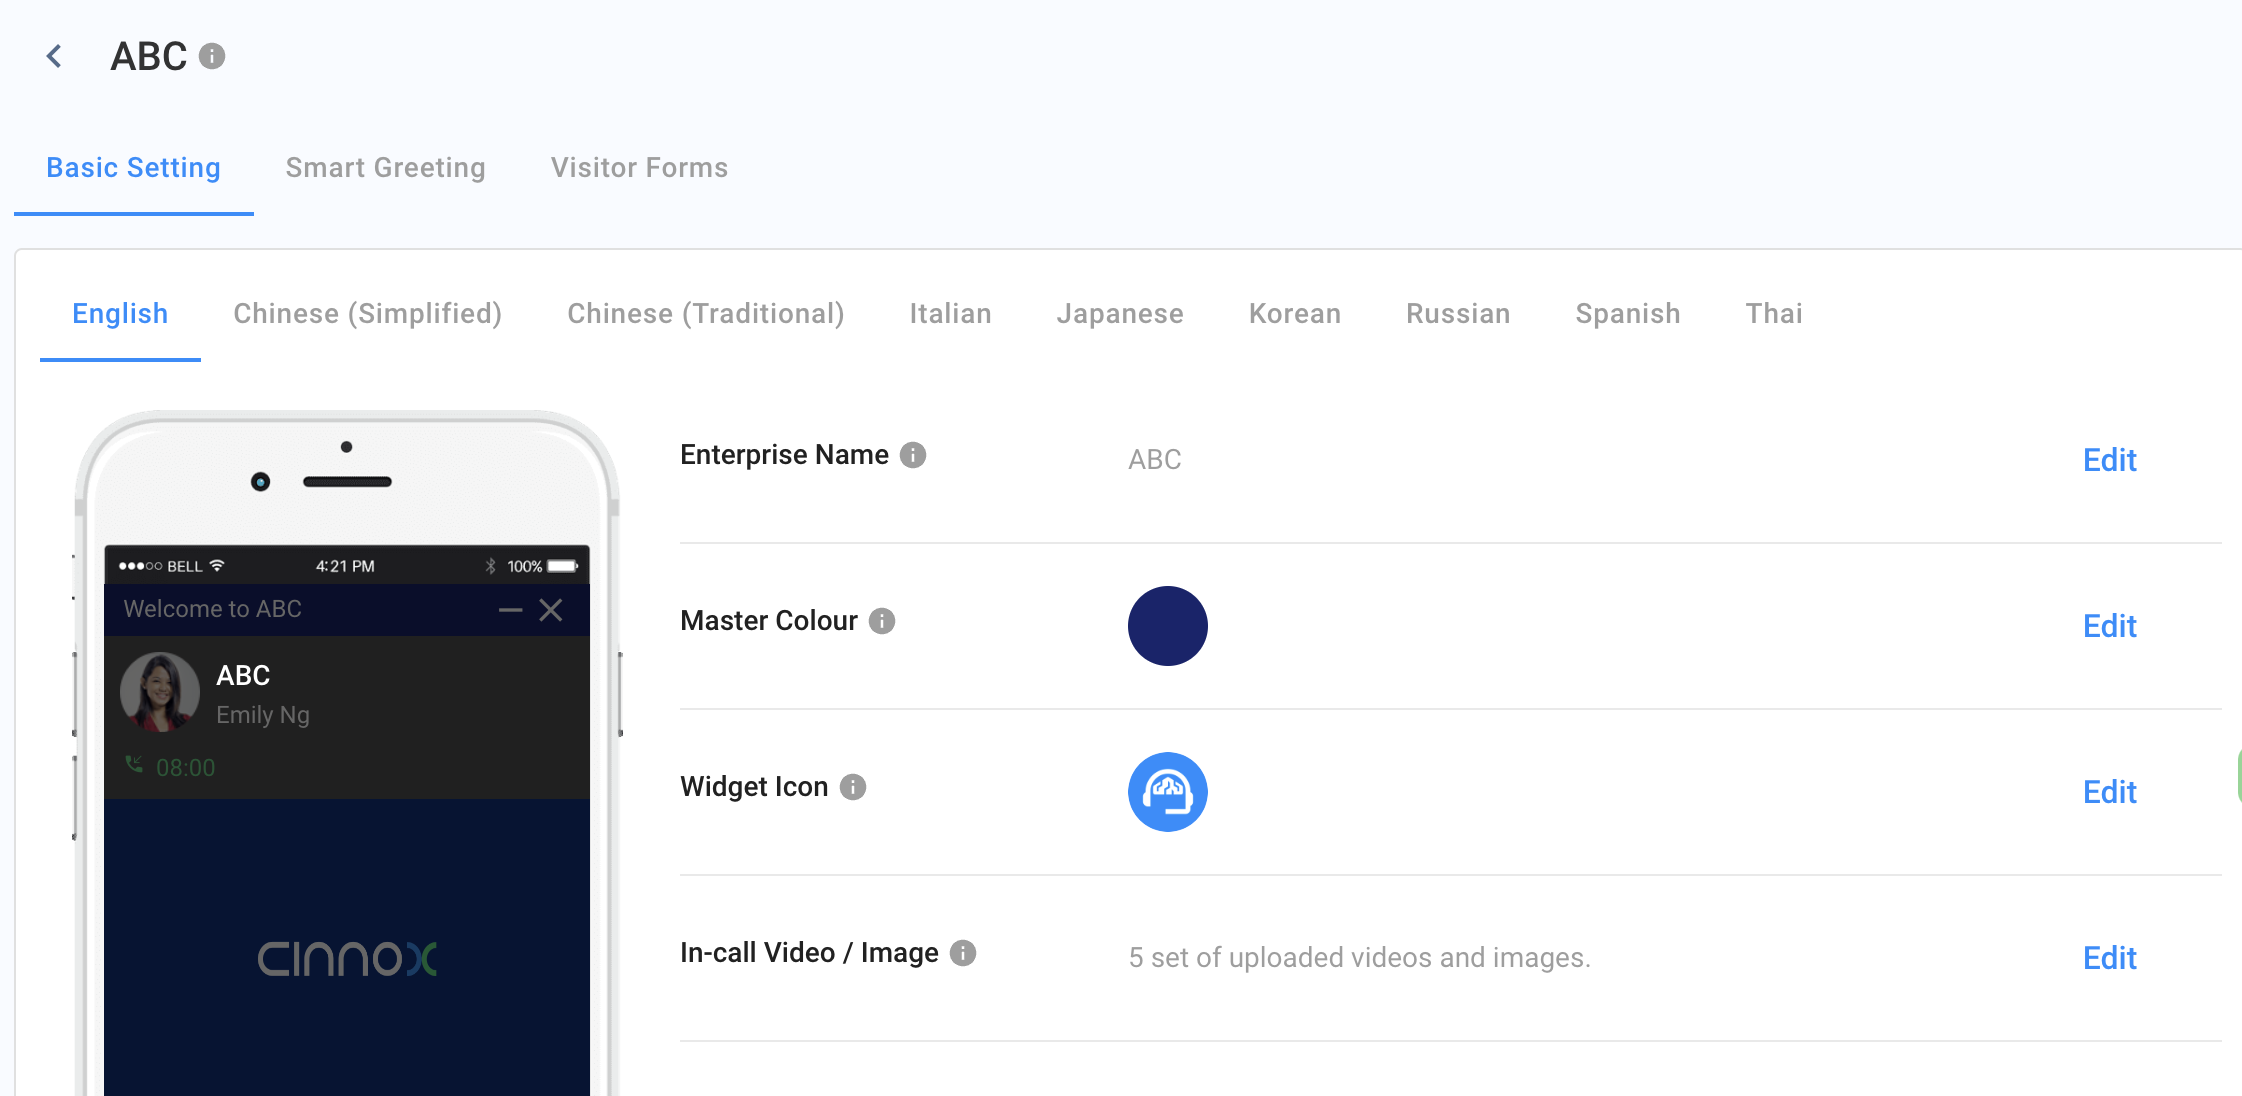
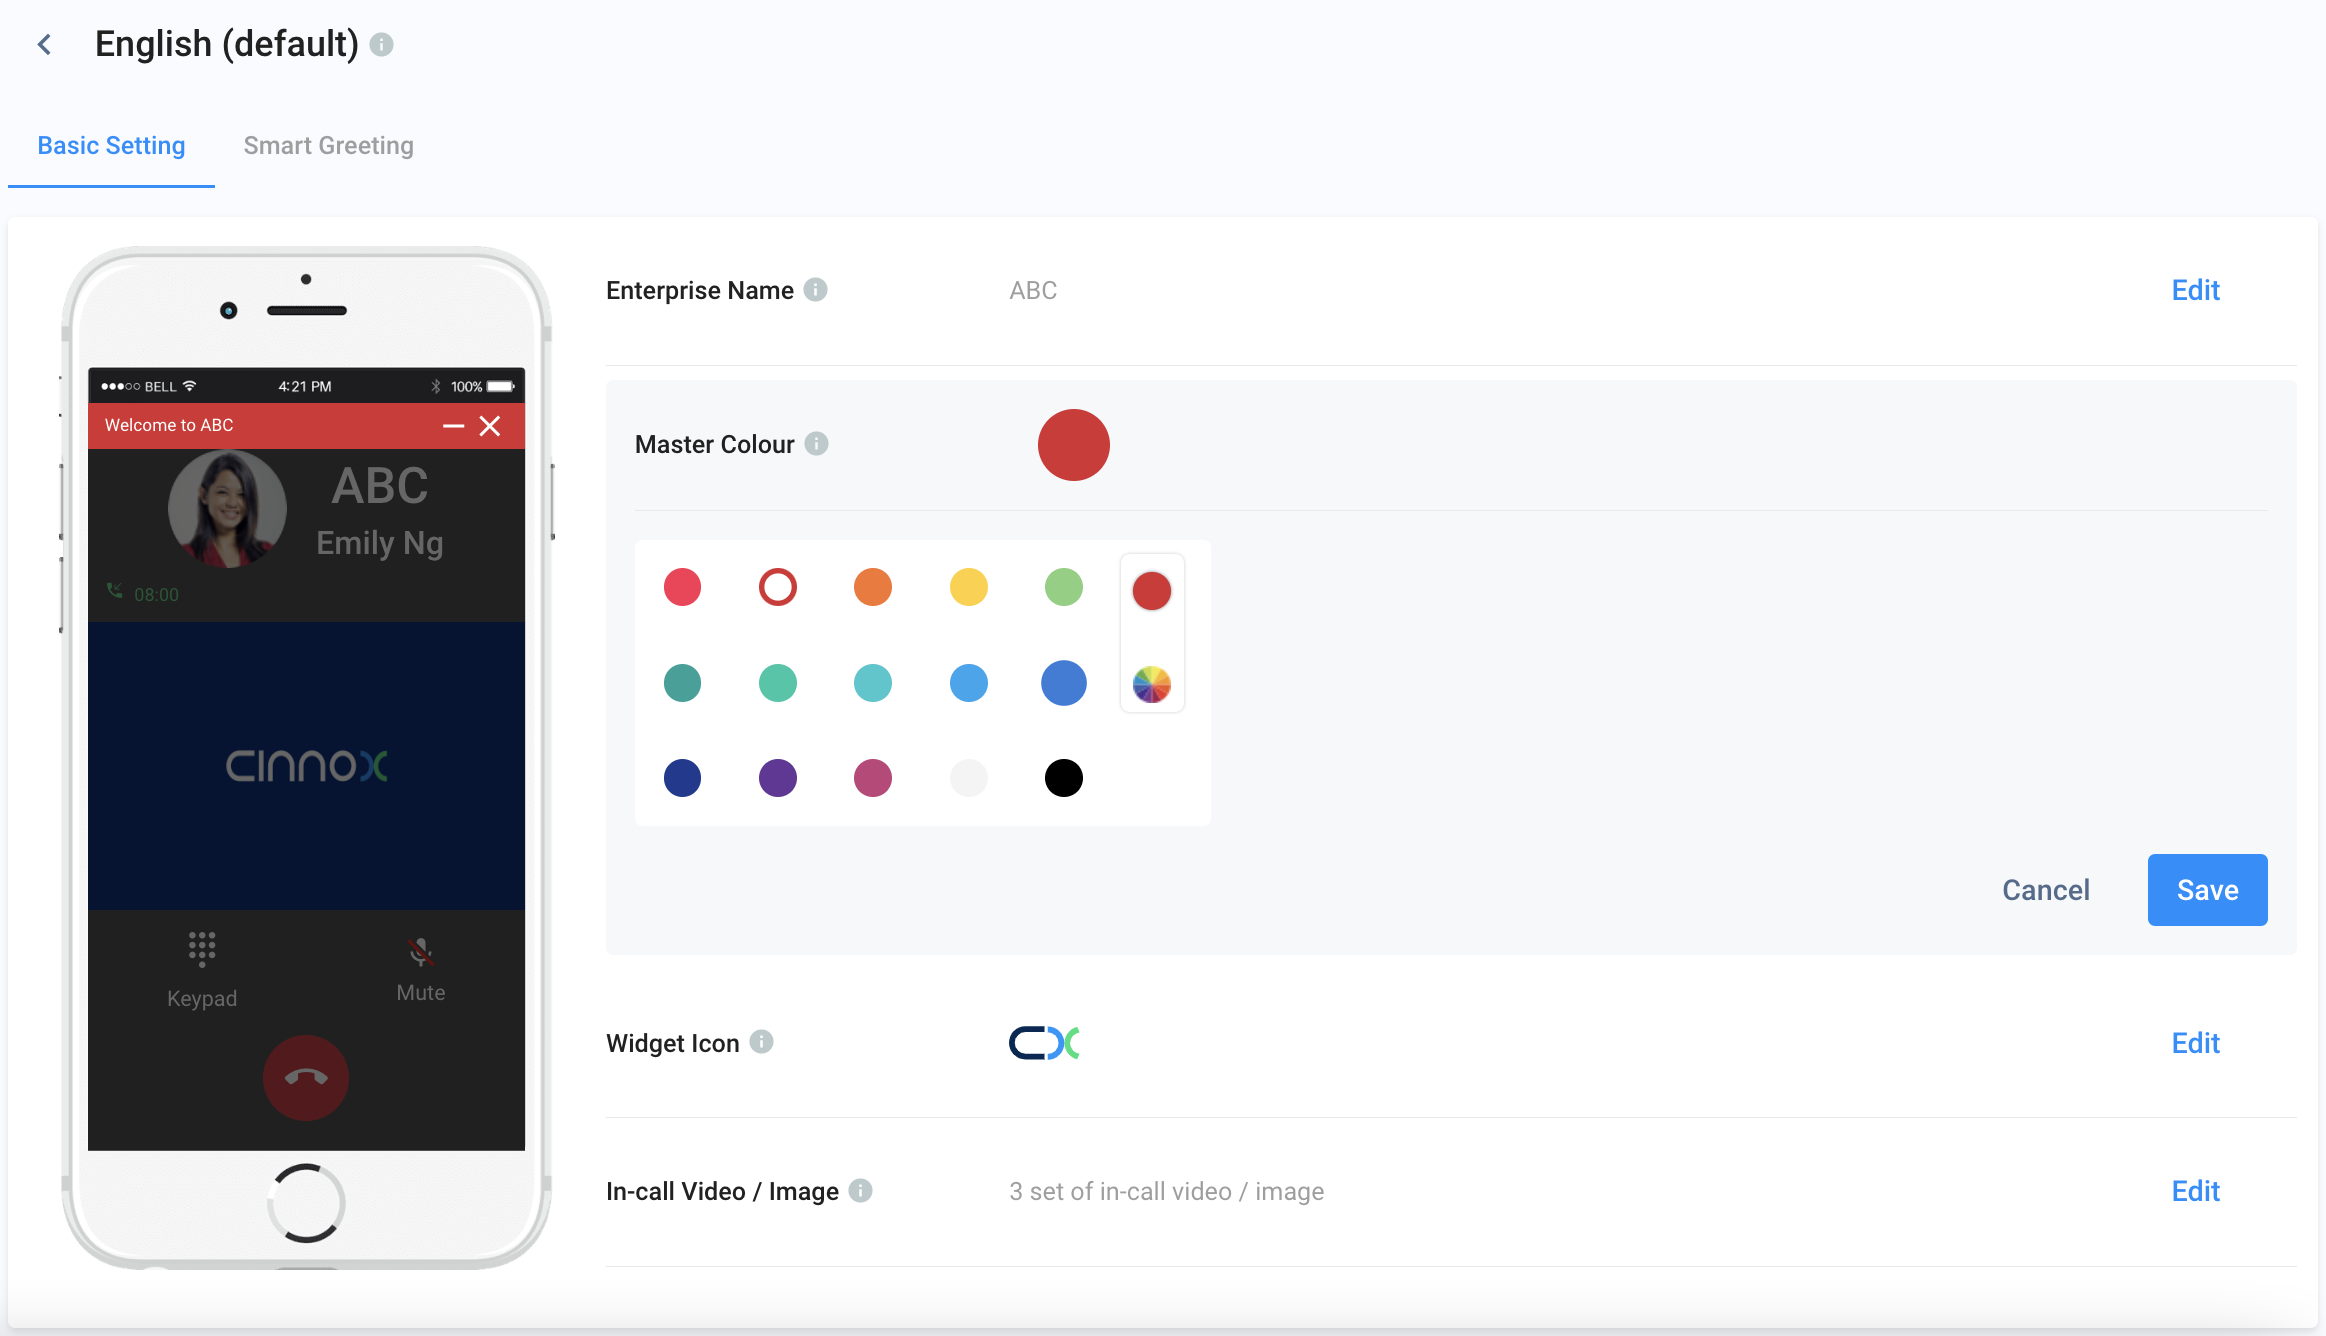
Basic Settings
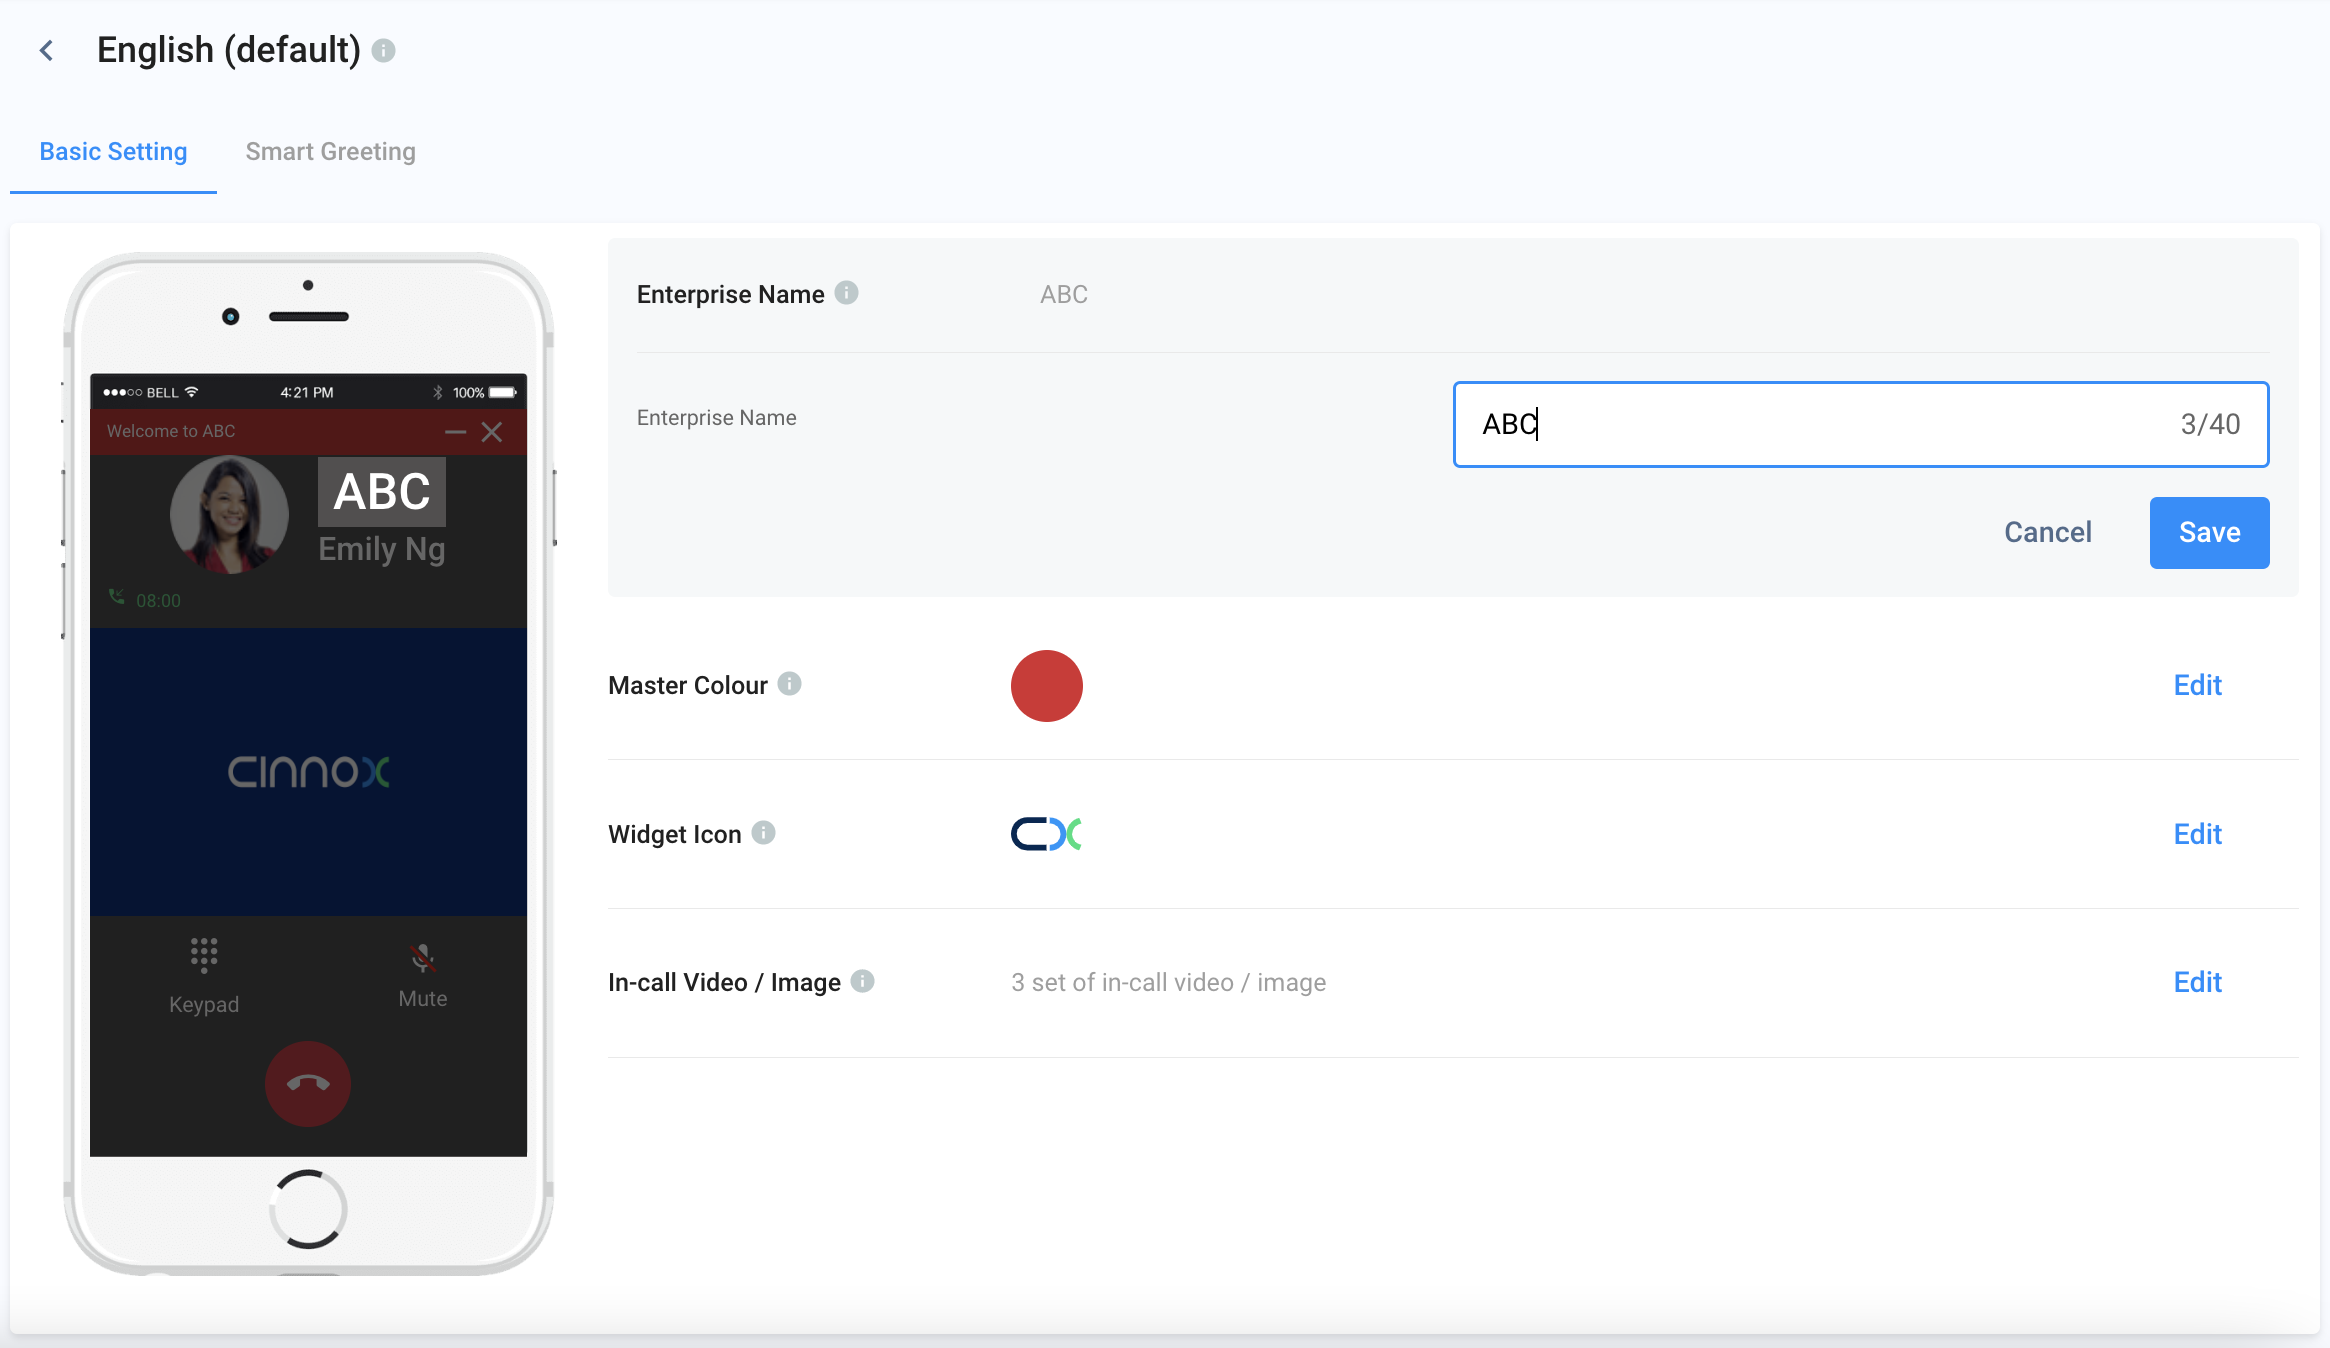
Enterprise Name
This refers to the Name of your brand/business displayed on the Widget.
To enter an enterprise name:
- On the Basic Setting tab, go to Enterprise Name, then click Edit
- Enter your business name under the Enterprise Name field.
- Click on Save.
Master Colour
The Master Color is assigned to the widget header and buttons. You can select the master colour from preset colour shades or customise it using the colour picker.
To select a preset master colour:
- On the Basic Setting tab, go to Master Colour, then click Edit
- Select the preferred colour.
- Click on Save.
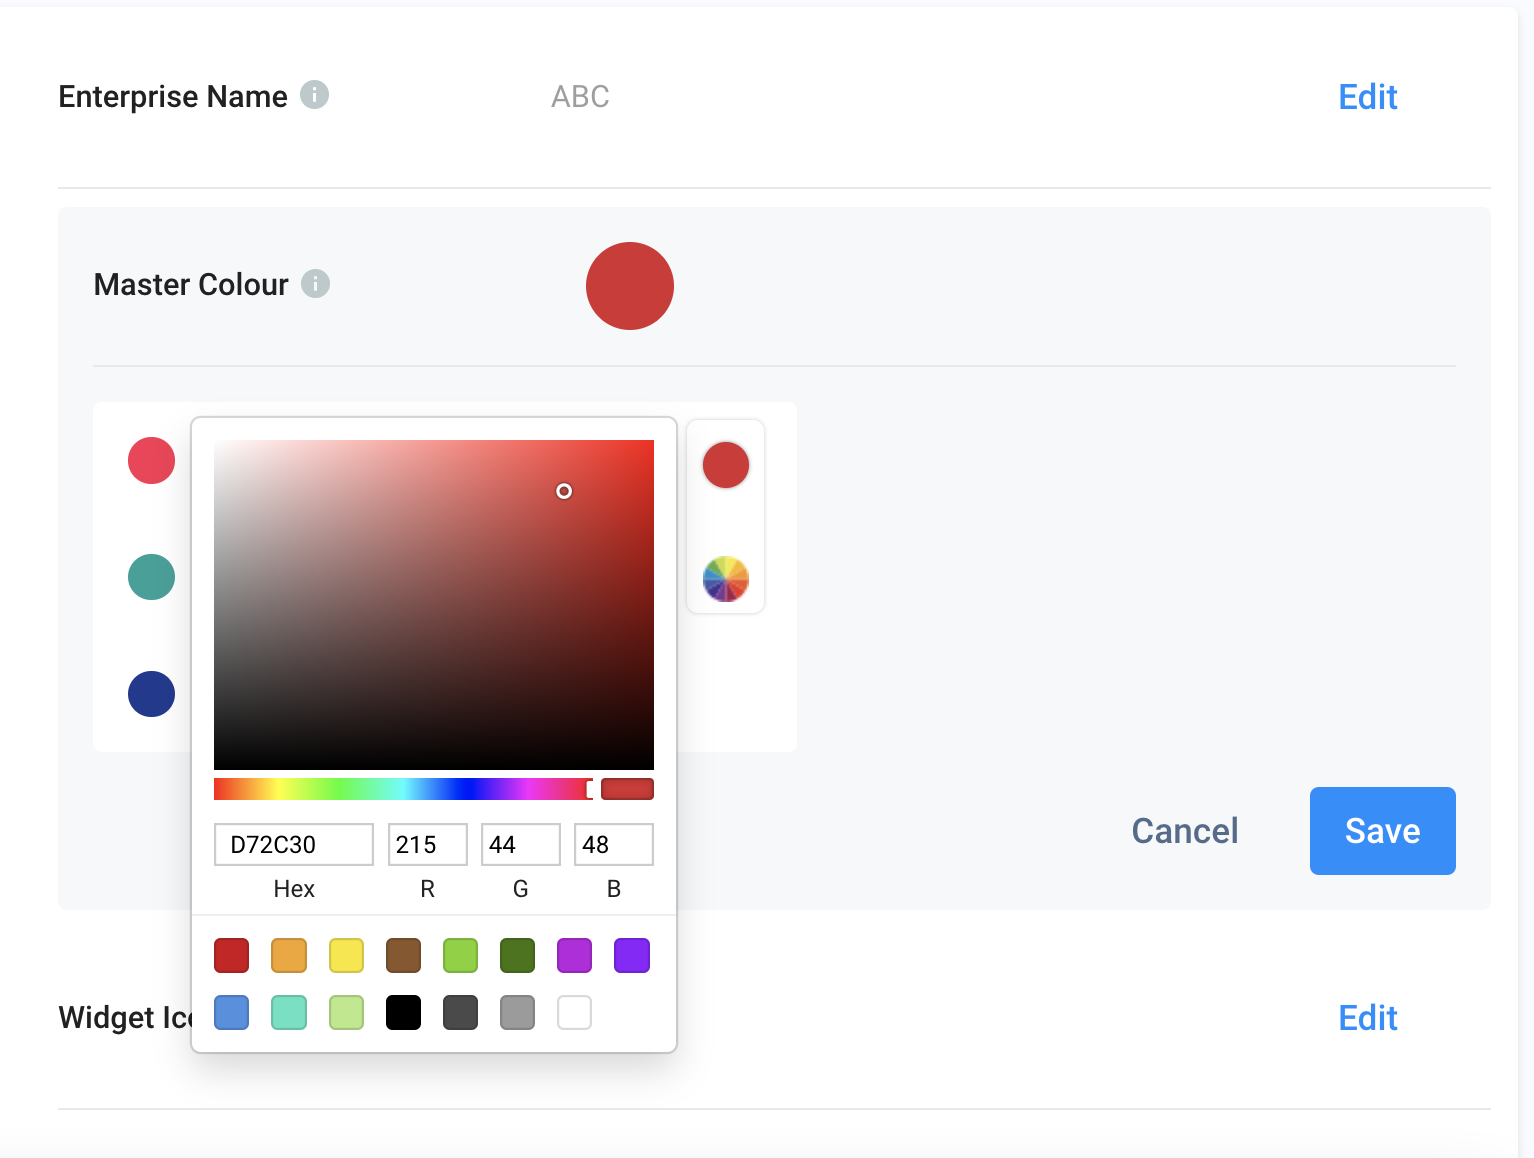
To customise the master colour using the colour picker:
- Click on the poly-chromatic circle.
- Select a colour shade from the colour field. You may also use the slider or enter Hex codes and RGB values to select a colour.
- Click on Save.
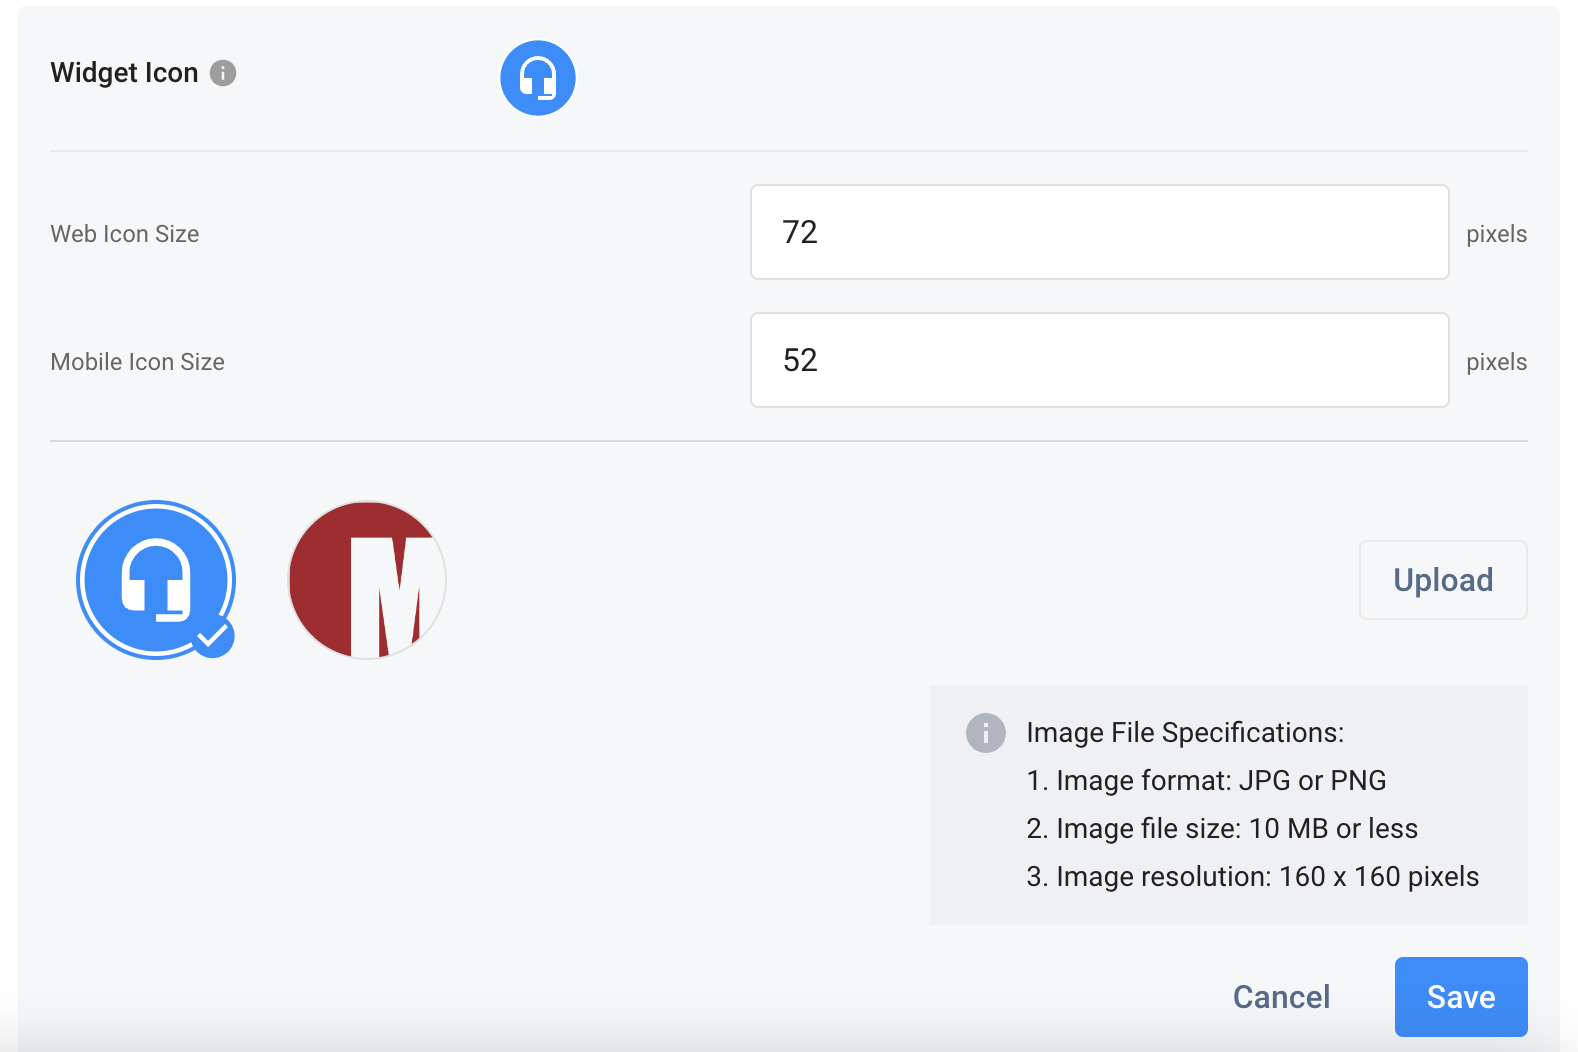
Widget Icon
You can personalise the widget icon by uploading your brand image file.
To upload a new widget icon image:
- On the Basic Setting tab, go to Widget Icon, then click Edit
- Set the pixels for the Web Icon Size, e.g., 72 pixels.
- Set the pixels for the Mobile Icon Size, e.g., 52 pixels.
📘
Widget Icon Image Specifications
- Format: JPG or PNG
- File size: 10 MB or less
- Resolution: 160 x 160 pixels
- Click on Upload.
- Browse and select the desired image from your image library.
- Click on Save.
📘
Important
Once you have finished the settings, check the widget icon using Desktop Web and Mobile Web for the look and feel and adjust the pixels accordingly.
Video and Image
In-call video can be used to advertise your company's recent promotion or branding, which will be shown to all visitors during a call. The video will be played when the call waits to connect (audio of the video will be played automatically based on the platform limit). At the same time, the image will be shown after the call is connected to avoid distribution.
You may set a maximum of 10 sets of videos and images, and with every call, the system will play one set randomly.
To upload a pair of videos and images:
- On the Basic Setting tab, go to Video/Image, then click Edit
- Click the Add New Video and Image in the bottom section.
- To upload a video, click on Upload Video.
- Browse and select the desired video from your video library.
- To upload an image, click on Upload image.
- Browse and select the desired image from your image library.
- After uploading the video and image files, click on Save.
📘
Video File Specifications
- Video format: MP4
- Video file size: 20 MB or less
- Suggested video ratio: 16:9
📘
Image File Specifications
- Image format: JPG or PNG
- Image file size: 20 MB or less
- Image resolution: 1280 x 720 pixels
Delete a Widget
- To delete a widget, click the three-dot icon to view the list and select Delete.
- Confirm the deletion to proceed.

Smart Greeting
Automatically displays a welcome message to website visitors. Refer to the comprehensive guide for customising your Widget's Smart Greeting.
Visitor Forms
It equips you with the Pre-Chat and Offline Support Forms that let you gather preliminary information from your visitors before interacting with them. Refer to the comprehensive guide for setting up your Visitor Forms.