SHOPLINE
Need Omnichannel Live Chat Support for your Shopline website?
CINNOX offers an omnichannel solution that seamlessly integrates with Shopline. Engage with your website visitors in real time through live chat, providing instant support and boosting customer satisfaction. With CINNOX, you can effortlessly handle customer enquiries across various channels and devices, including social media, email, and calls. Simplify your customer service with CINNOX's omnichannel solution today.
SHOPLINE provides a full-featured platform that allows merchants to quickly build their online shop and deliver a seamless omnichannel experience. SHOPLINE also has a team of Google ads and Facebook ads certified digital team to help merchants plan and execute advertising campaigns to drive brand awareness, traffic and conversions to their store. On top of that, SHOPLINE is a Google Premier Partner and a Meta Business Partner. As a solution provider, we provide operational and business consultation services to help drive merchant cross-border business success.
For more details, go to www.shopline.com.
The CINNOX live chat and web call lets you instantly add call and chat functions on your SHOPLINE site to answer enquiries from your online customers and visitors promptly. It installs the CINNOX Widget on your page and lets you use its core features.
Here are the steps to follow when adding the CINNOX web widget to your SHOPLINE online shop:
📘
SHOPLINE provides different login URLs and a Website Dashboard depending on your selected location.
SHOPLINE (Global)
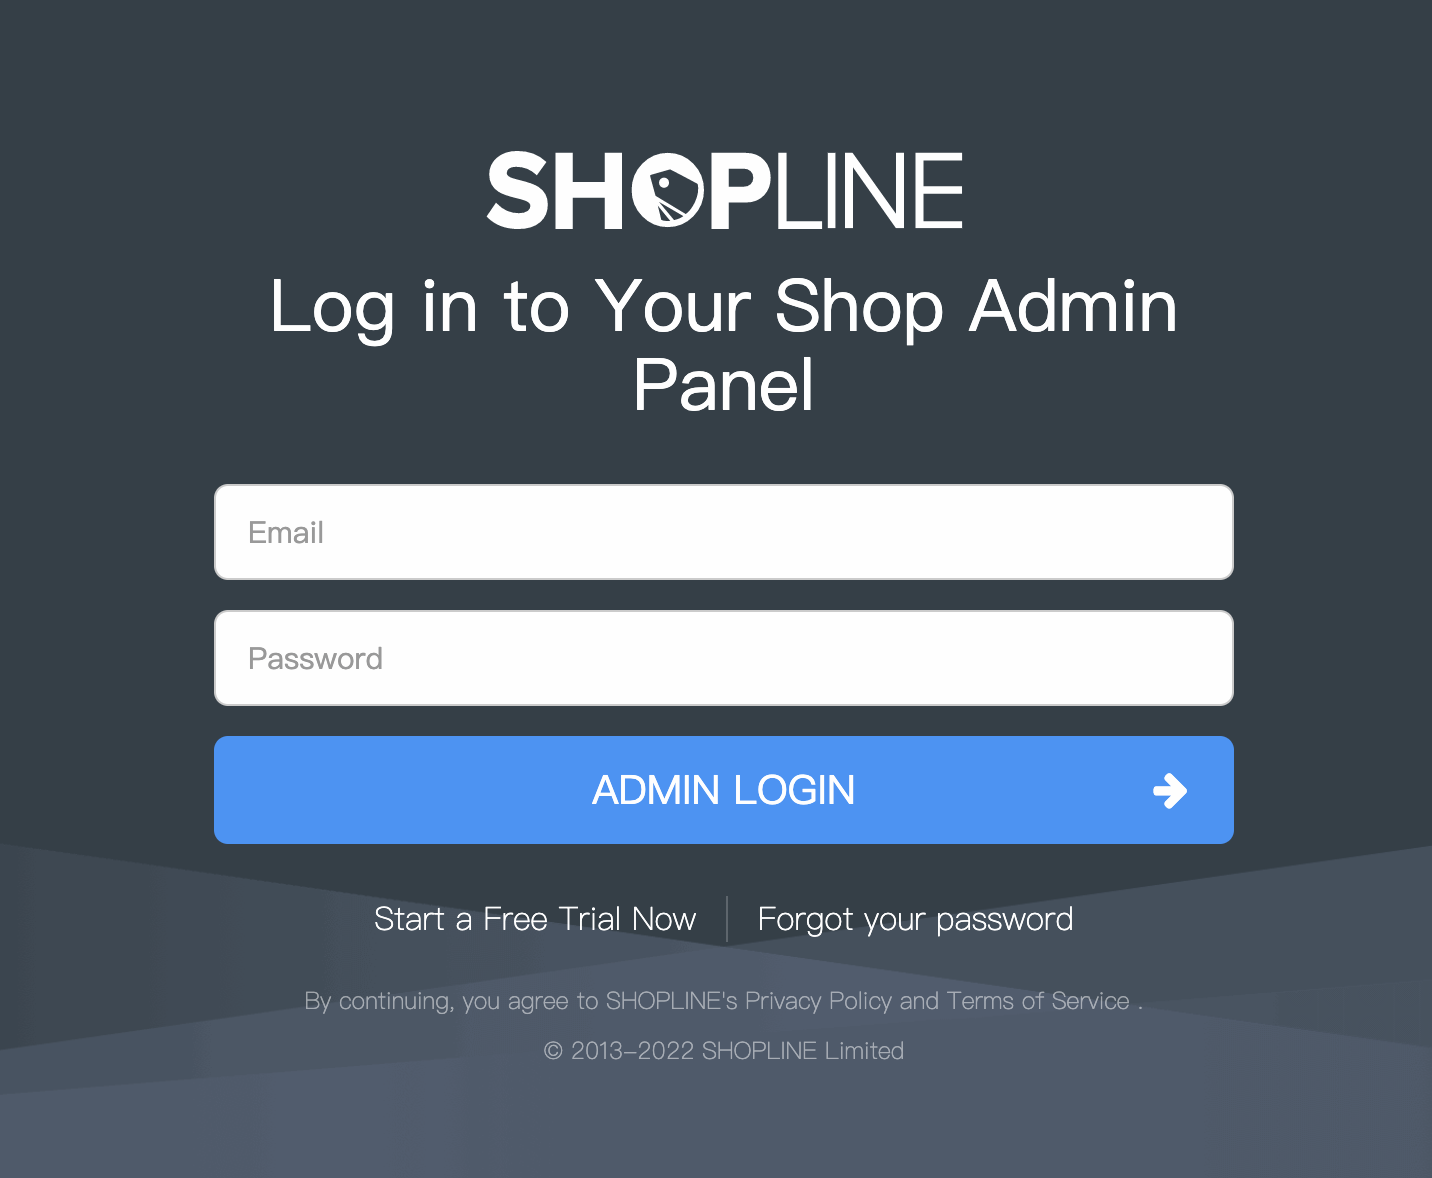
- Log in to your SHOPLINE (Global) dashboard account.
SHOPLINE (Global) Login Page
- On the left side menu, click Apps.
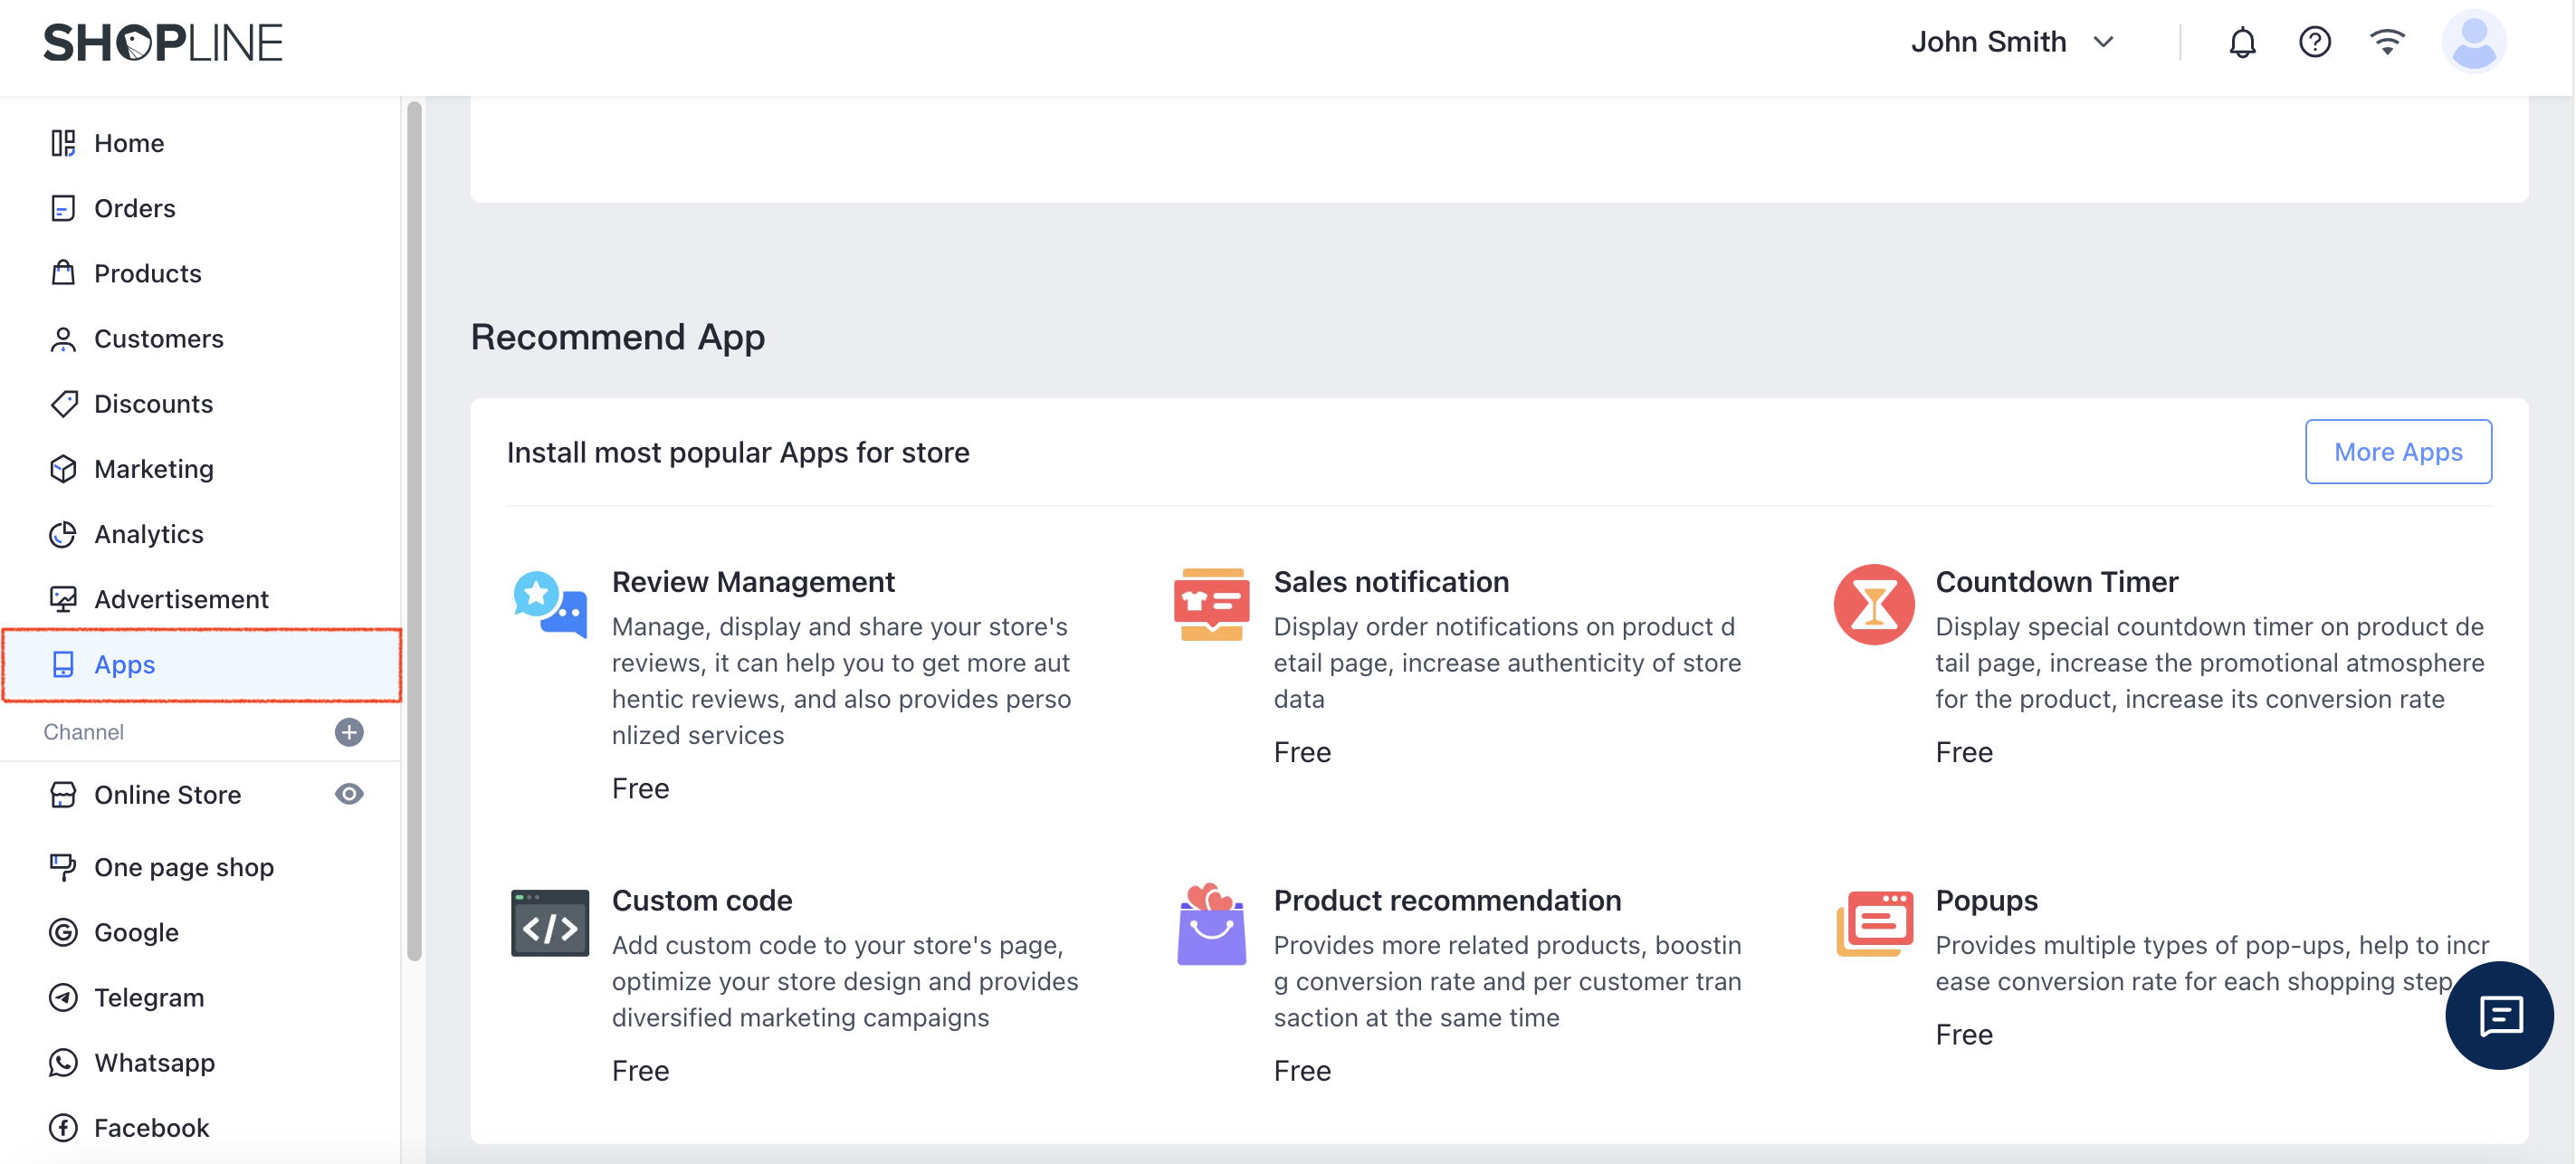
SHOPLINE (Global) Apps
- Then select Custom Code under the Recommend App.
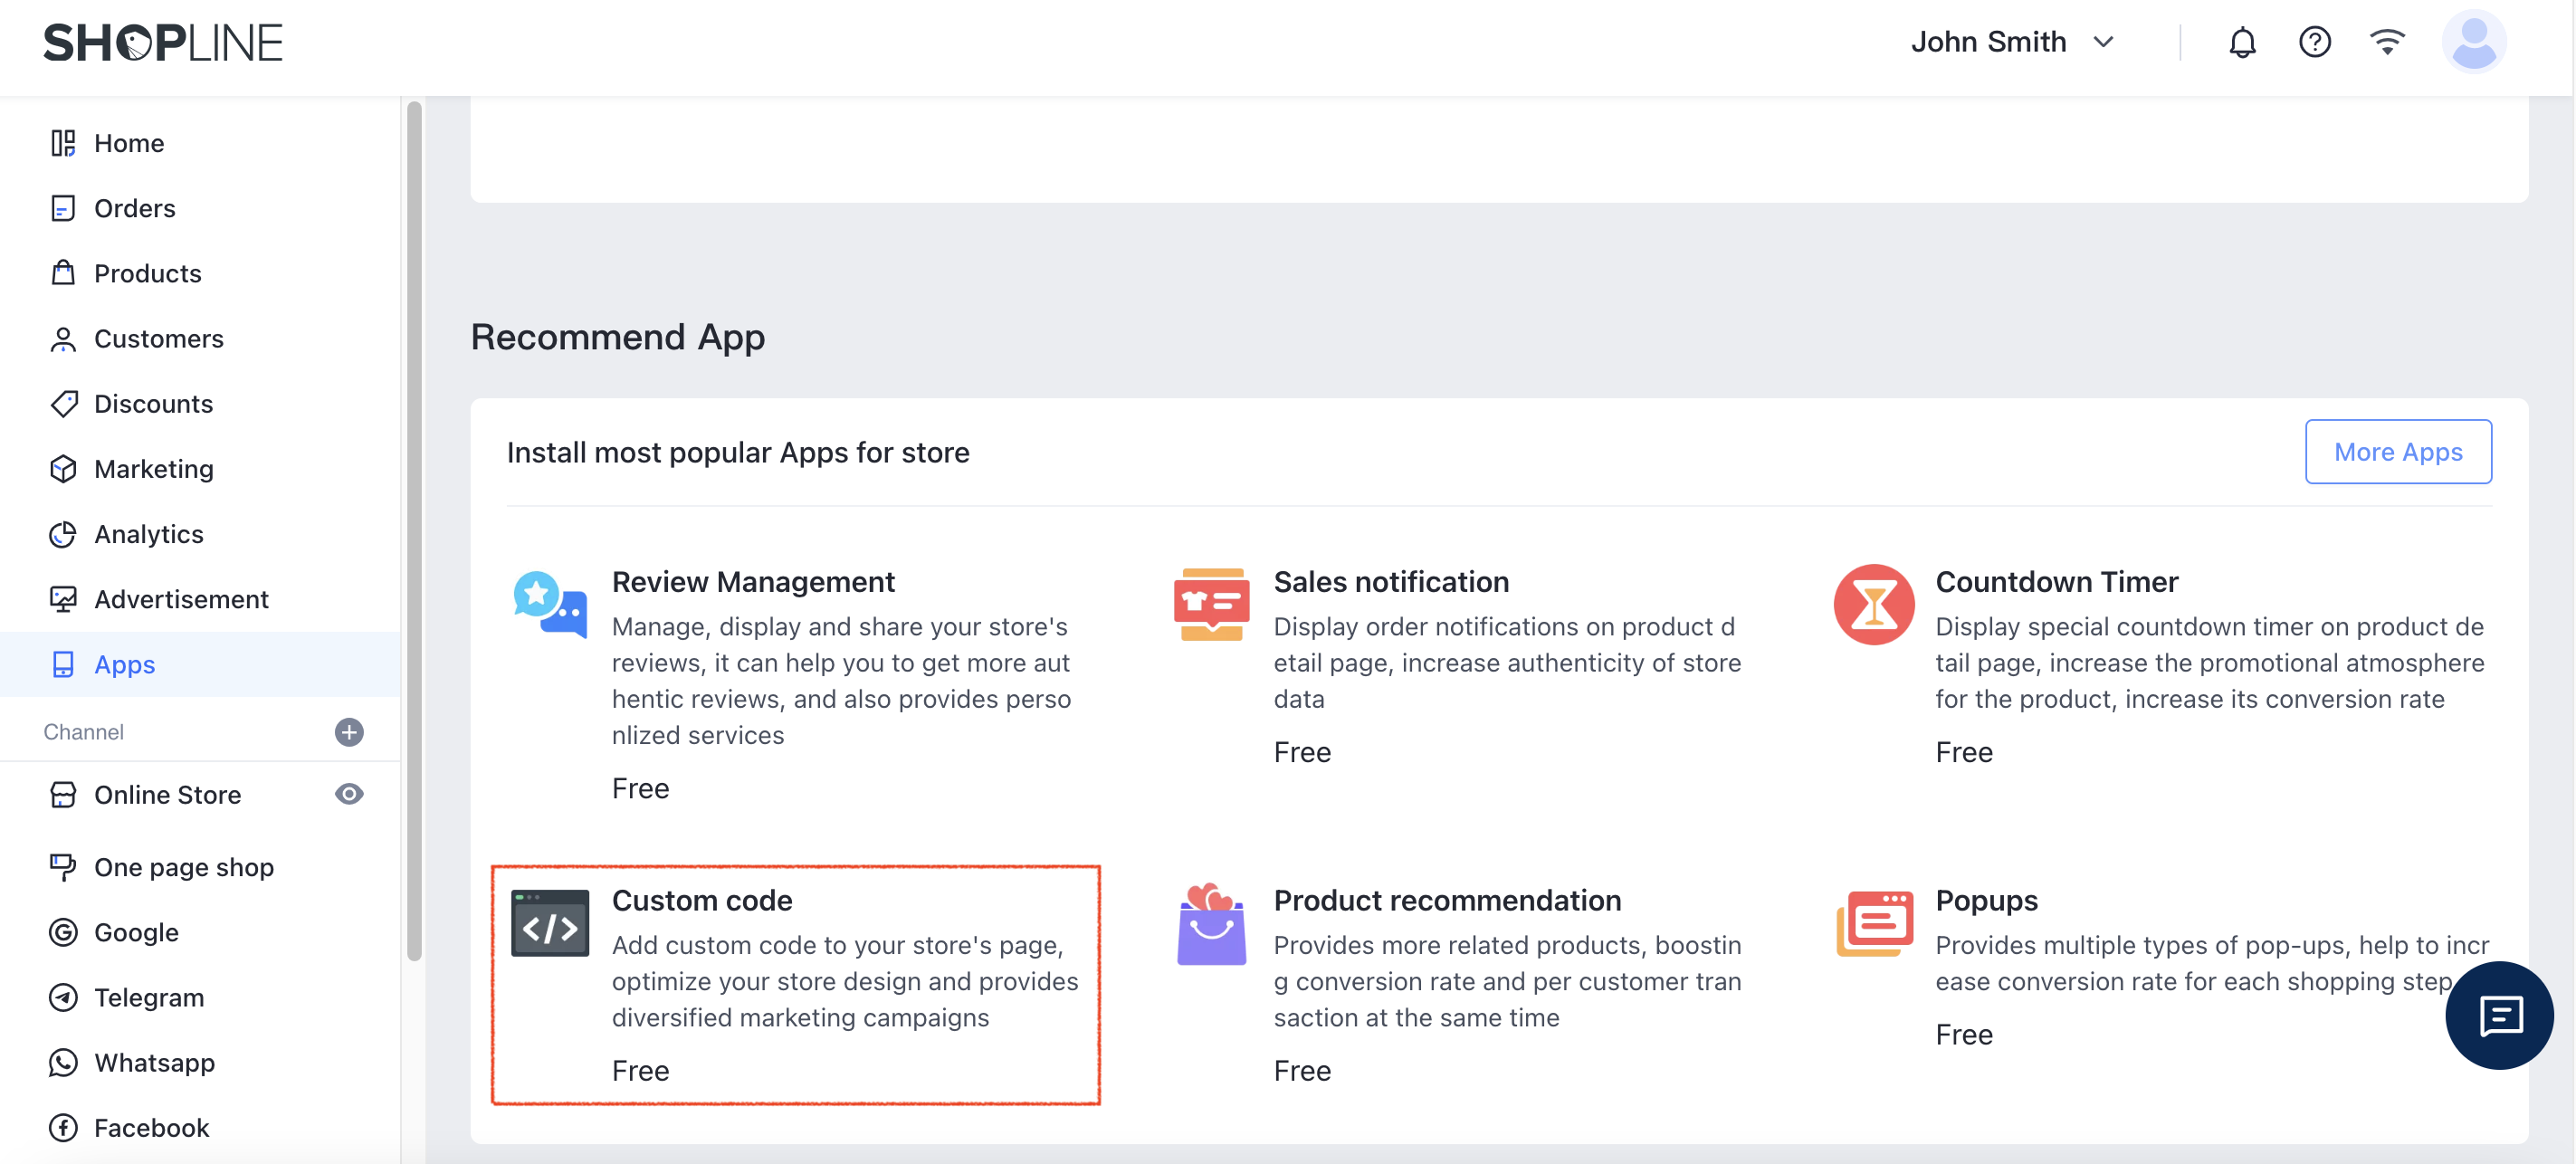
SHOPLINE (Global) Custom Code
- The App Store page will be opened with Custom Code details. Click Install to add Custom code to your store's page.
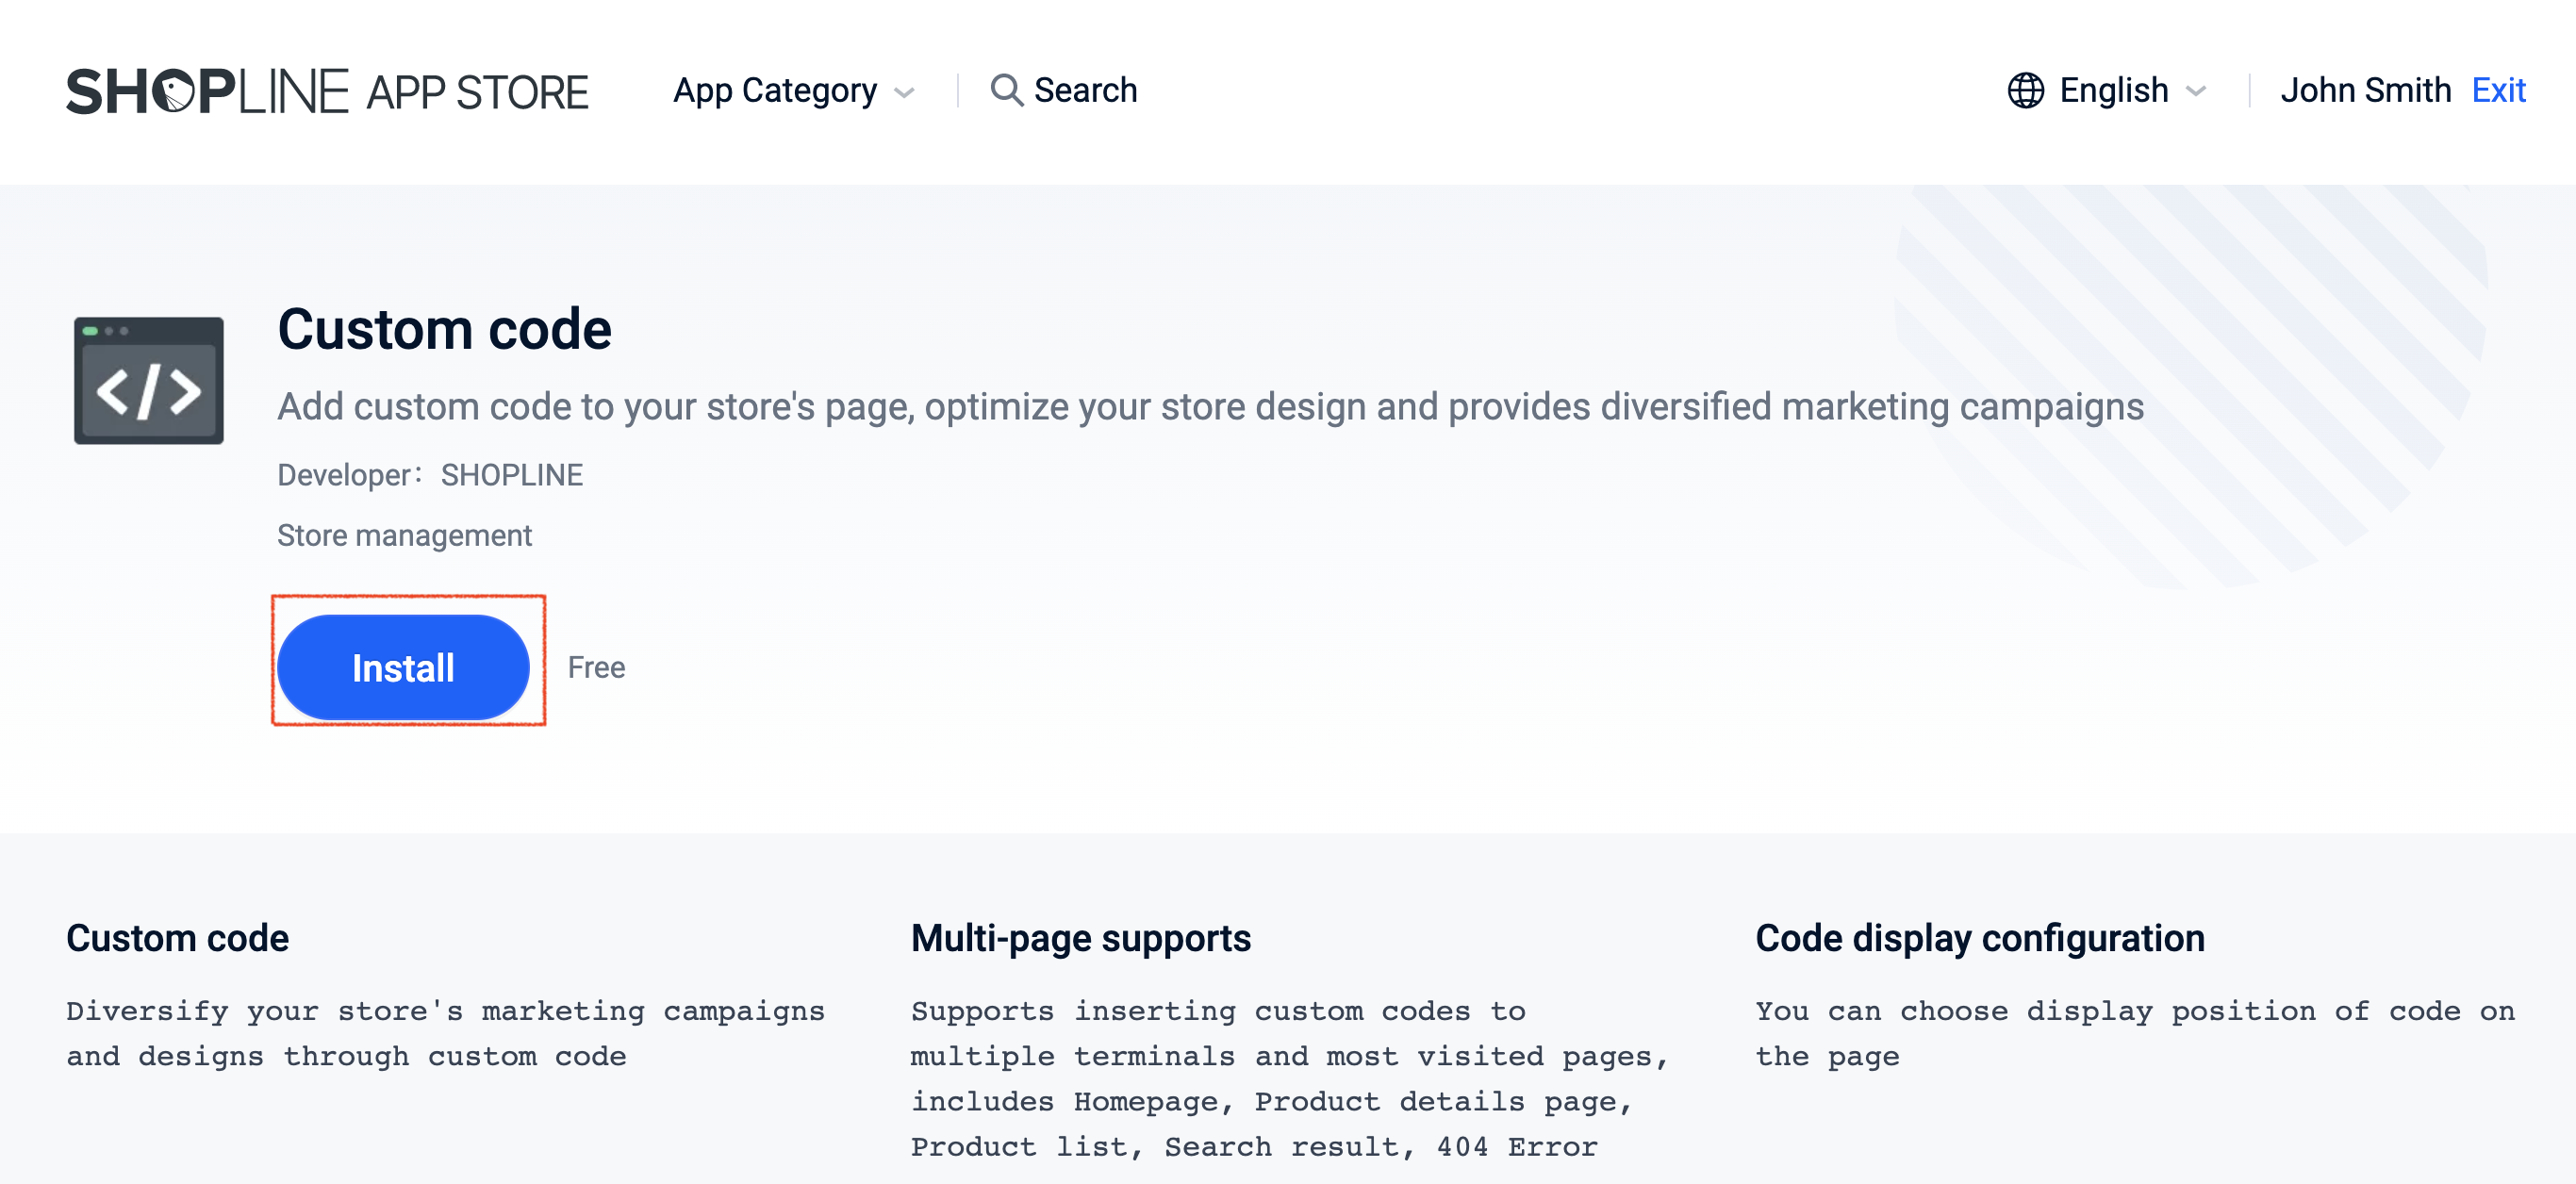
SHOPLINE (Global) Custom Code
- On the custom code page, click Add code.
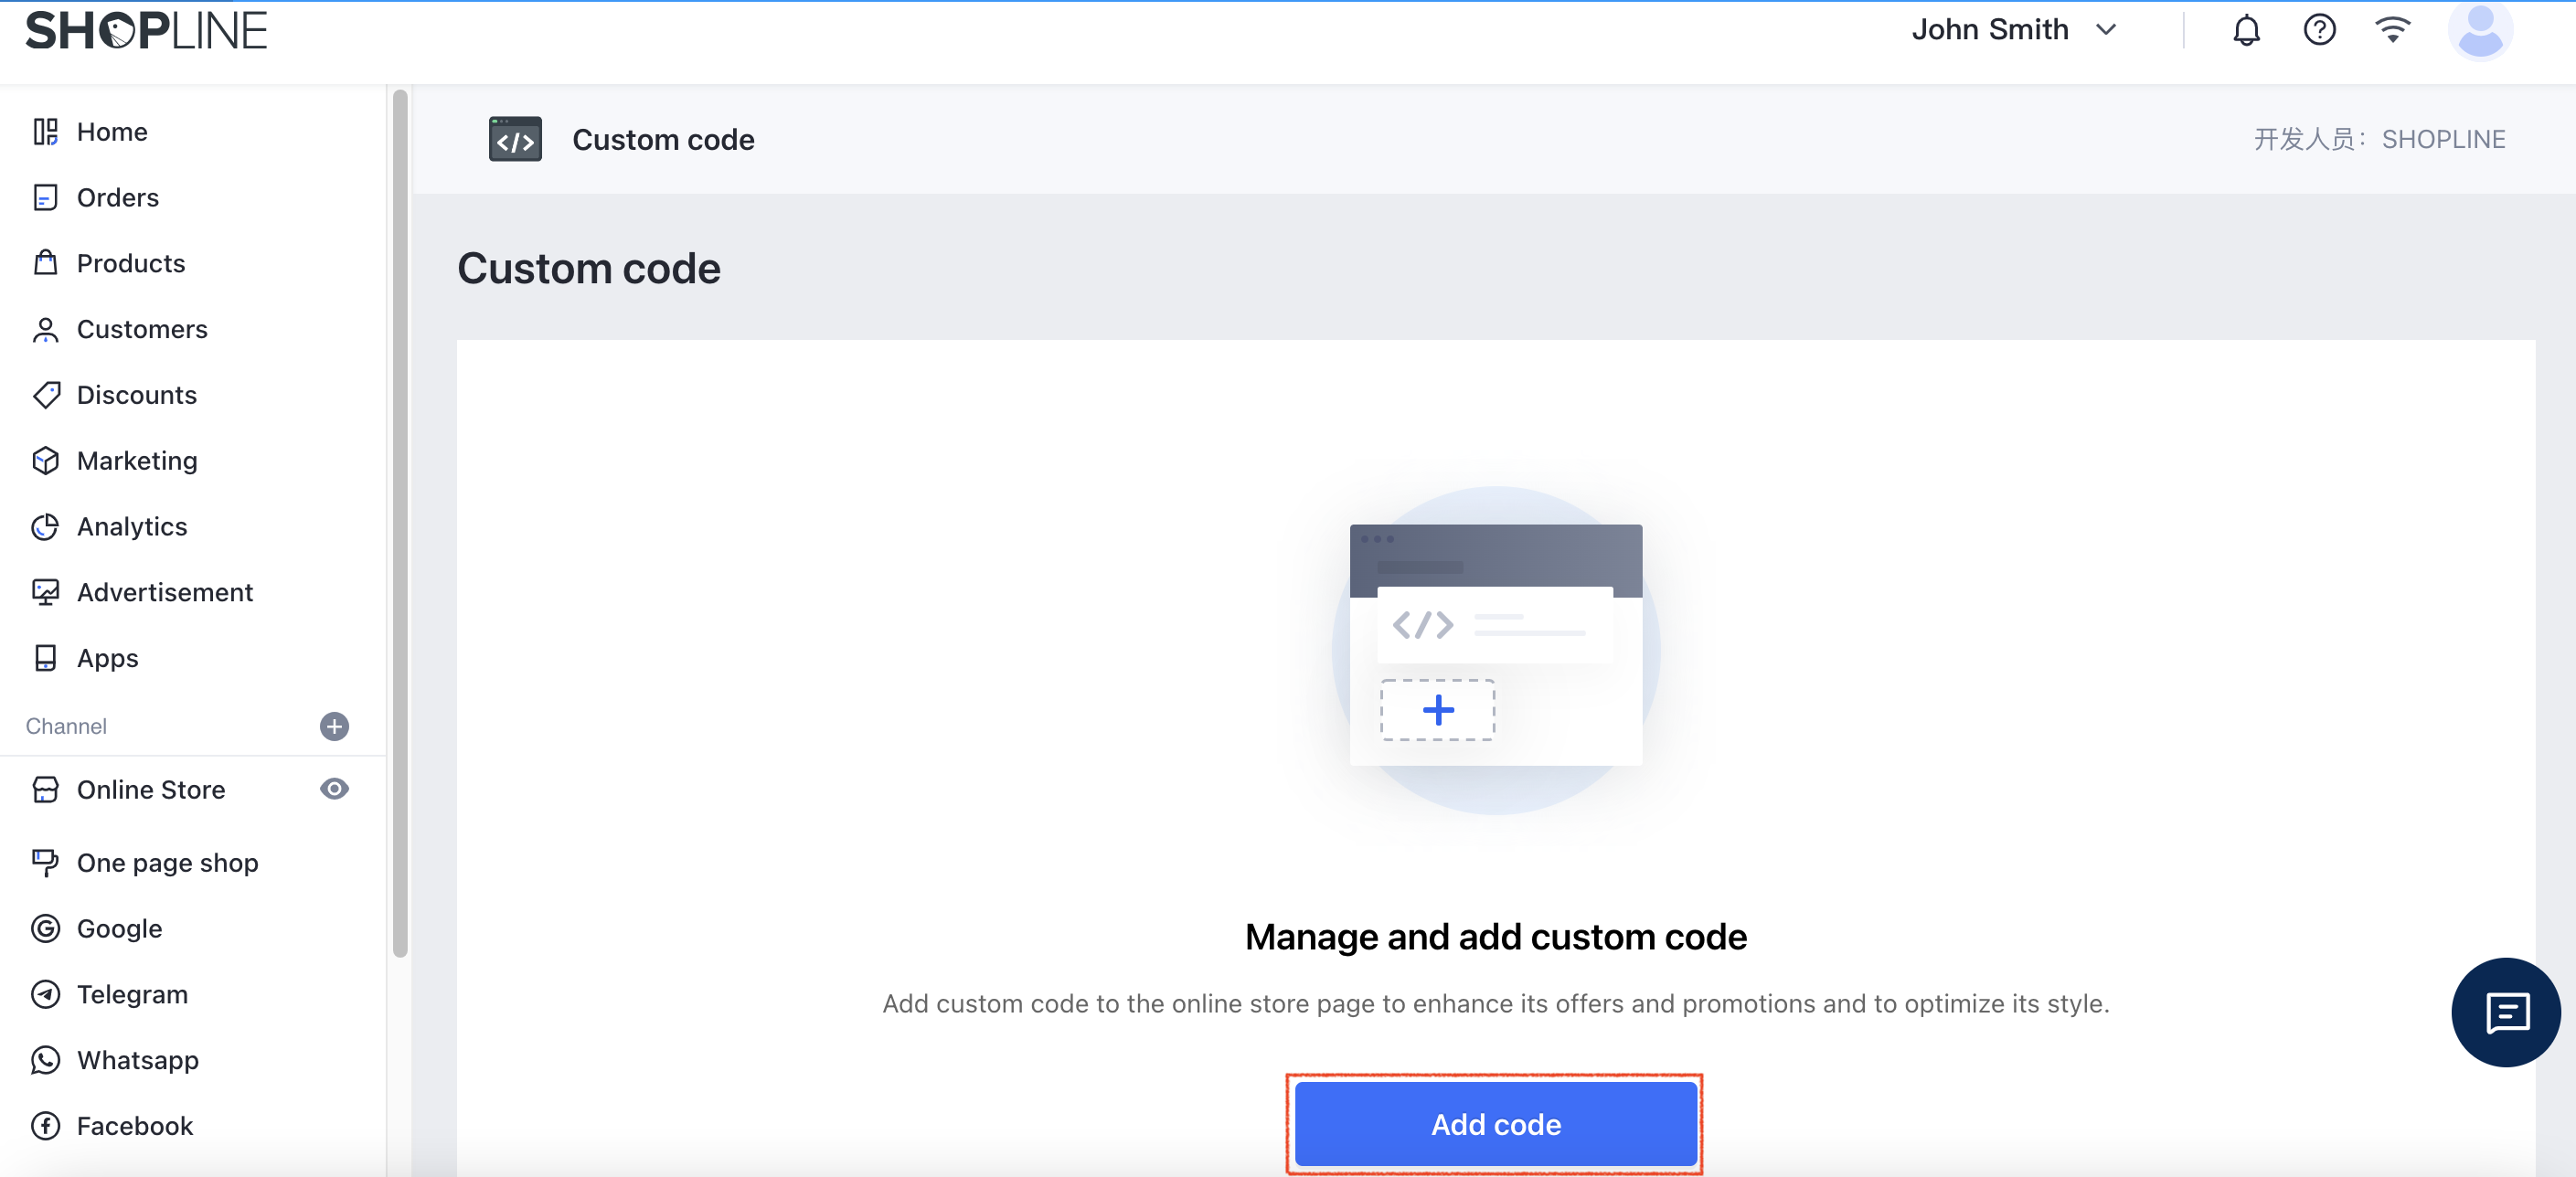
SHOPLINE (Global) Custom Code
- Enter the Code name for your Custom code, e.g. CINNOX Widget.
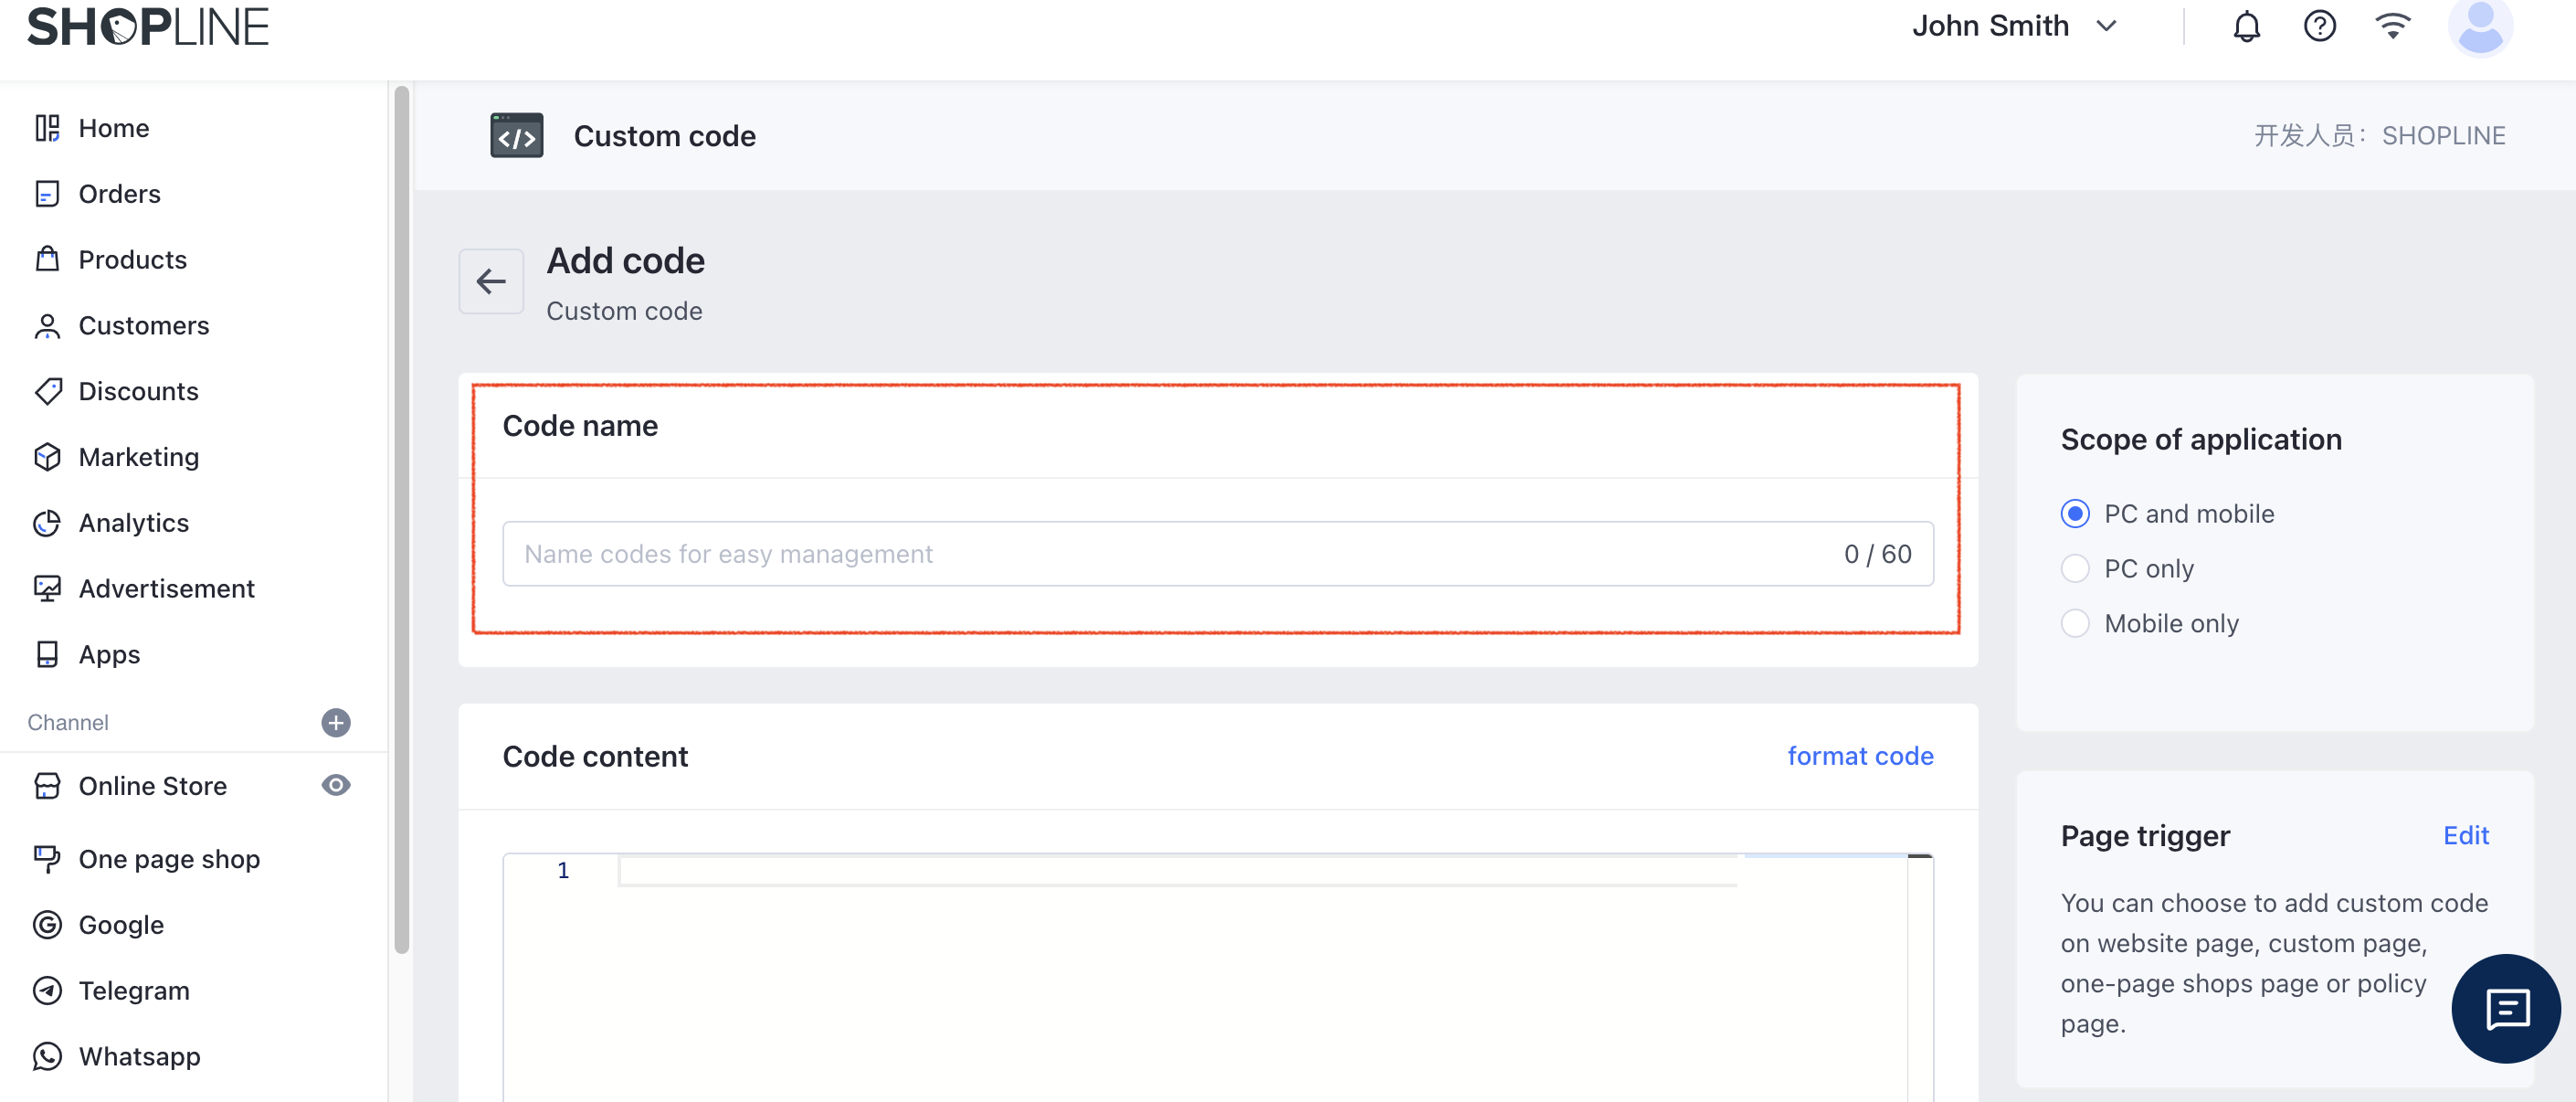
SHOPLINE (Global) Custom Code
- Log in to your CINNOX Web Dashboard.
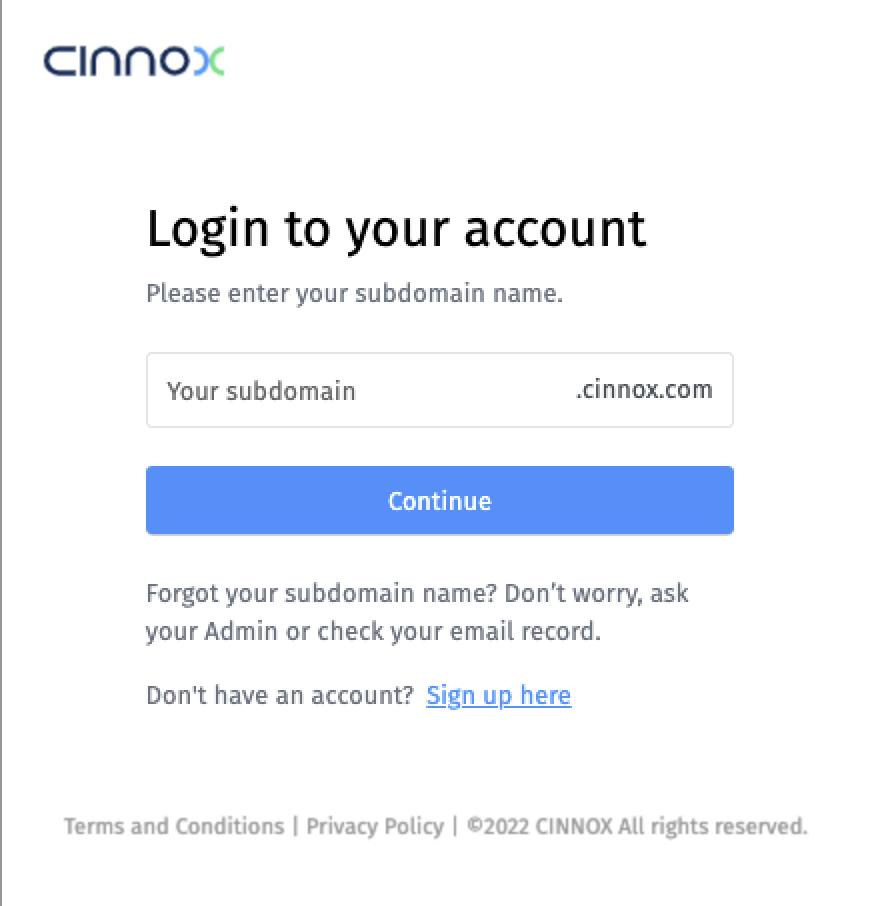
CINNOX Login Page
- Navigate to Administration > Widget > Installation. From the Widget Installation > Web Widget, click on Copy.
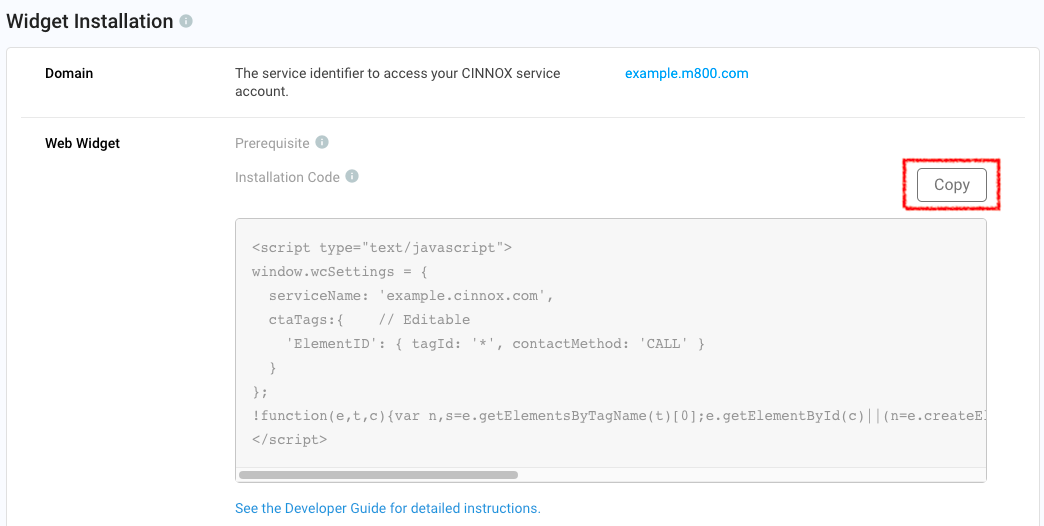
CINNOX Admin > Widget > Installation
- Back on your SHOPLINE, Custom Code, paste your CINNOX Widget code under the Code content
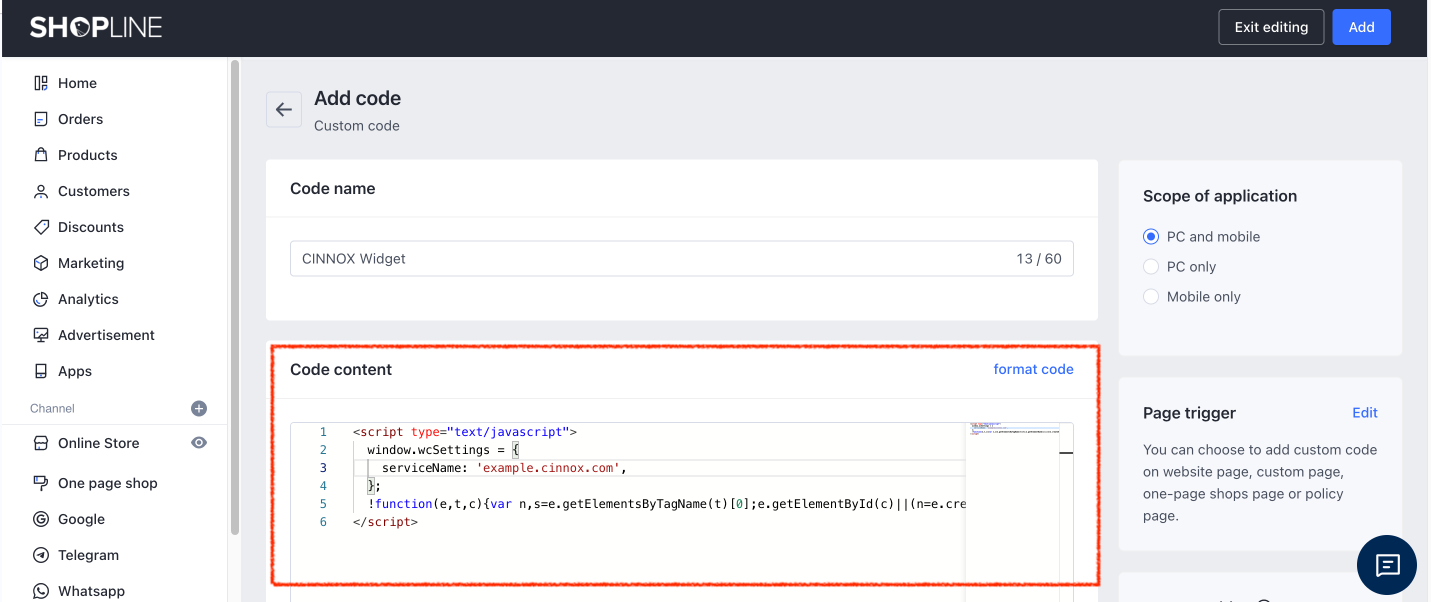
SHOPLINE (Global) Custom Code
- For the Scope of Application, select PC Only, as the widget installation is intended for your web store's page.
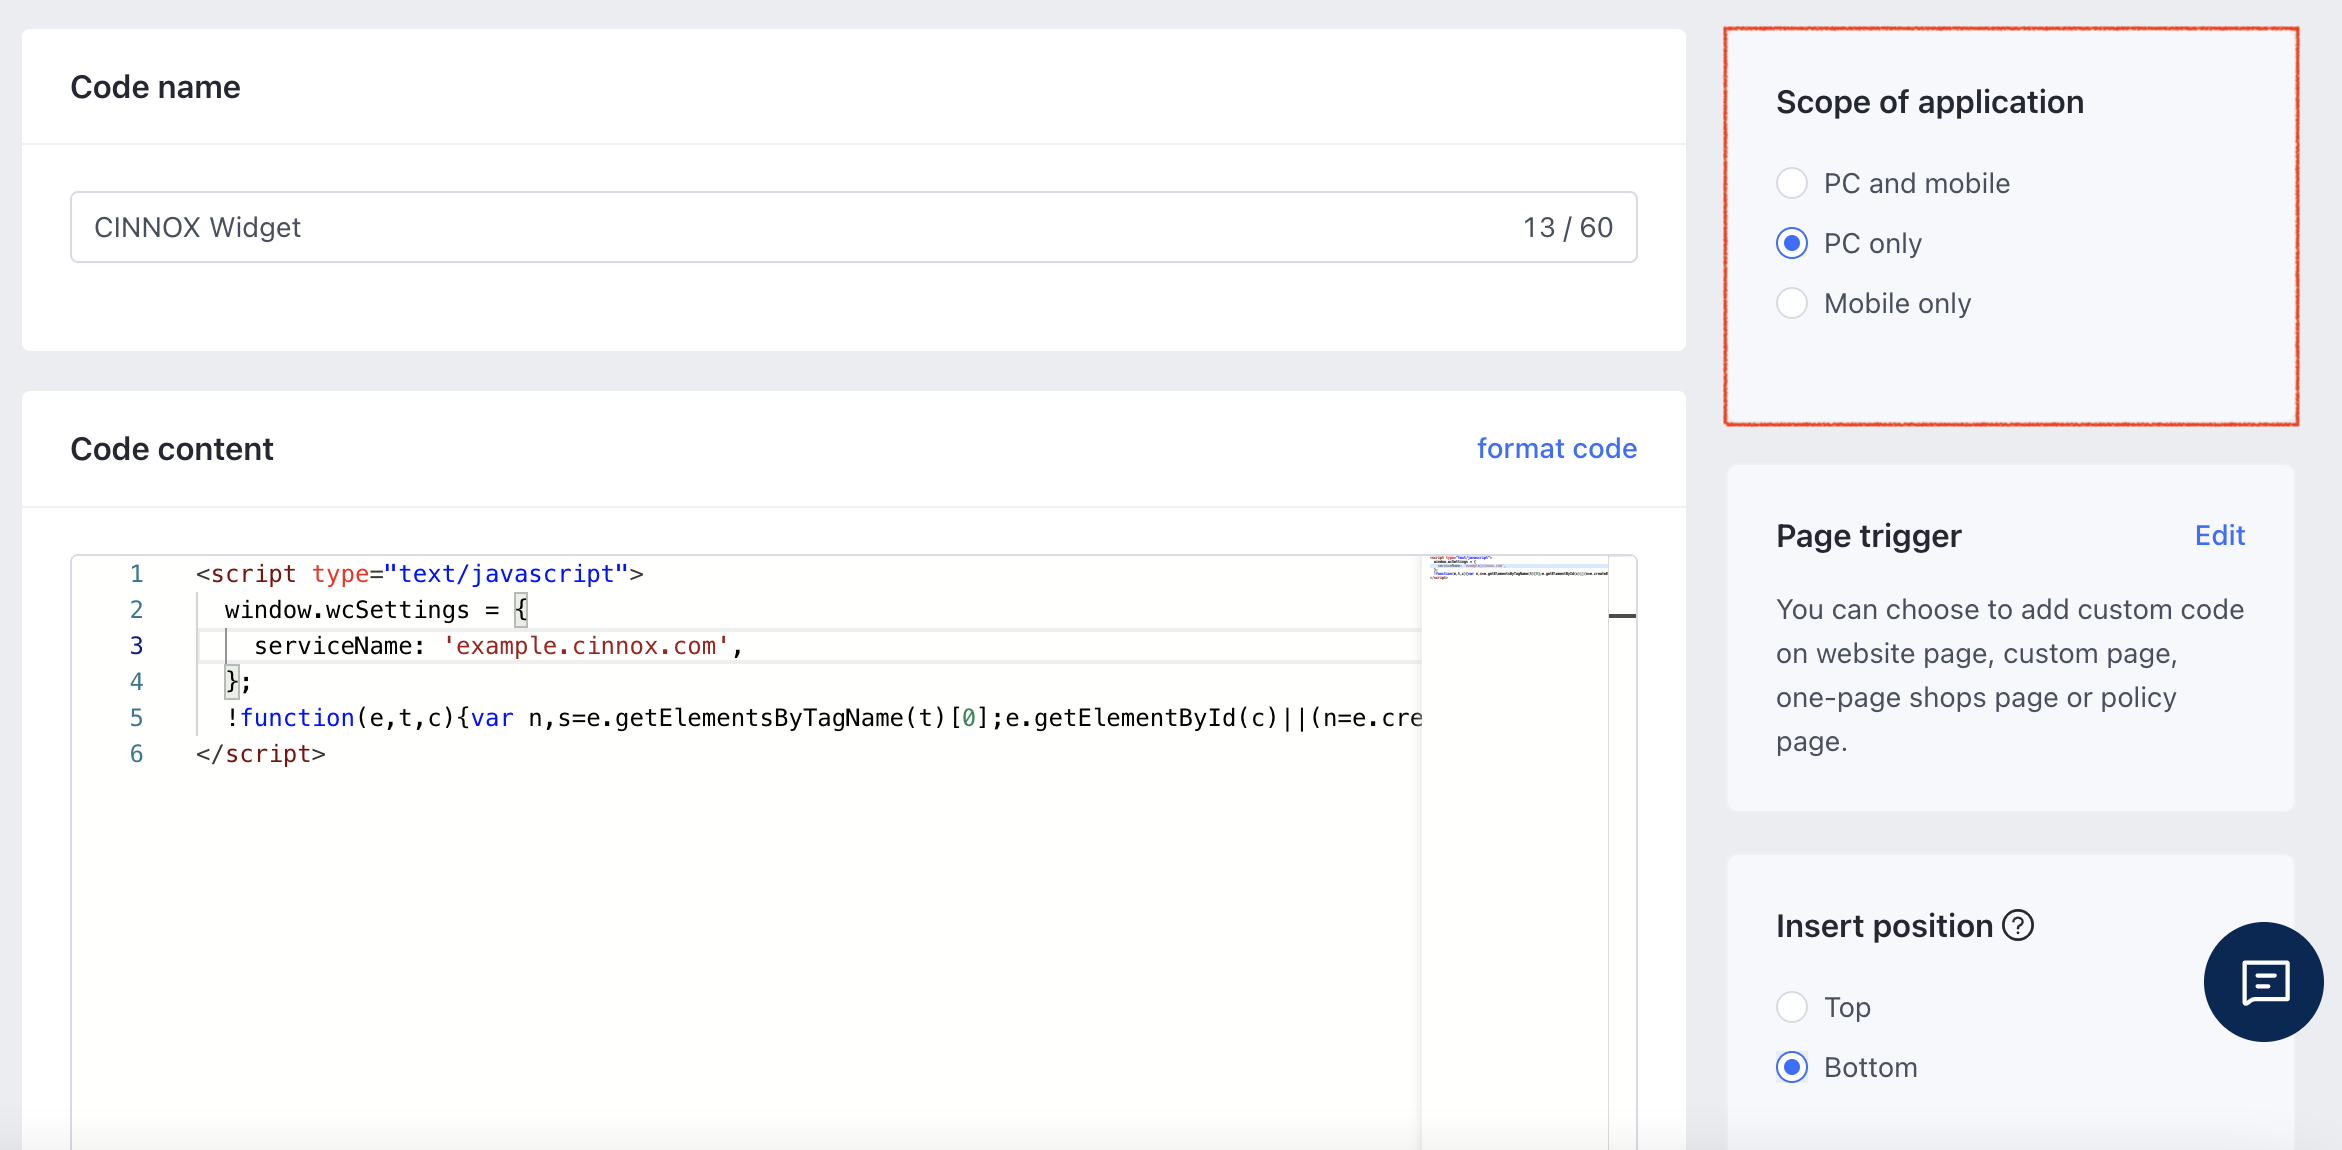
SHOPLINE (Global) Custom Code
- Click Edit for the Page trigger.
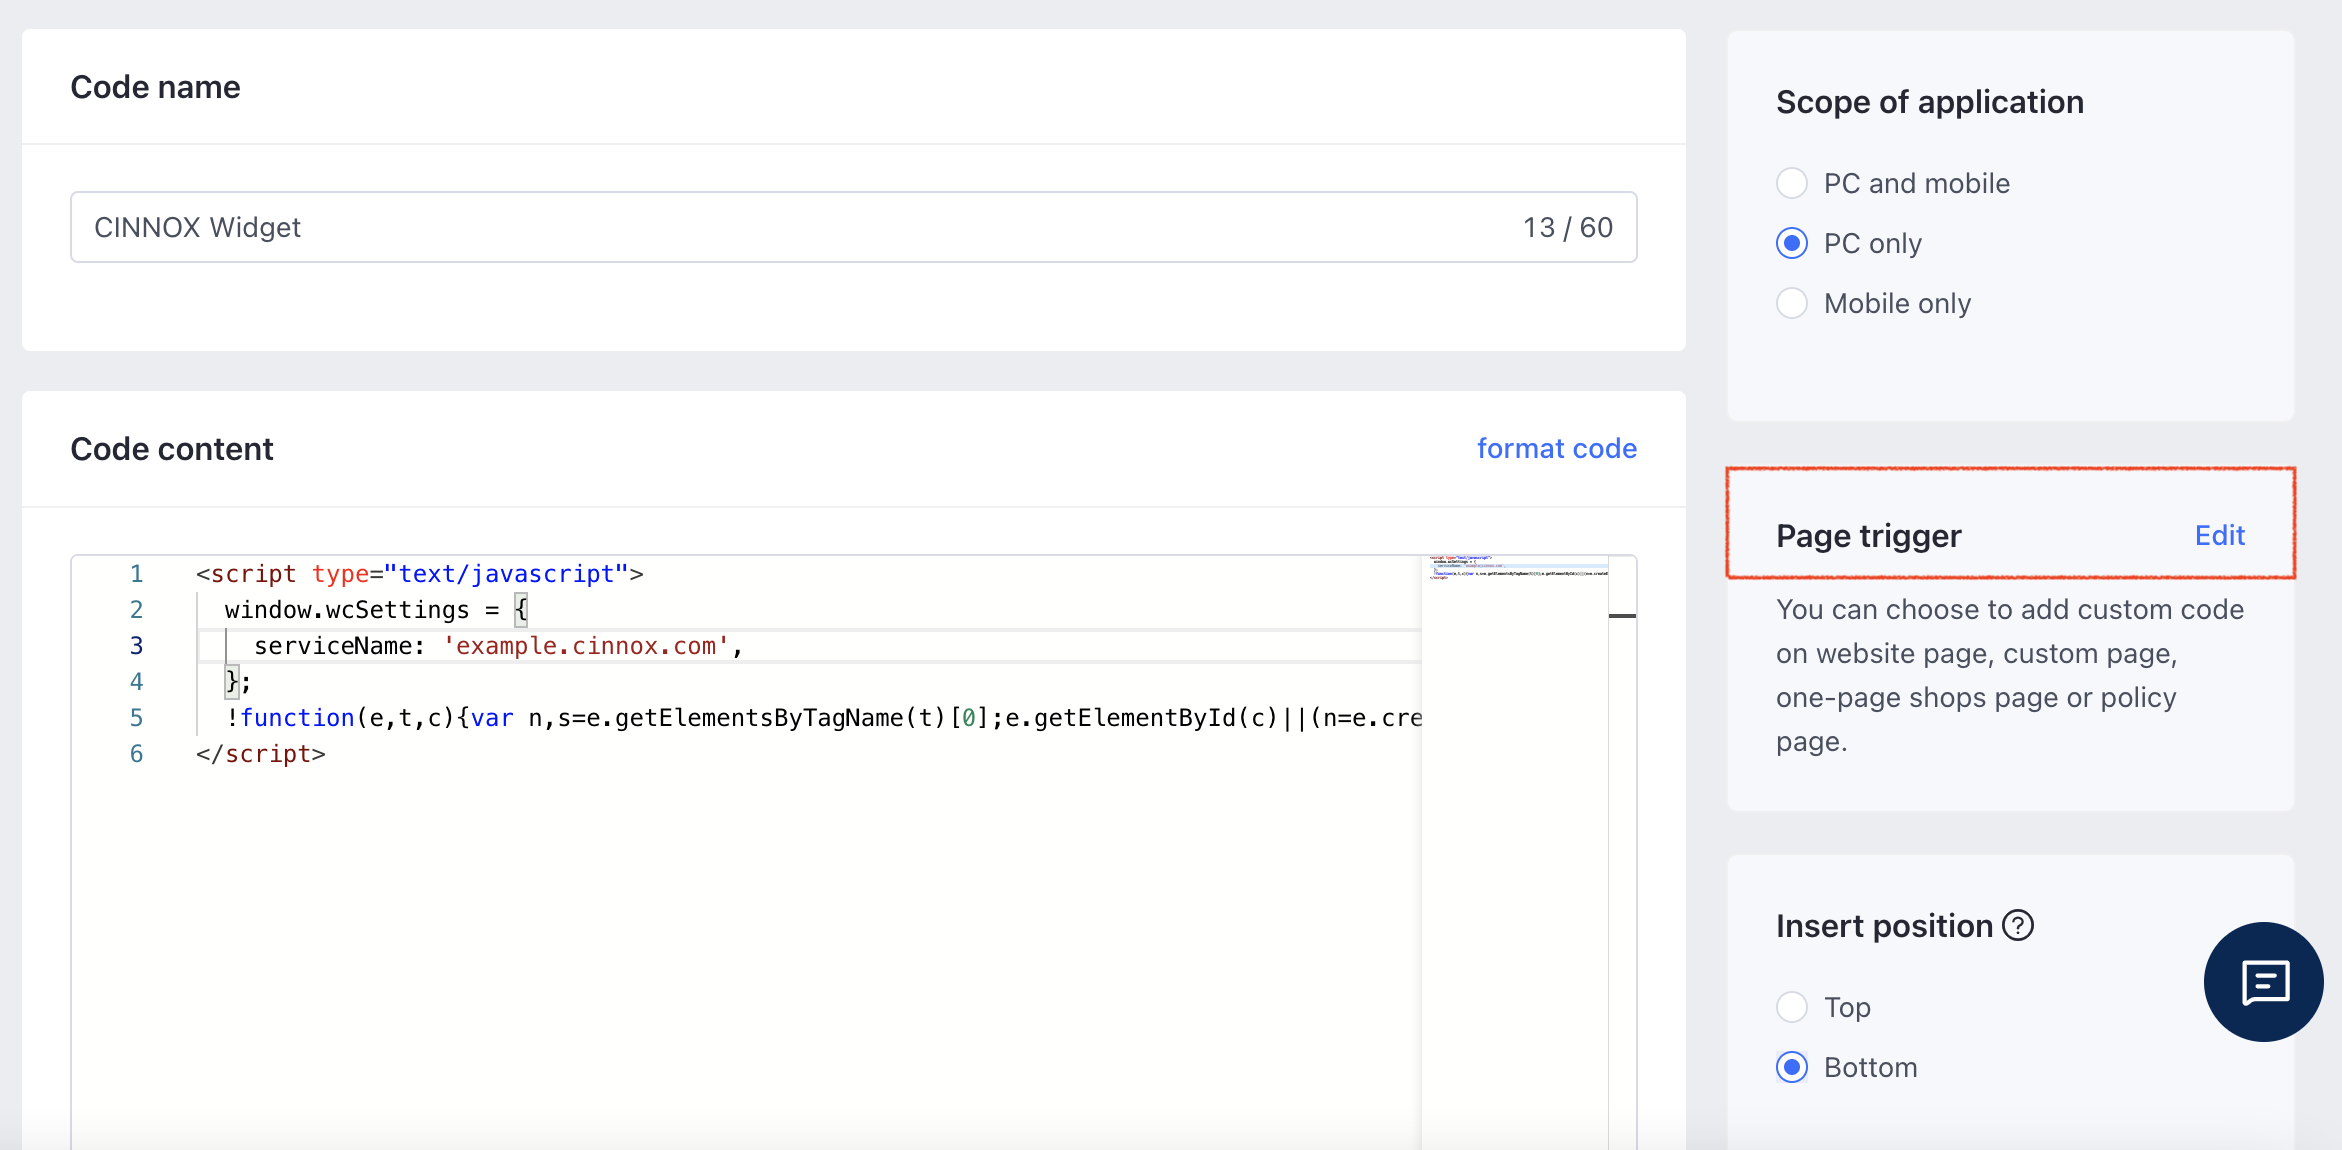
SHOPLINE (Global) Custom Code
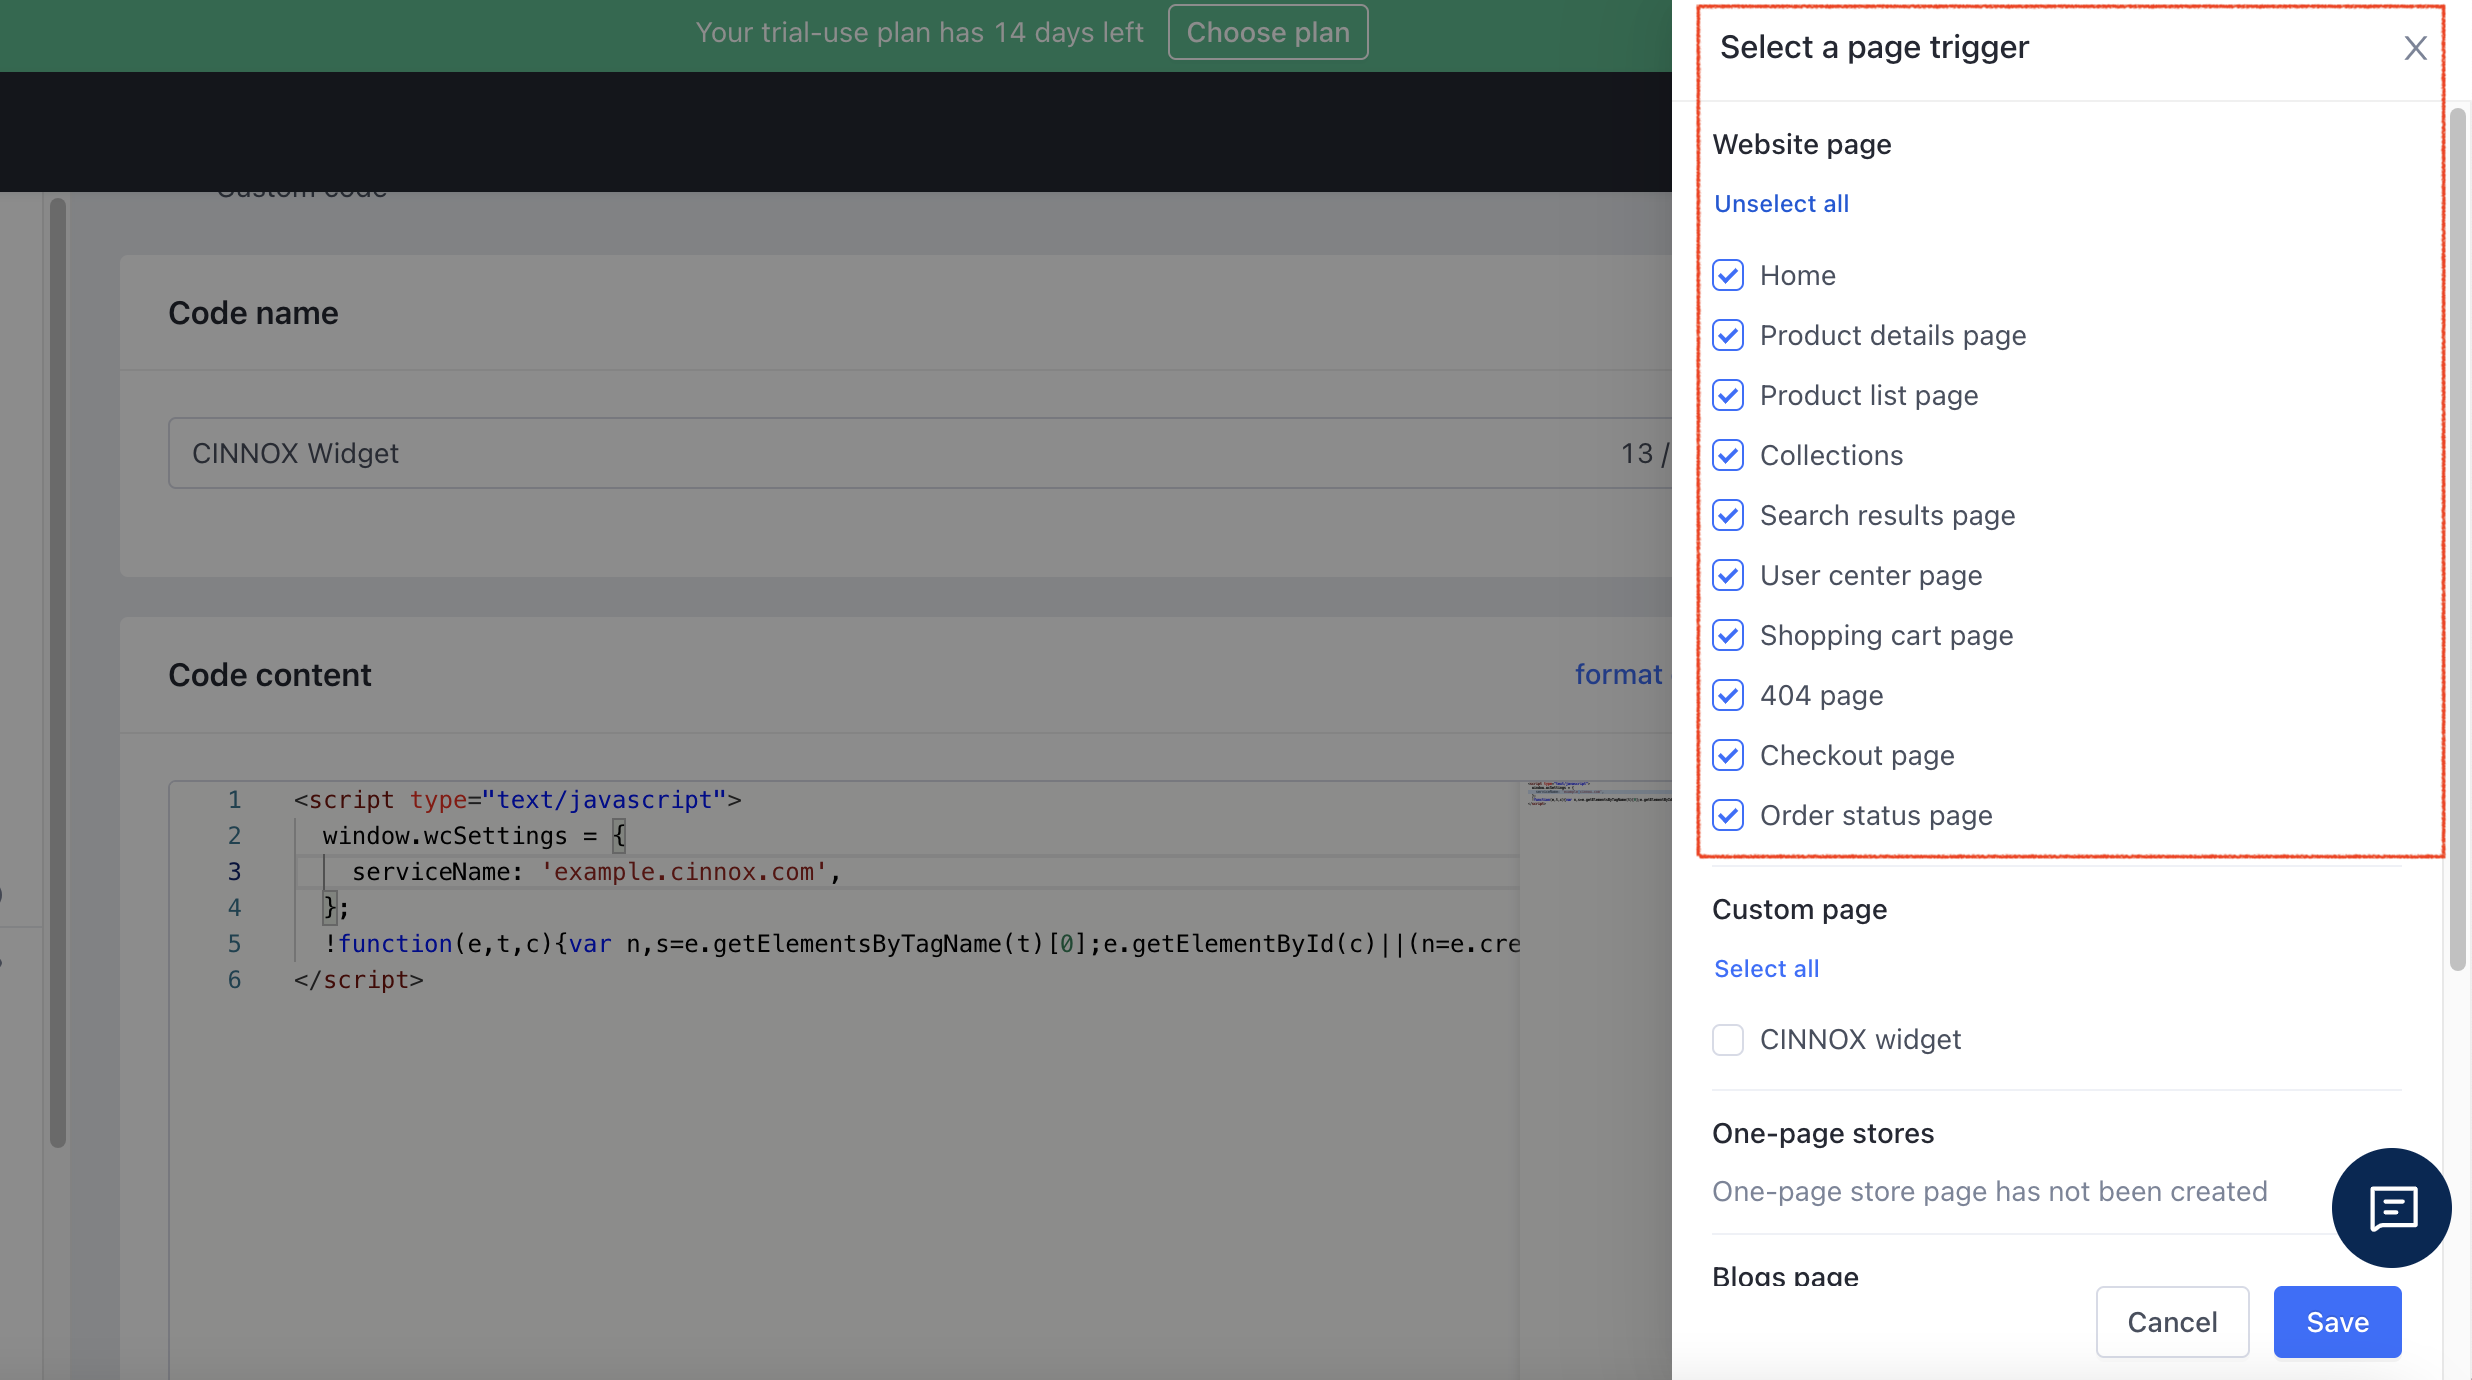
- Select and tick the checkboxes for which page should the CINNOX Widget appear.
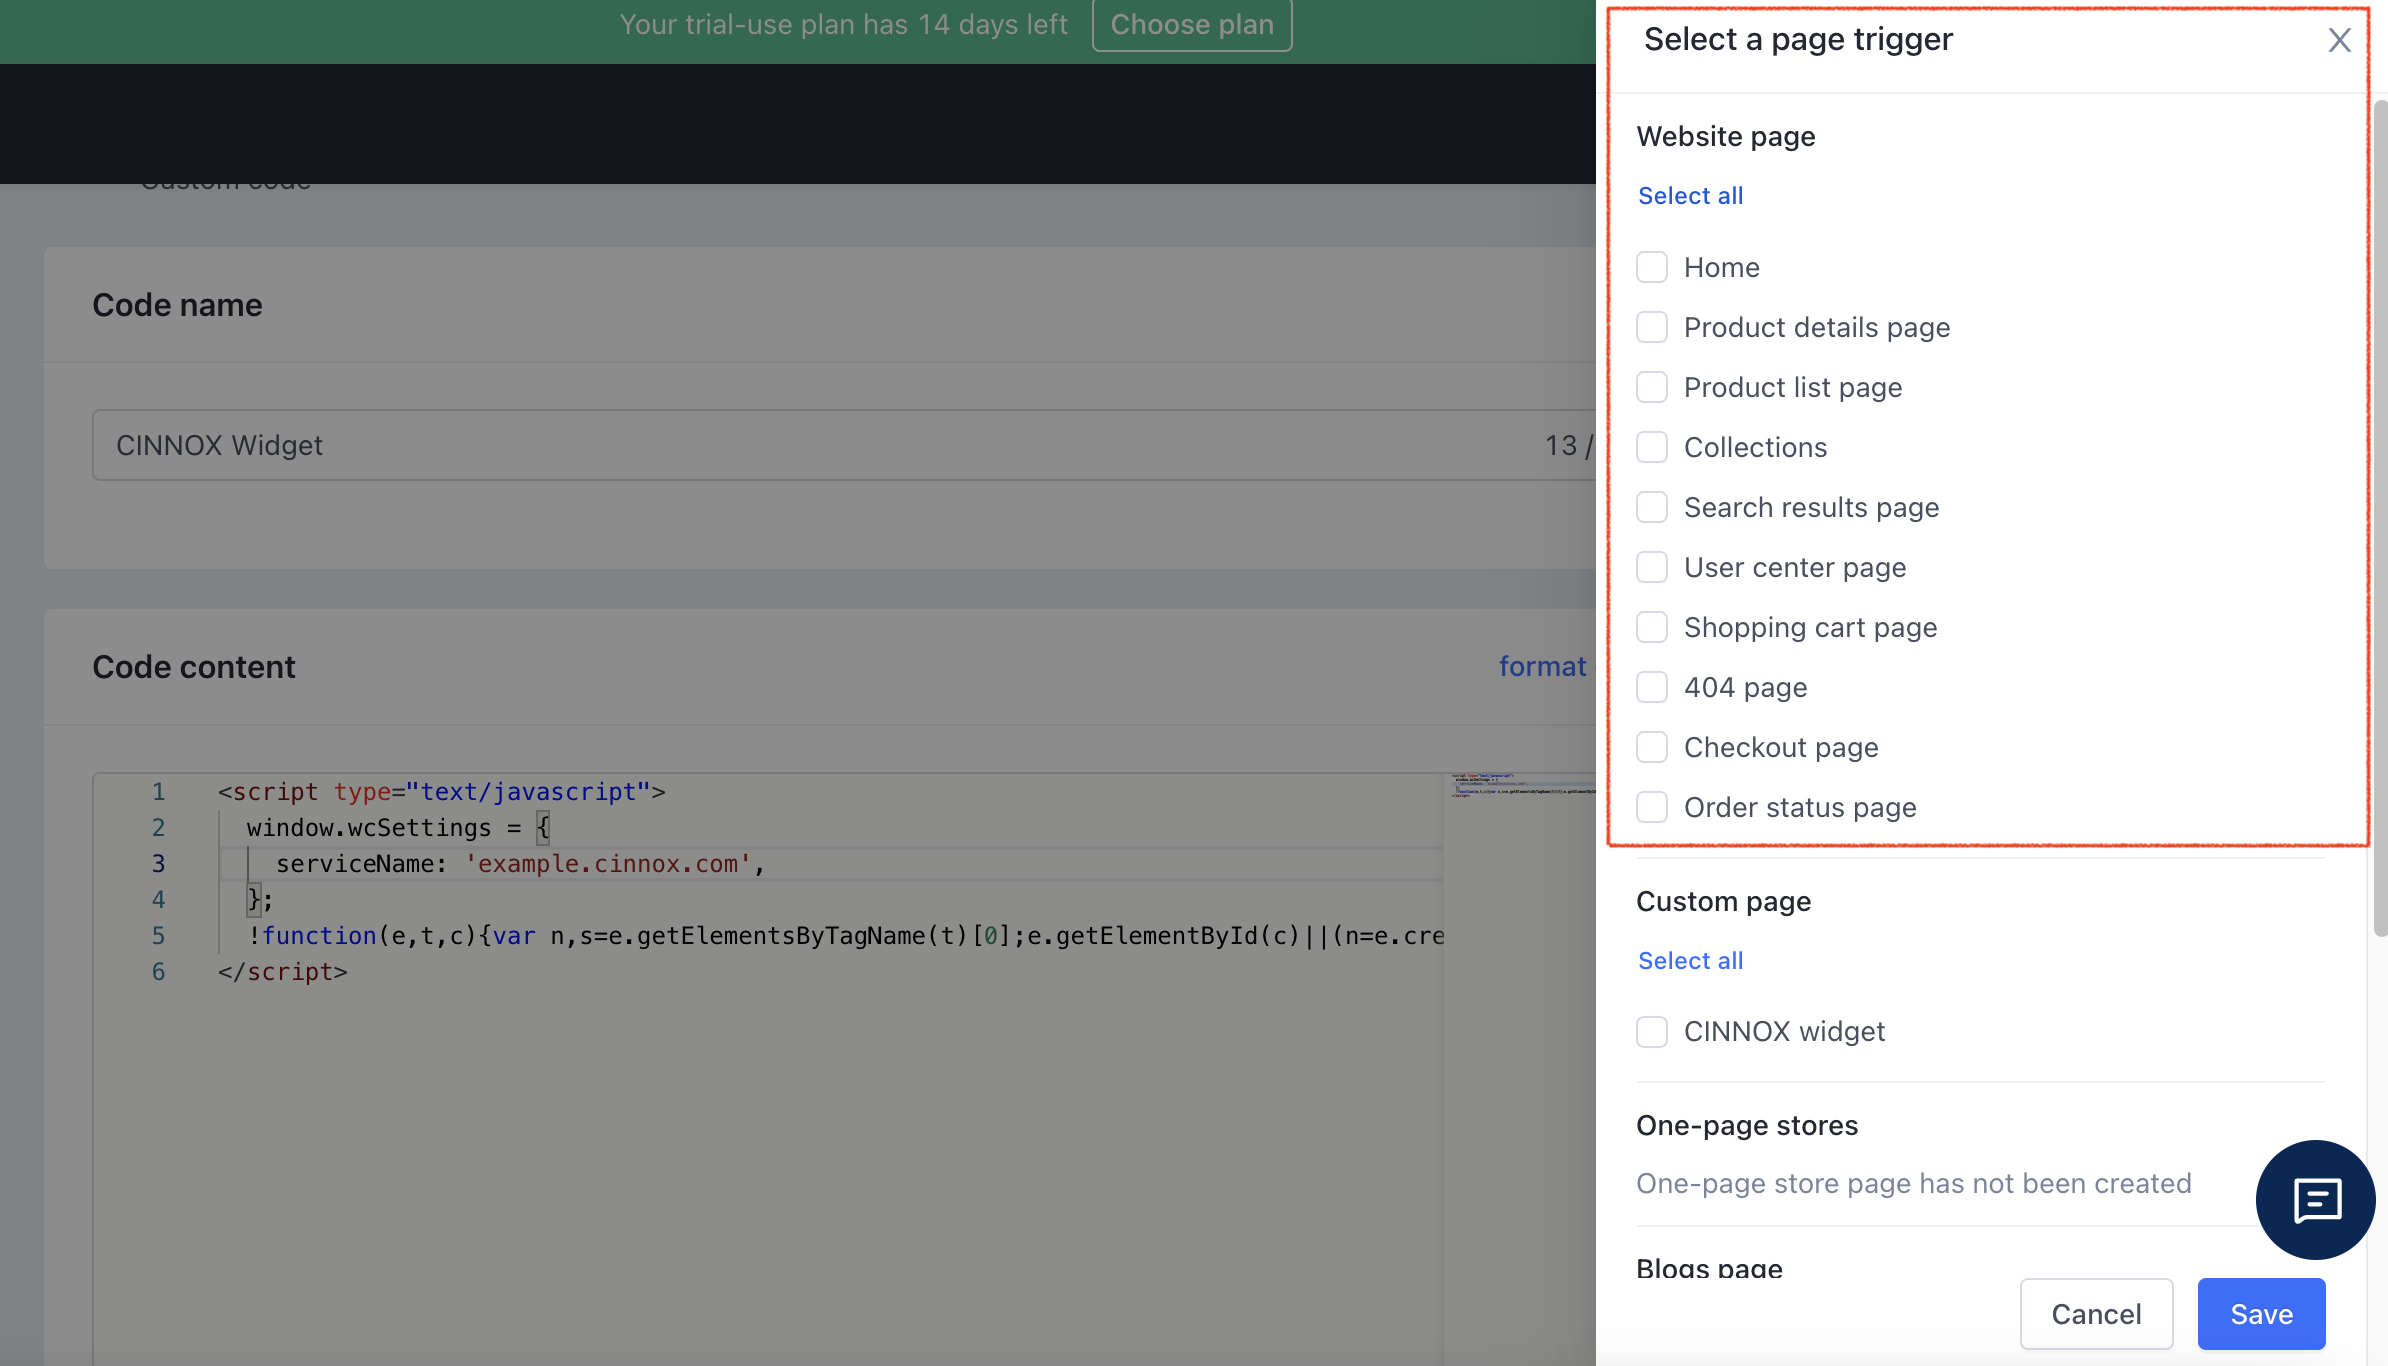
SHOPLINE (Global) Custom Code
- Or you can select all.
SHOPLINE (Global) Custom Code
- Then click on Save.
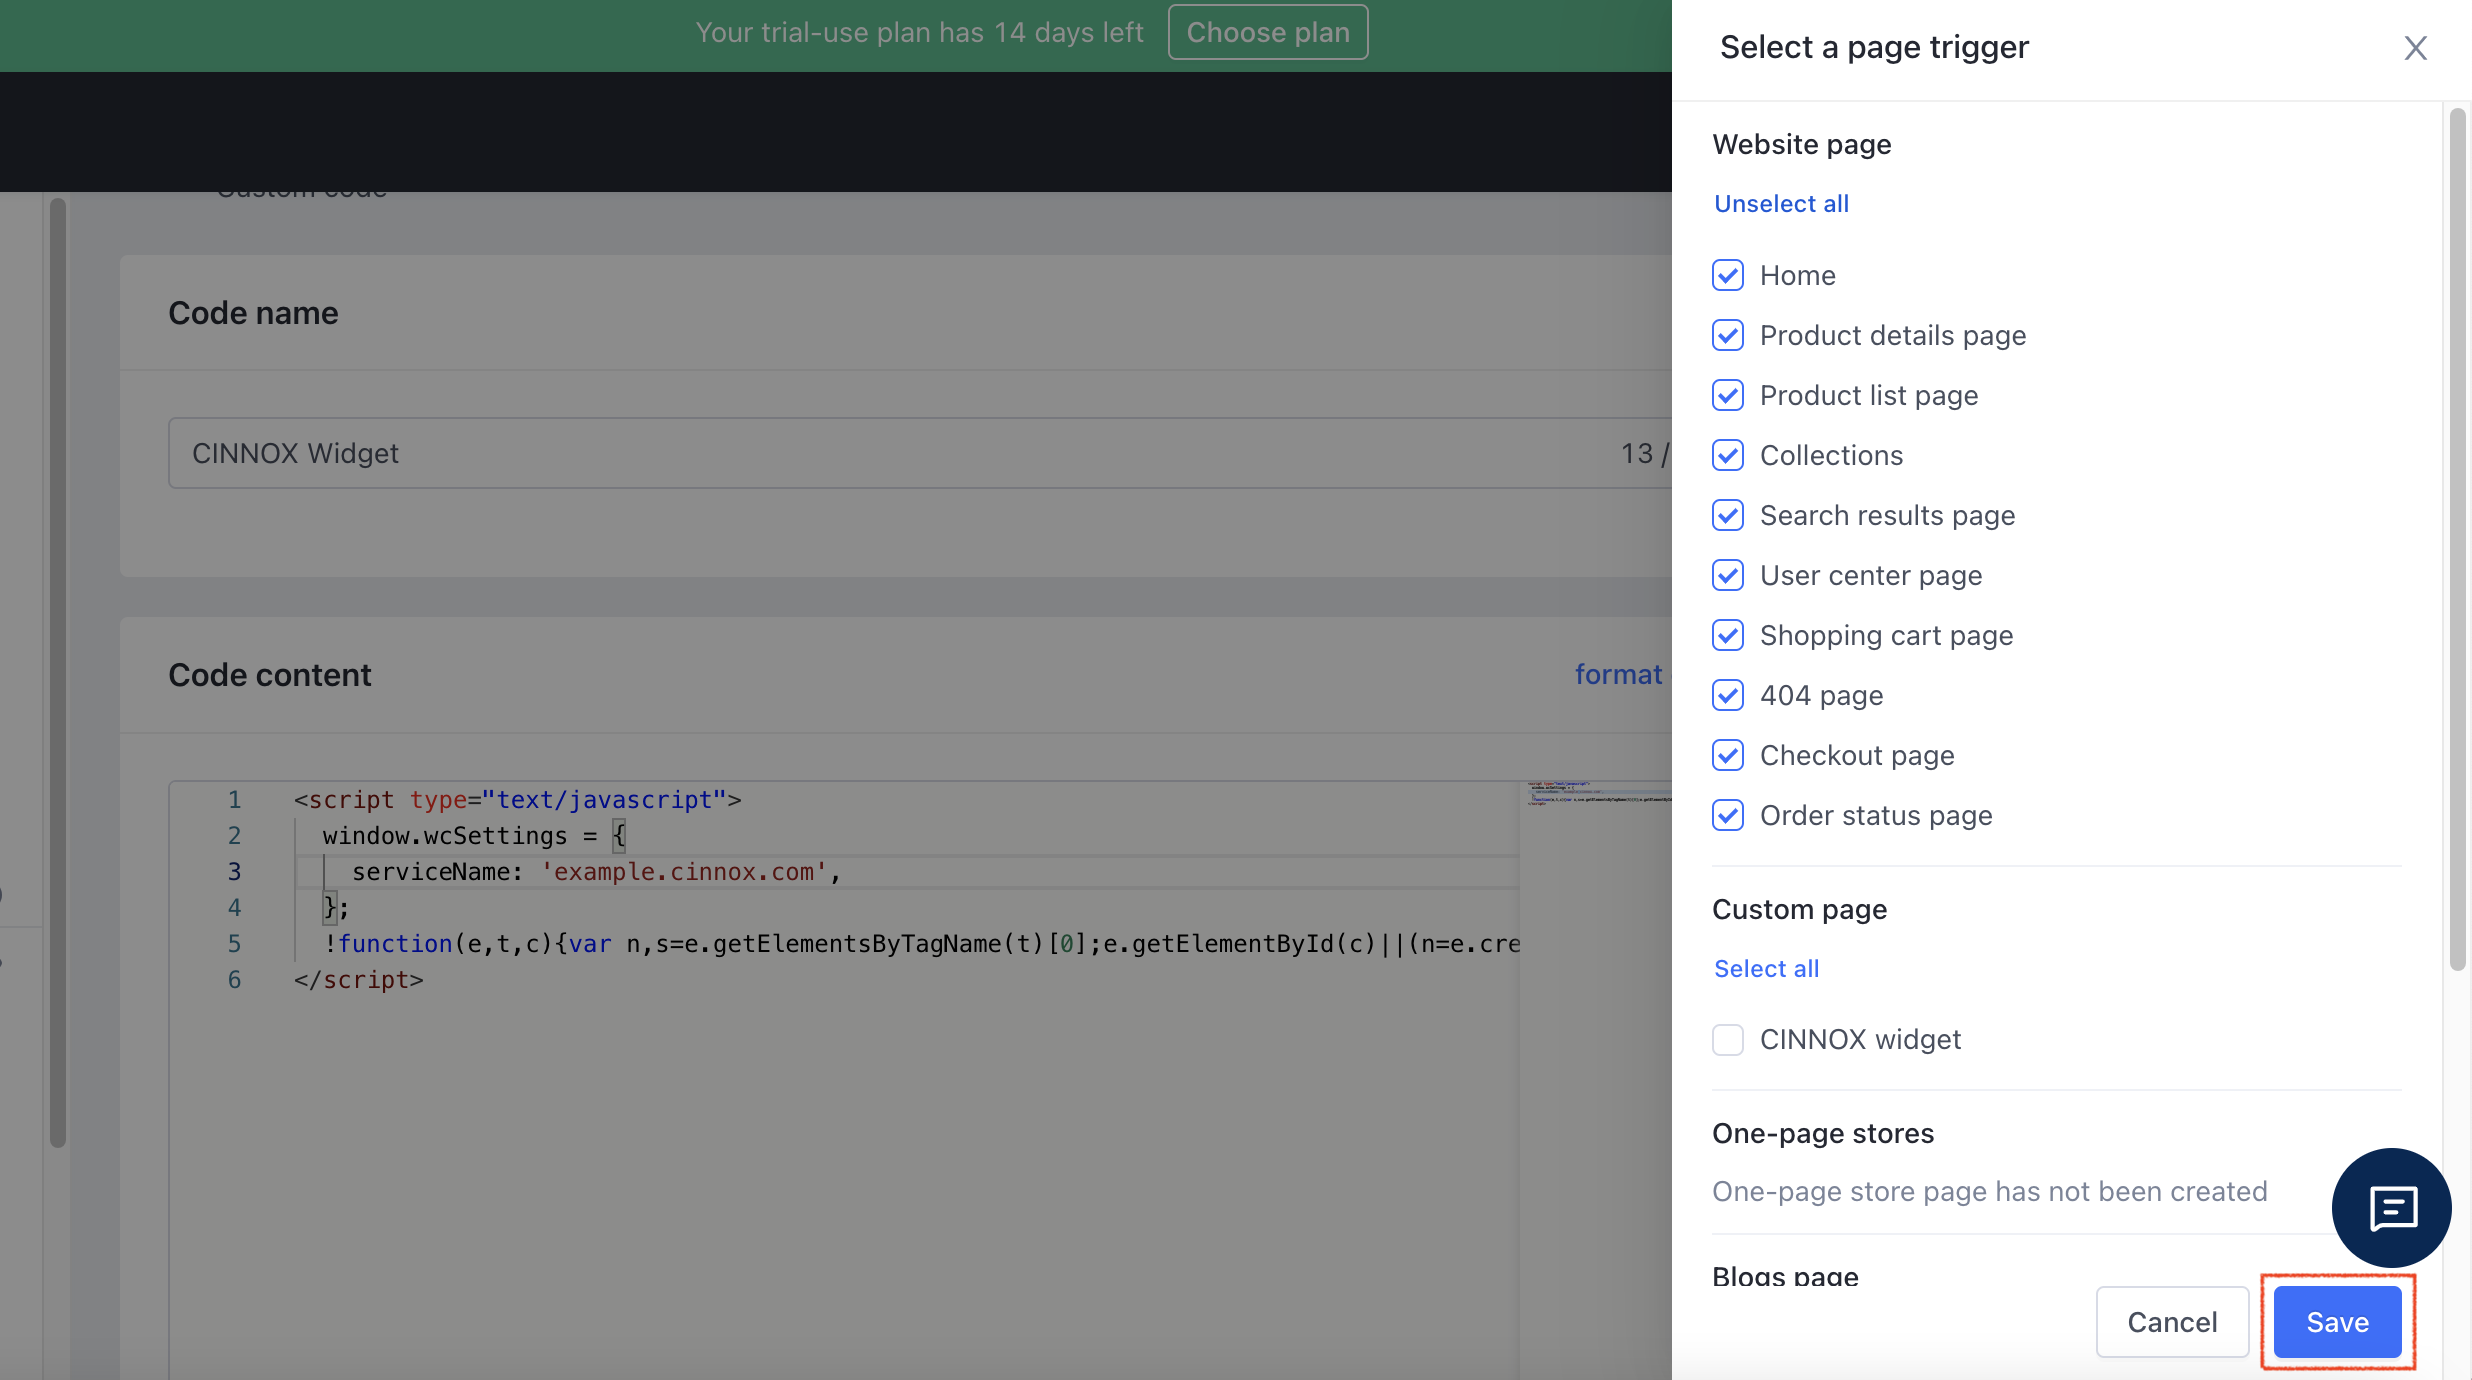
SHOPLINE (Global) Custom Code
- Open your online shop. The CINNOX Widget should appear at the bottom right corner.
SHOPLINE (Global) with CINNOX Widget Code
SHOPLINE (HK)
- Log in to your SHOPLINE (HK) dashboard account.
SHOPLINE (HK) Login Page
📘
When the Two-Factor Authentication is enabled, you will need to enter the 6-digit code sent to your registered email.
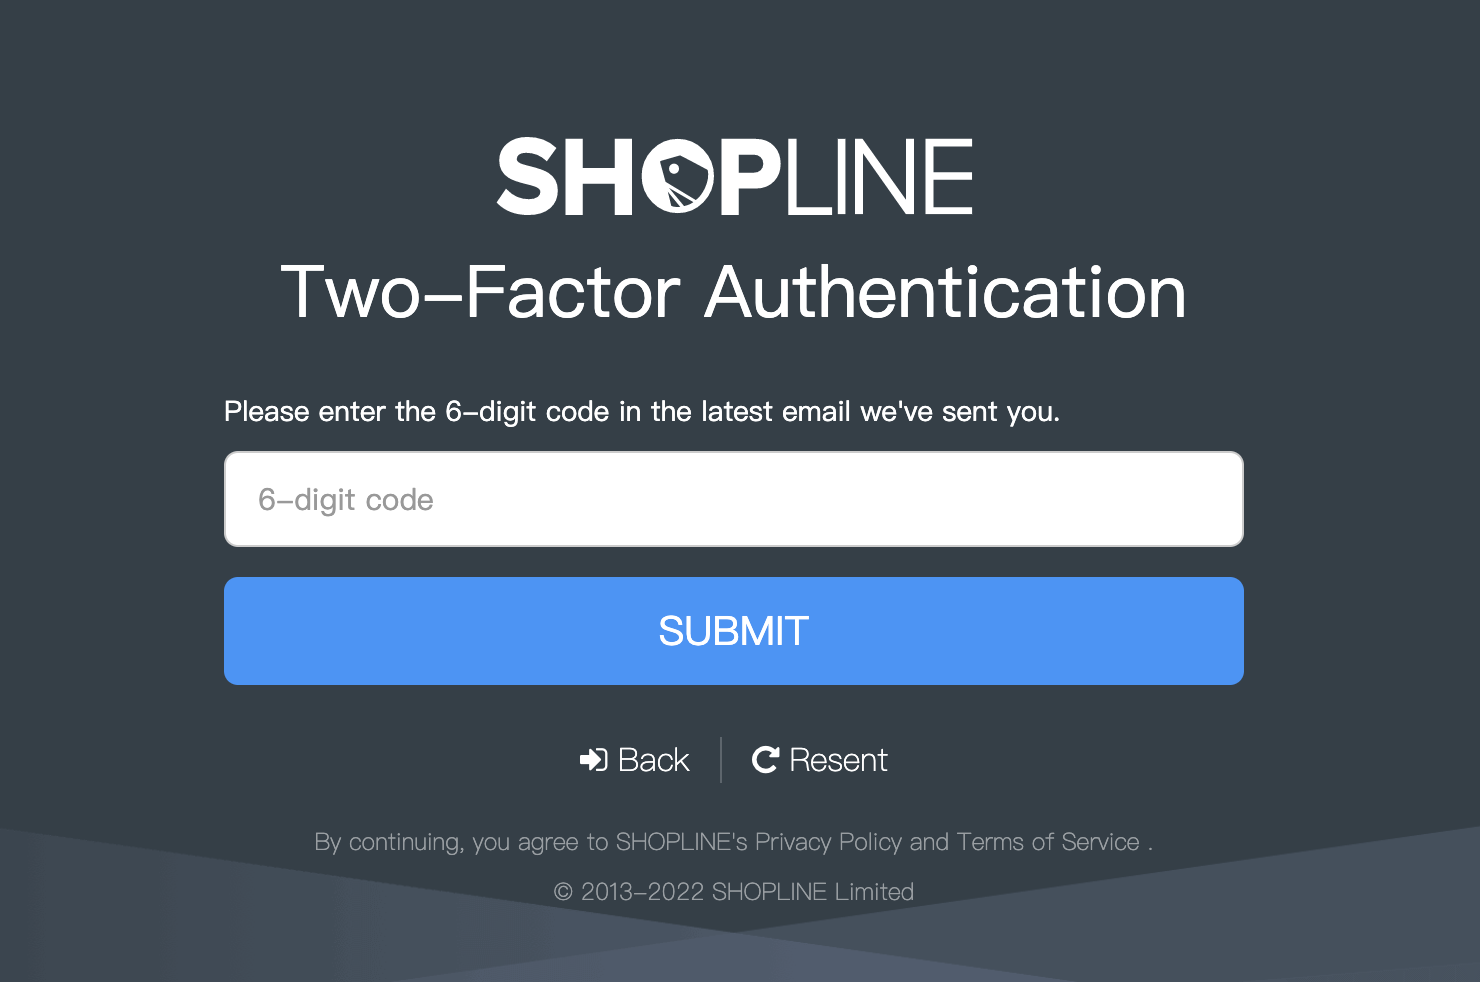
SHOPLINE (HK) 2FA
- On your List of Shops Page, choose a shop name to install the CINNOX widget for the live chat and call, and click Admin.
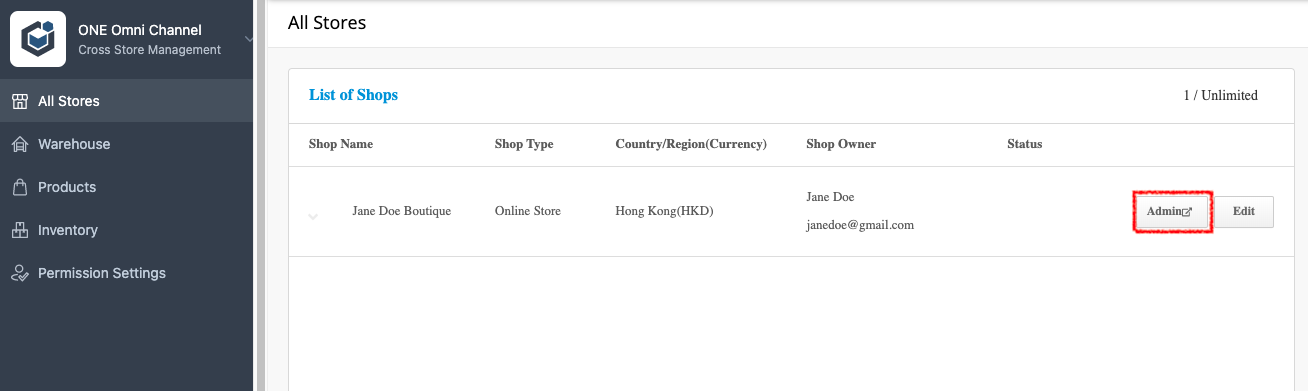
SHOPLINE (HK) All Stores
When you are already on the Admin page,
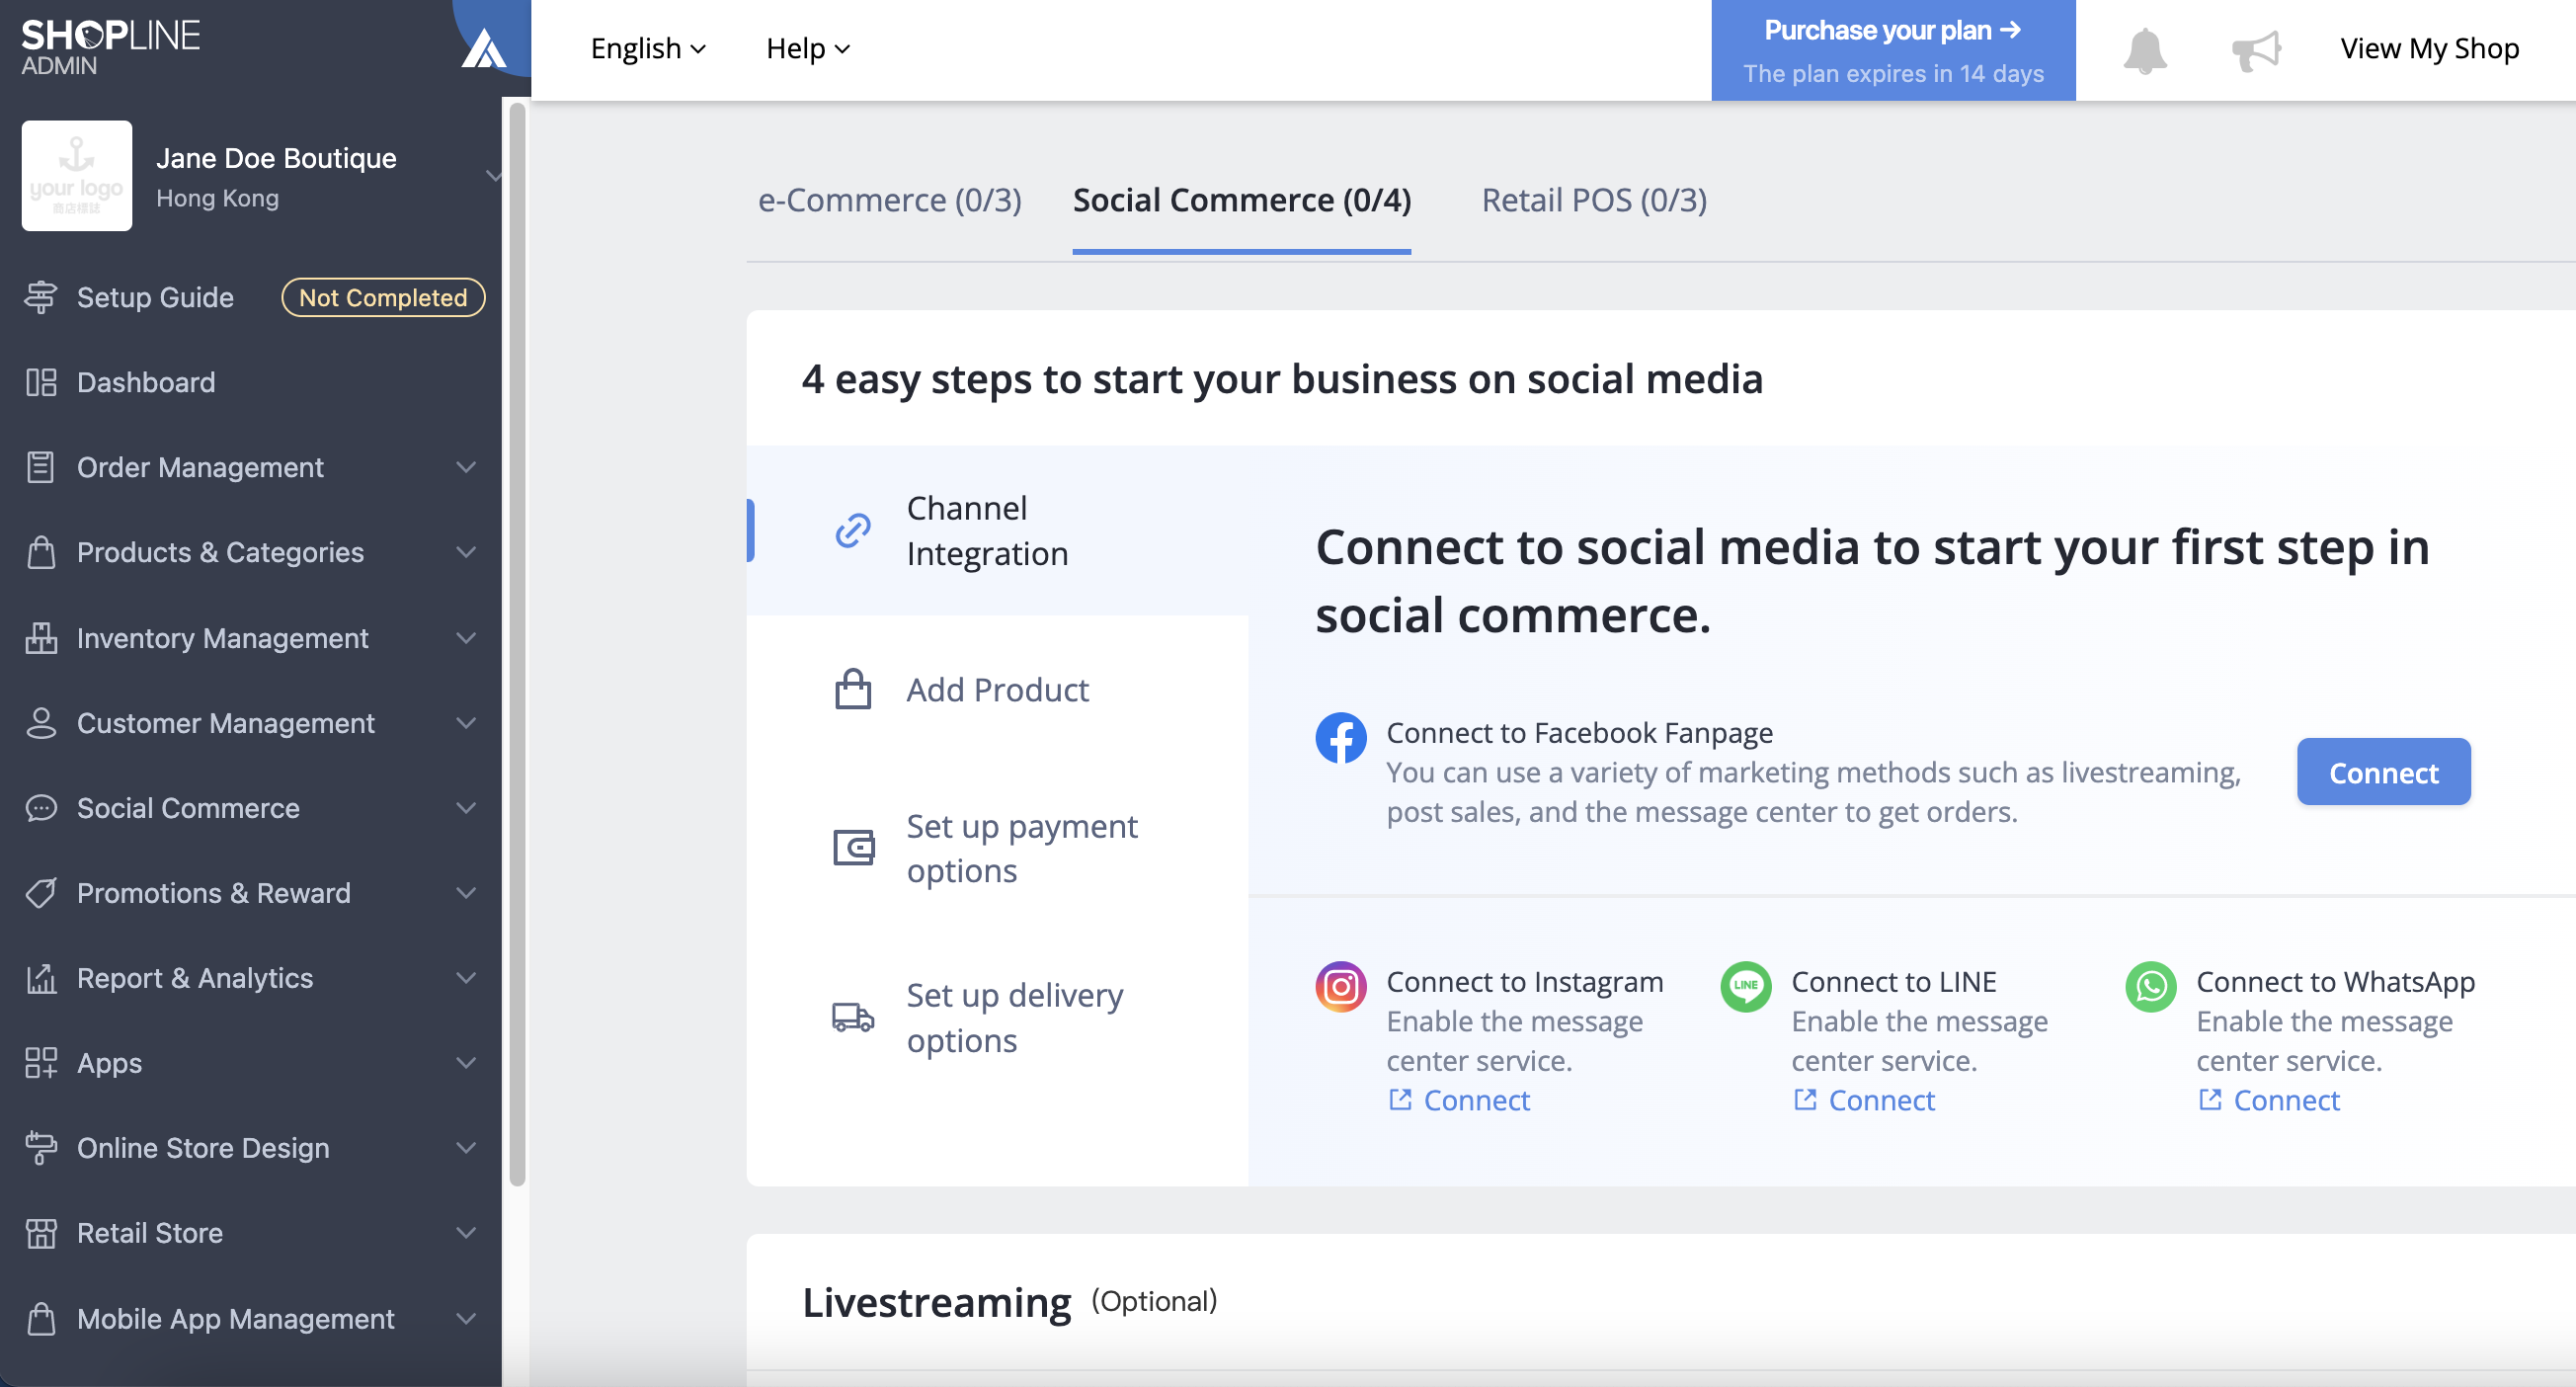
SHOPLINE (HK) Admin page
- Click Online Store Design on the left menu, then select Pages.
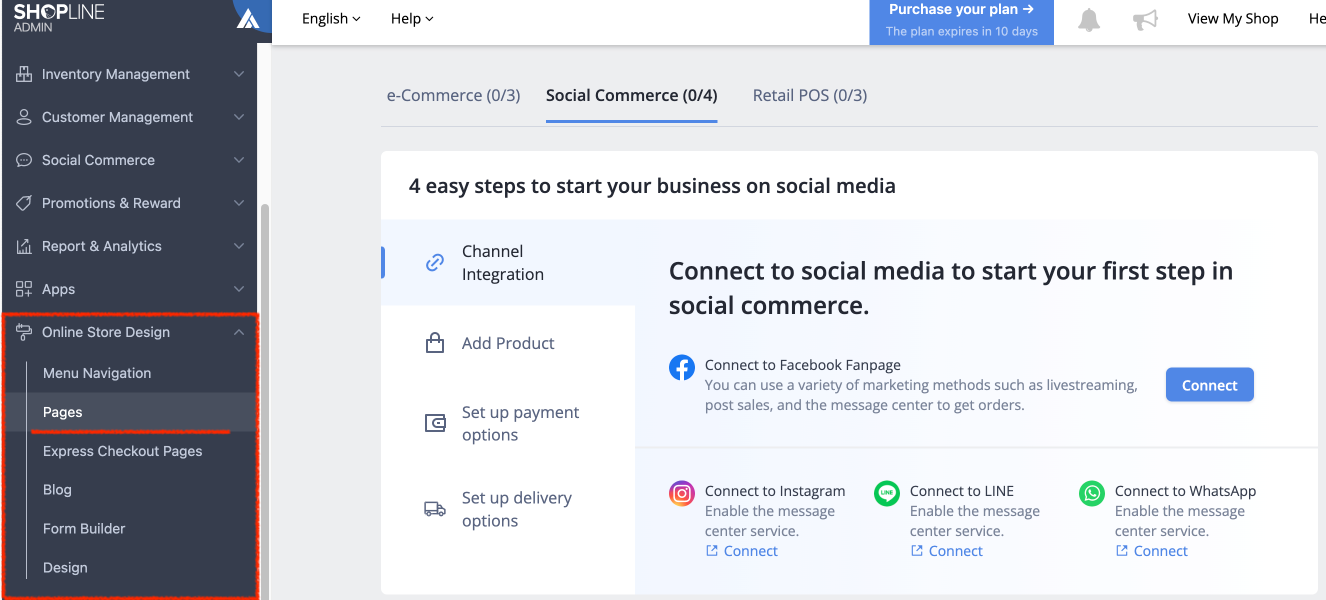
SHOPLINE (HK) Online Store Design
- On the right side of the window, under the Homepage, click + Advanced Page. You will be redirected to the SHOPLINE Page Editor: Support New Page Builder.
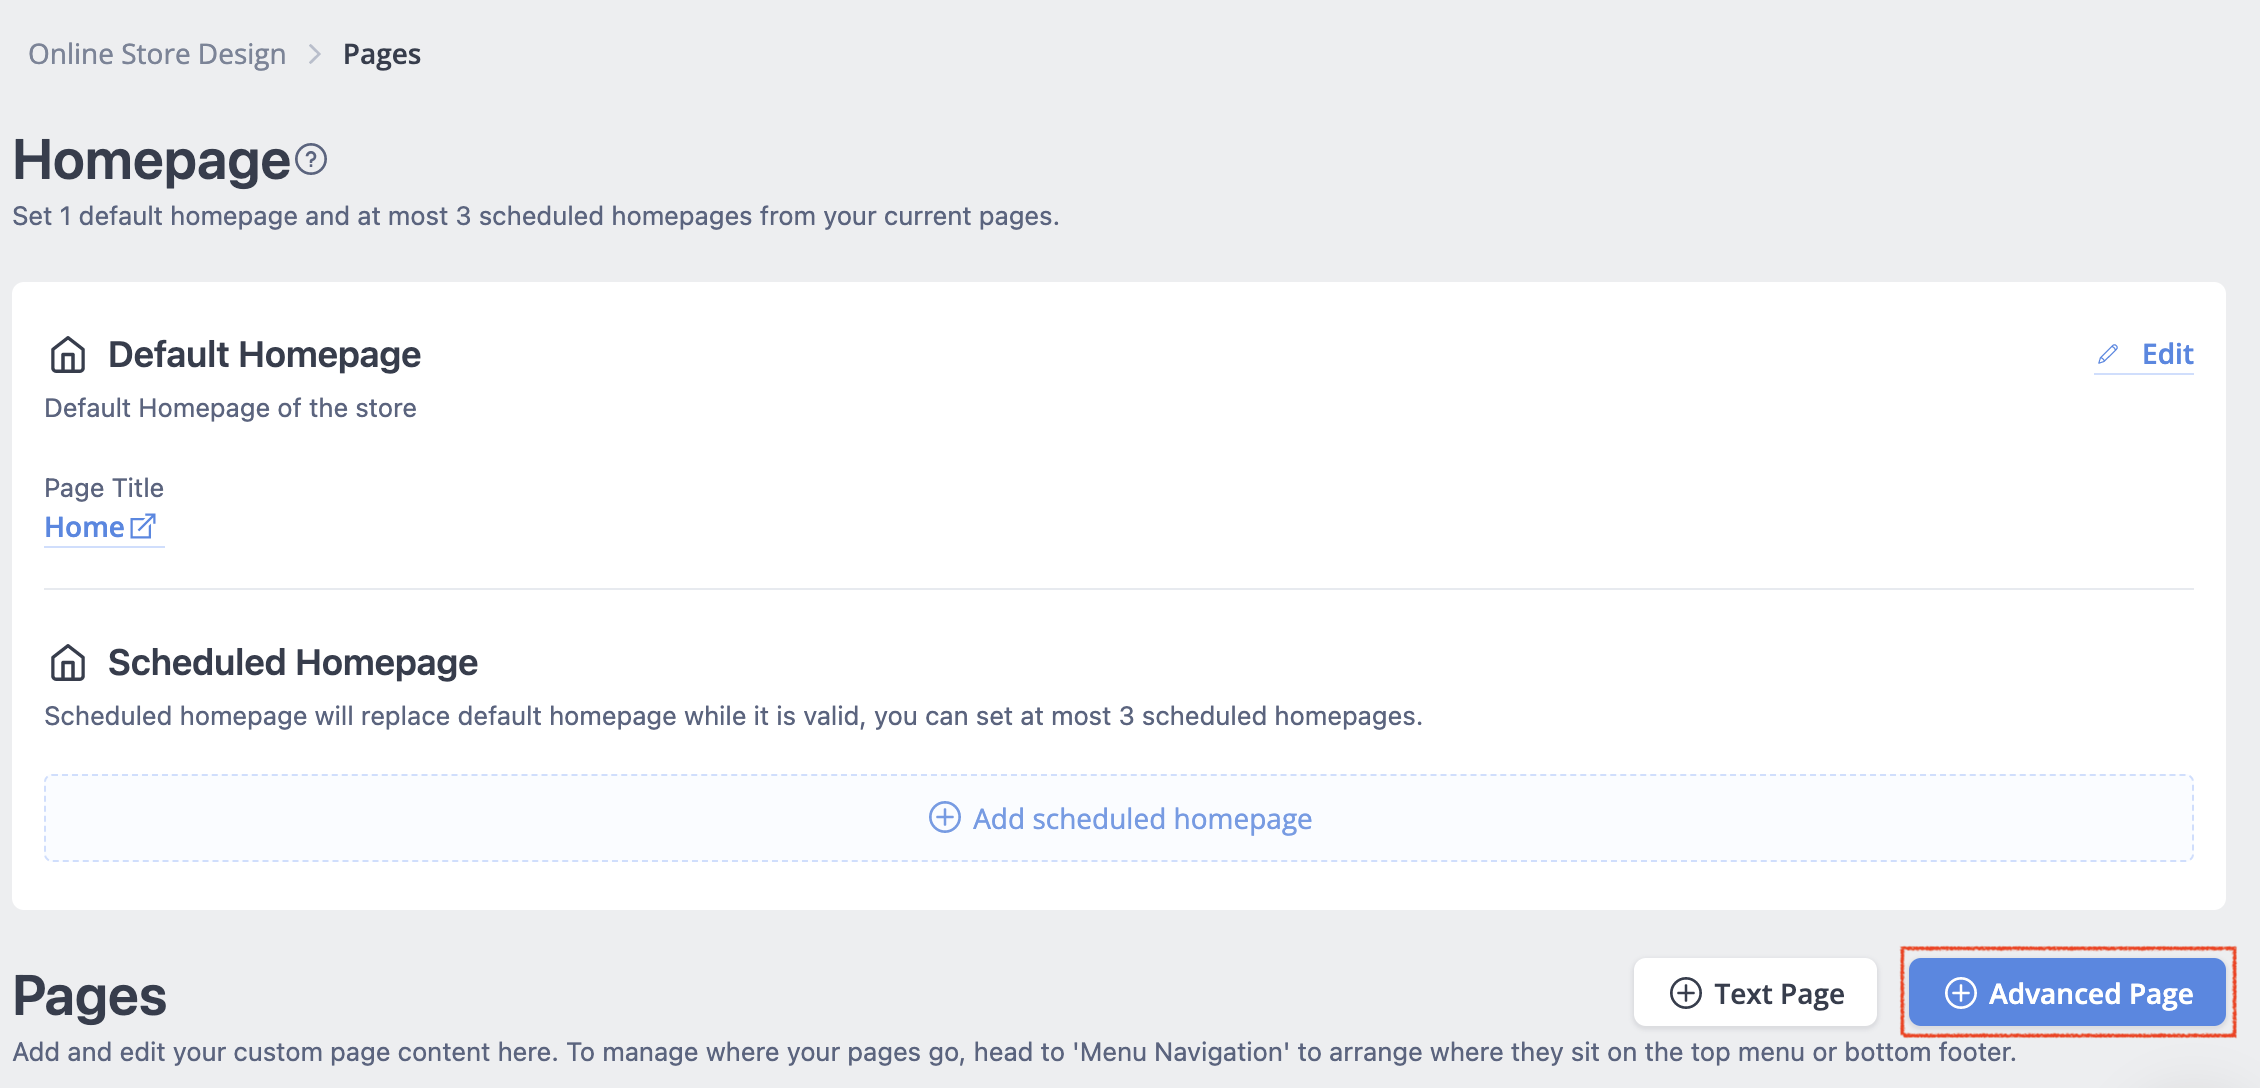
SHOPLINE (HK) Home + Advanced Page
- On the left side menu, click + Widget.
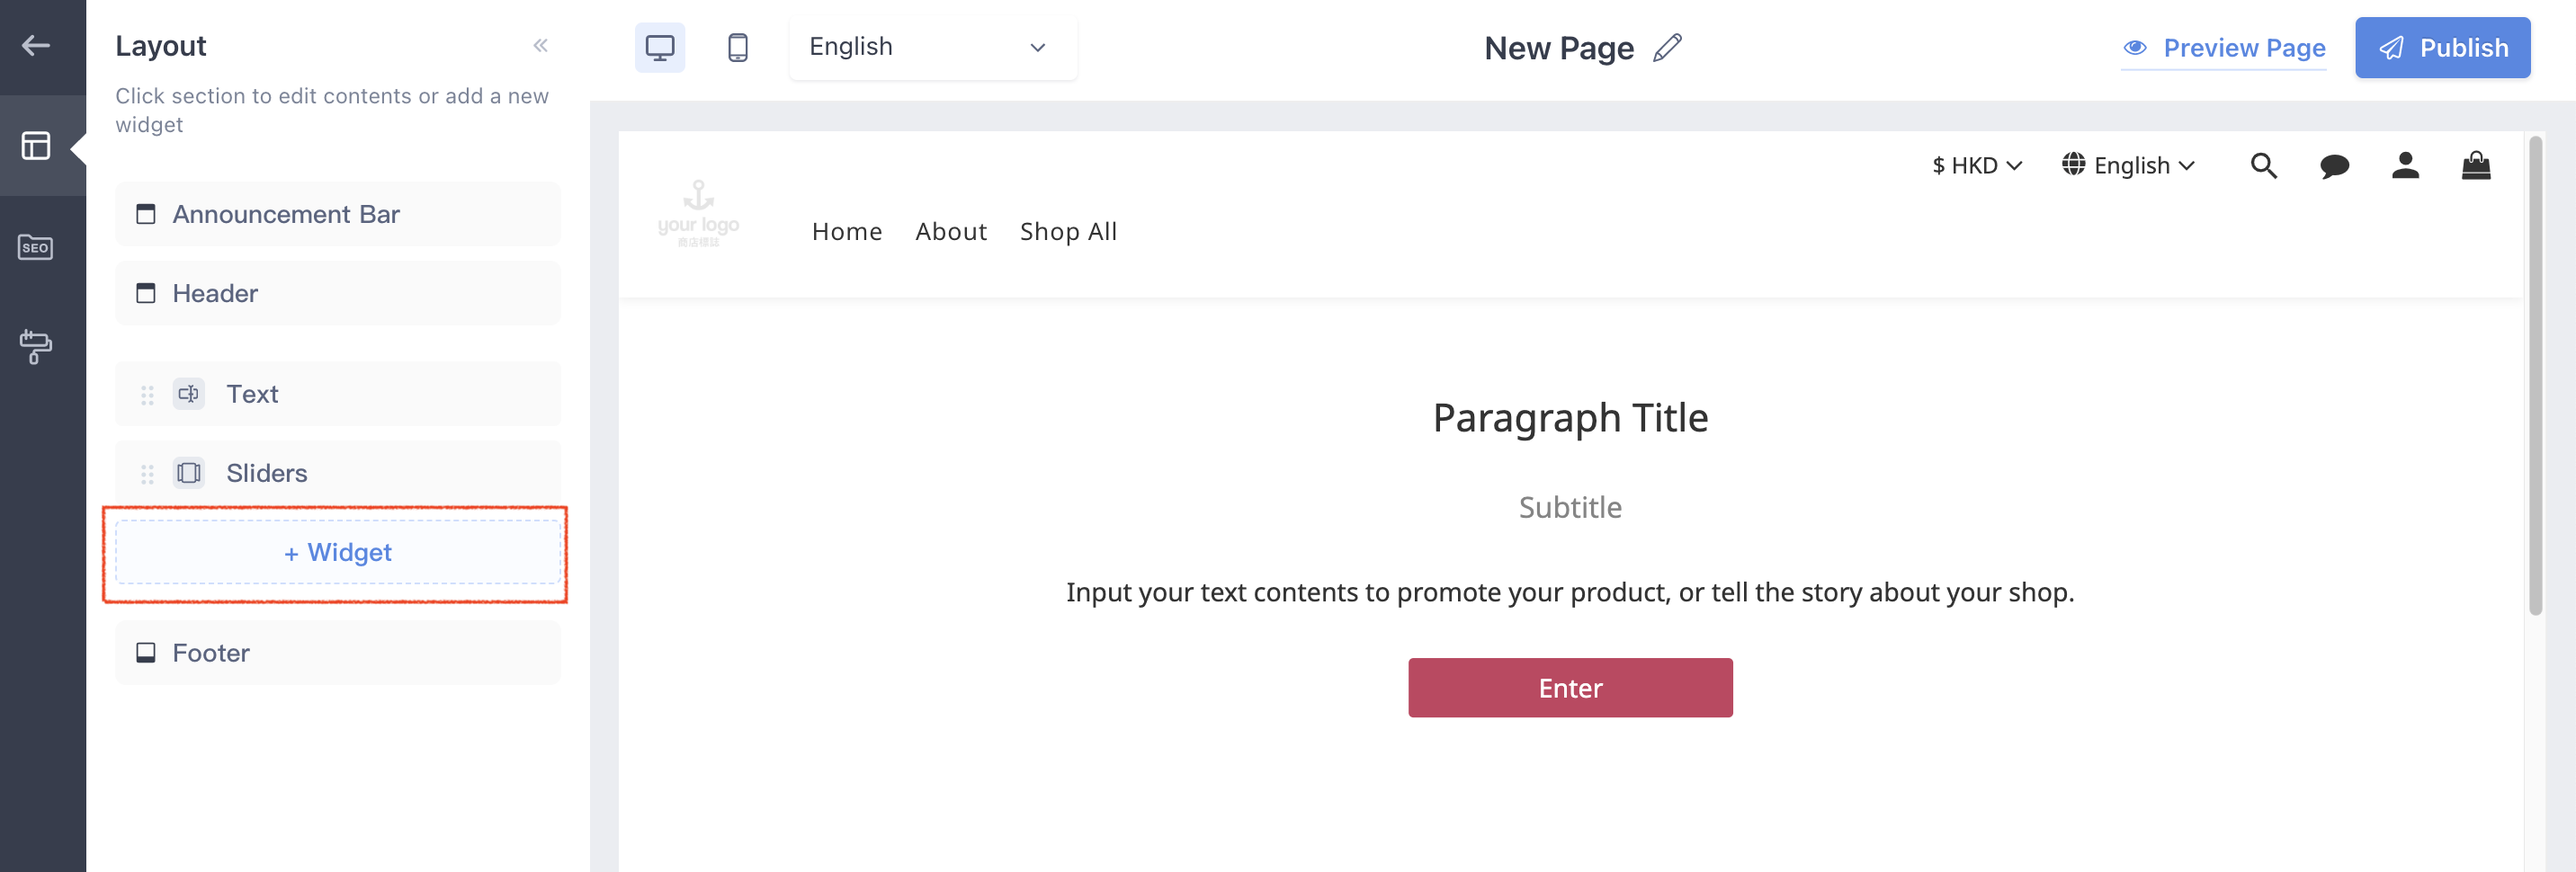
SHOPLINE (HK) + Advanced Page + Widget
- Select Custom liquid.
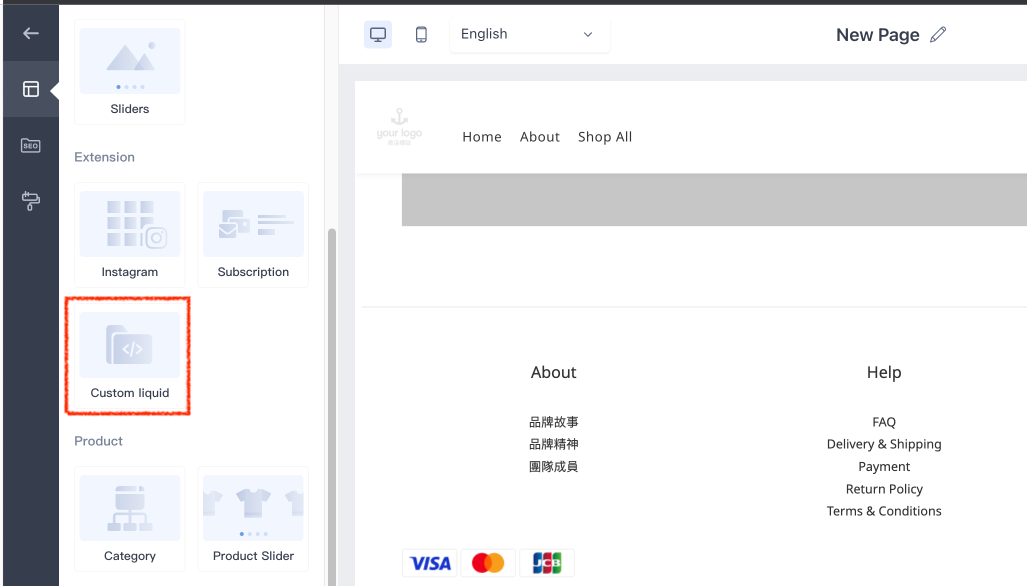
SHOPLINE (HK) + Advanced Page + Custom Liquid
- Log in to your CINNOX Web Dashboard.

CINNOX Login Page
- Navigate to Administration > Widget > Installation. From the Widget Installation > Web Widget, click on Copy.

CINNOX Admin > Widget > Installation
- Back on your SHOPLINE, Customer Liquid, and paste your CINNOX Widget code.
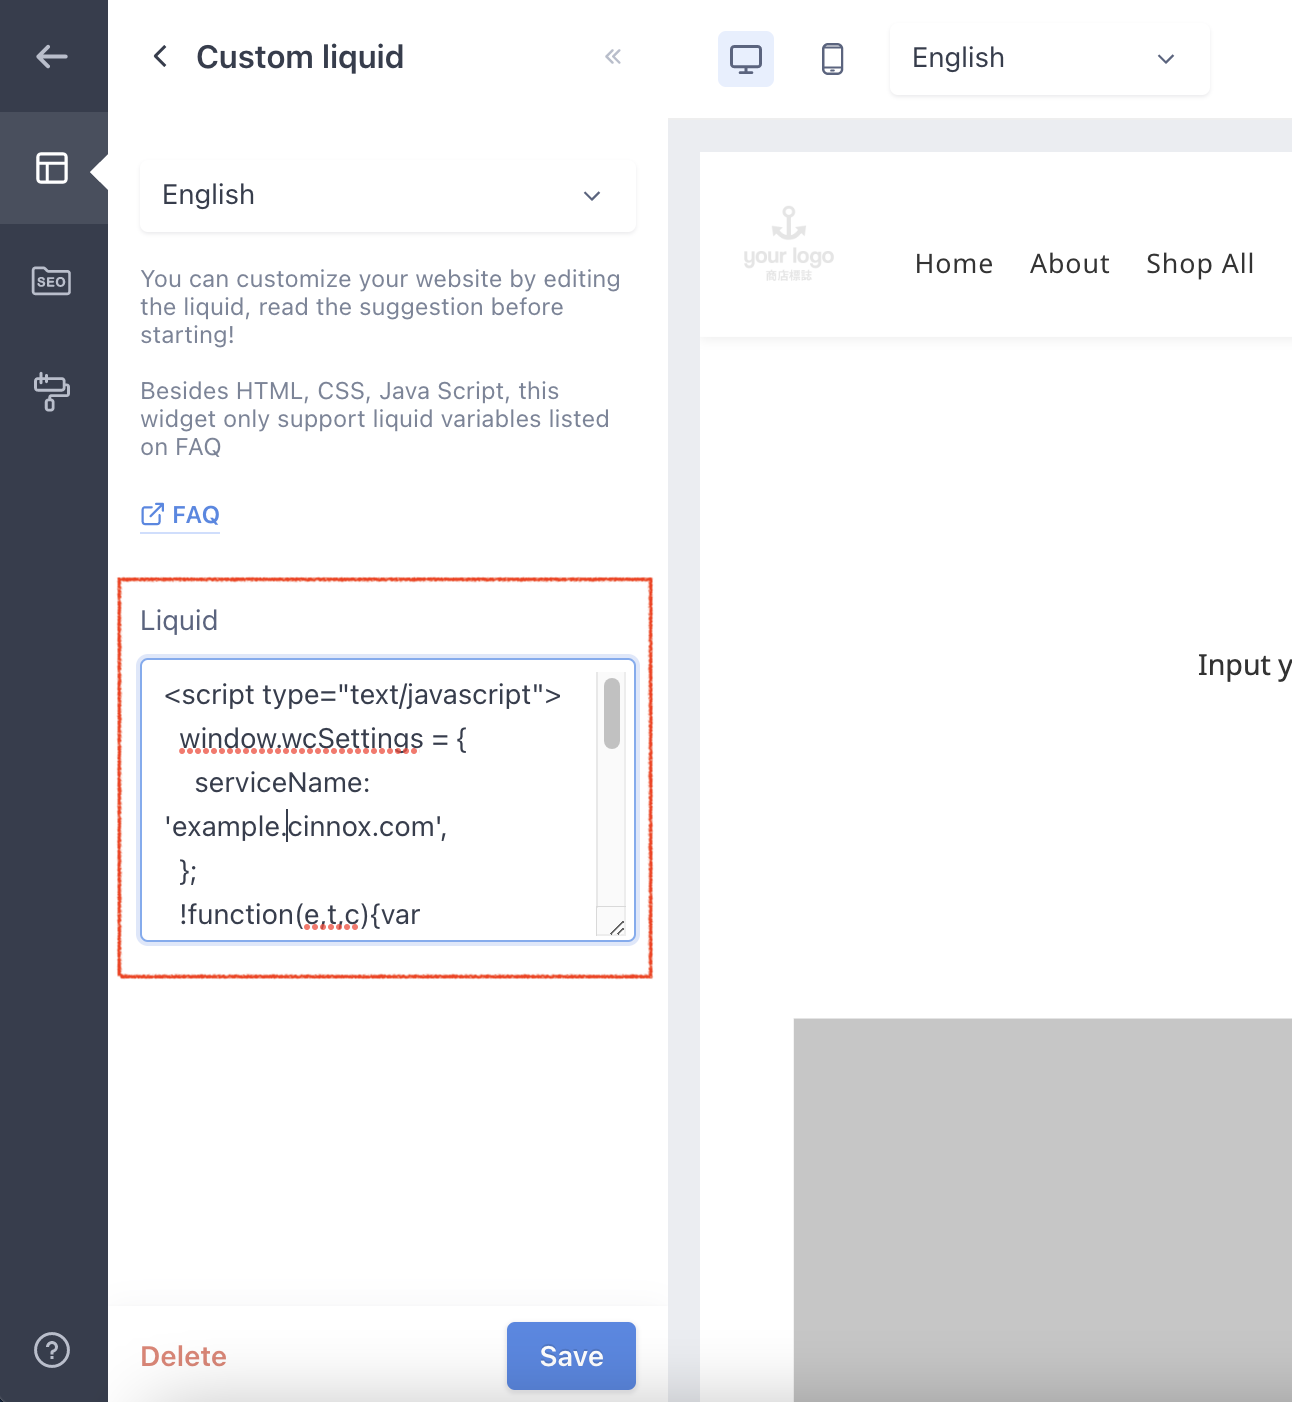
SHOPLINE (HK) + Advanced Page + Custom Liquid
- Click on Save, at the bottom corner of the page.
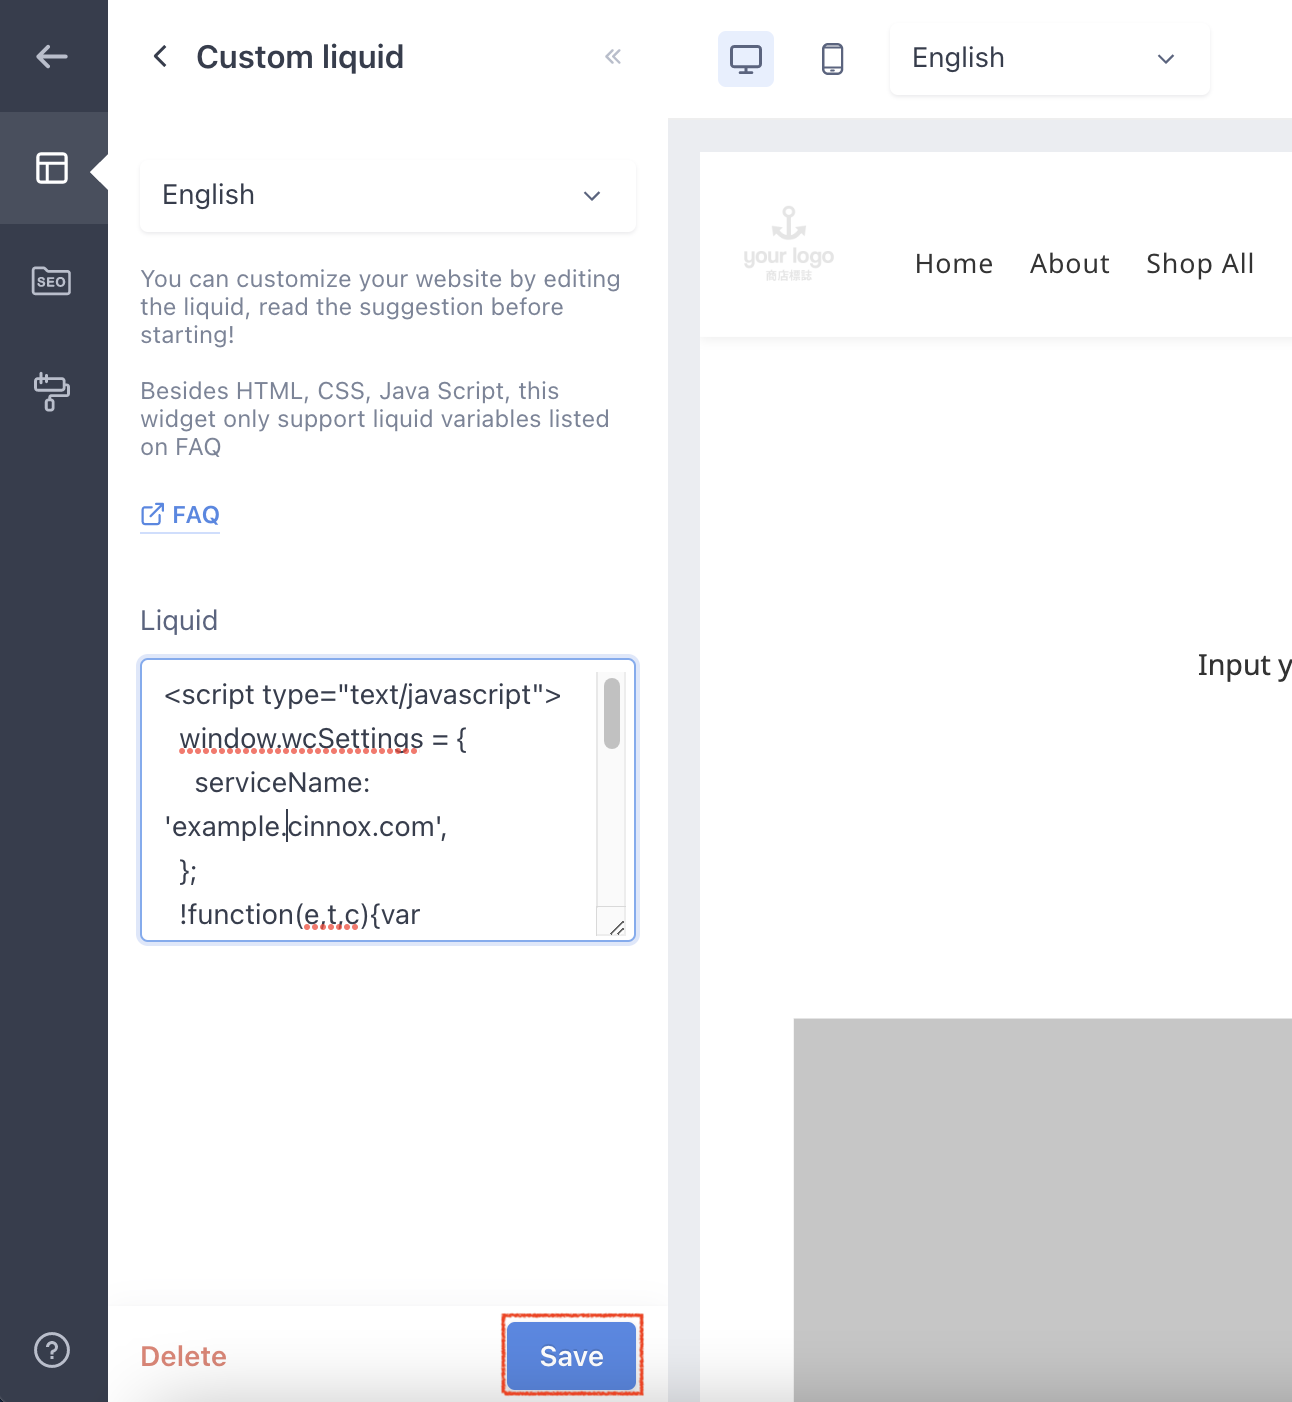
SHOPLINE (HK) + Advanced Page + Custom Liquid
- Click on Publish, at the top right corner of the page. The CINNOX Widget should appear on your page.
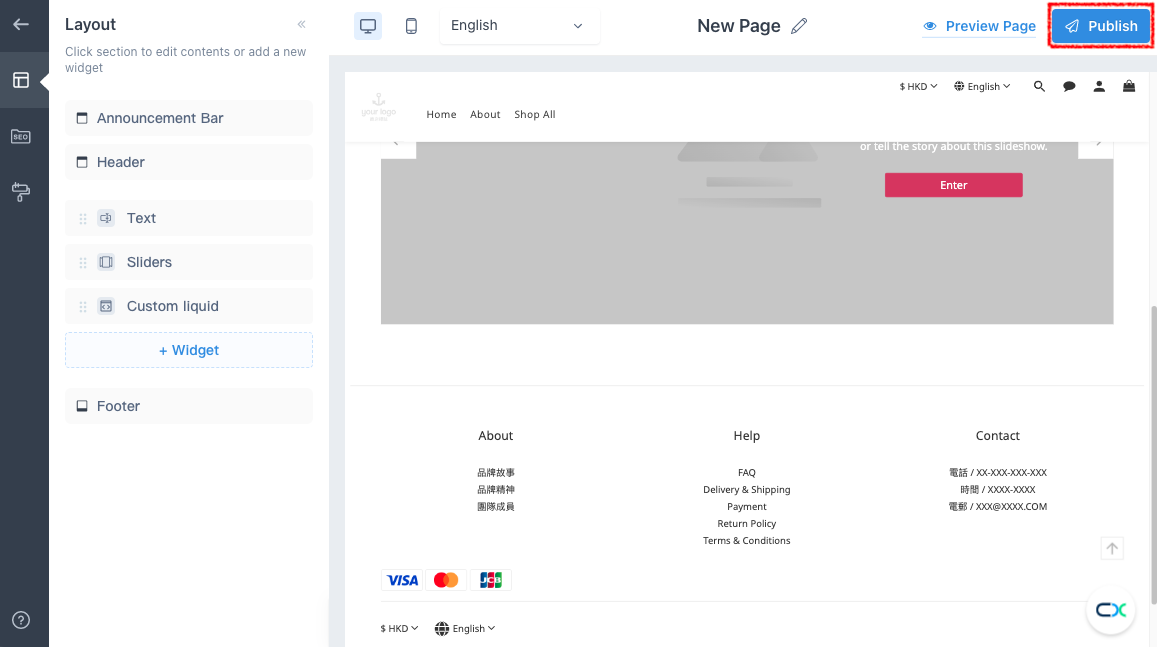
SHOPLINE (HK) + Advanced Page + Custom Liquid
- Open your online shop. The CINNOX Widget should appear at the bottom right corner.
SHOPLINE (HK) with CINNOX Widget
From now on, your visitors can reach out to you through live chat and call on your SHOPLINE online shop.
📘
For more information on configuring your CINNOX widget, refer to this Guide's Customising Your Widget section.
📘
To know how to change the widget position from right to left, refer to this Guide's Dynamic Change of Installed Widget section.