HubSpot CMS Hub
Need Omnichannel Live Chat Support for your HubSpot website?
CINNOX offers an omnichannel solution that seamlessly integrates with HubSpot CMS Hub. Engage with your website visitors in real time through live chat, providing instant support and boosting customer satisfaction. With CINNOX, you can effortlessly handle customer enquiries across various channels and devices, including social media, email, and calls. Simplify your customer service with CINNOX's omnichannel solution today.
HubSpot is a CRM platform that connects everything scaling companies need to deliver a best-in-class customer experience in one place. The crafted, not cobbled, solution helps teams grow with tools that are powerful alone but better together.
HubSpot - CMS Hub - Content management software that’s flexible for marketers, powerful for developers, and gives customers a personalised, secure experience.
For more details, go to www.hubspot.com.
CINNOX Live Chat and Call in Hubspot CMS
Here are the steps to follow when adding the CINNOX web widget on your Hubspot Blog or Pages:
- Log in to your Hubspot dashboard account.
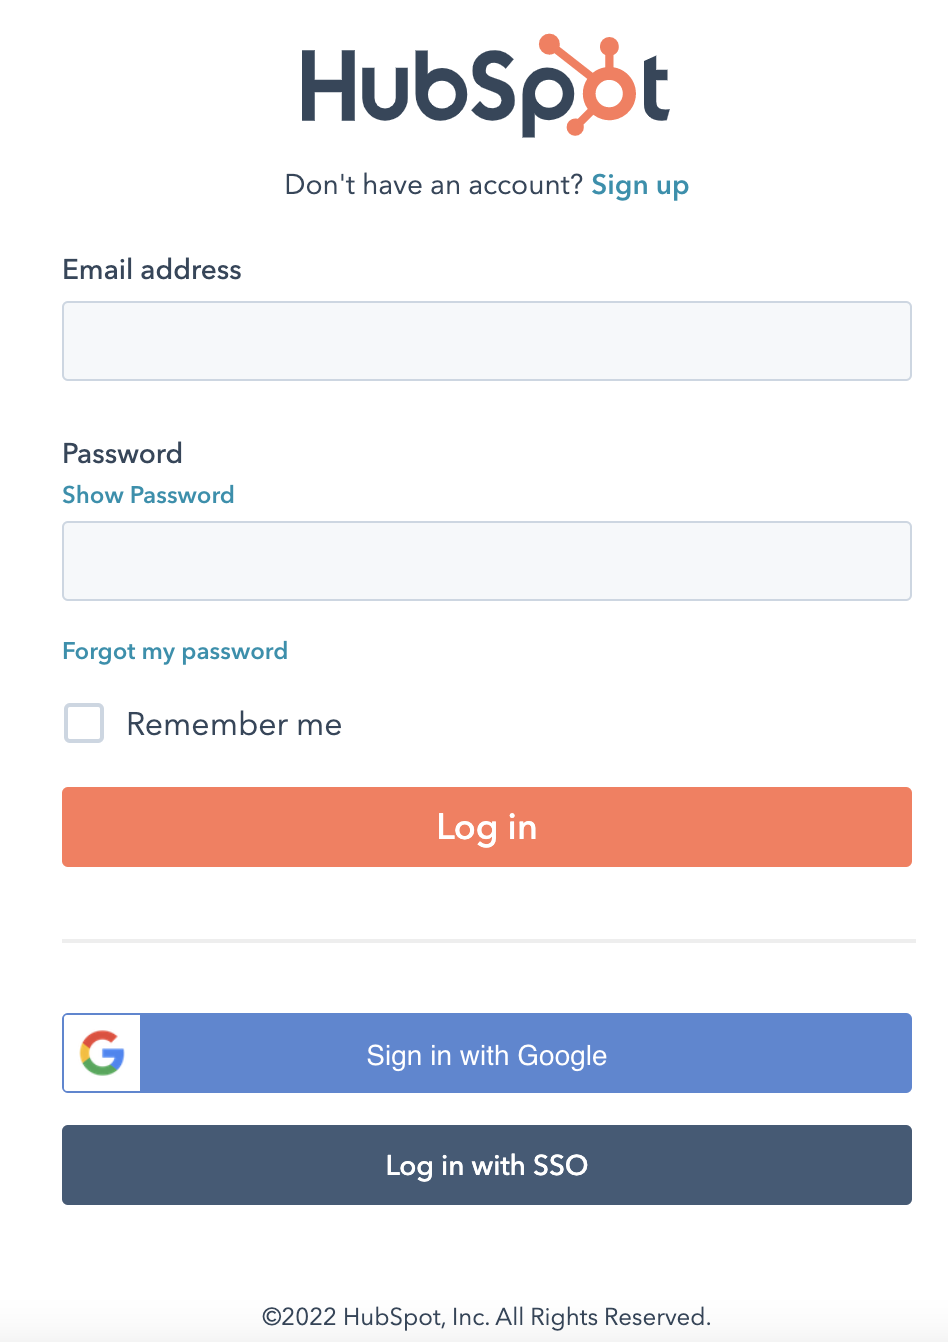
HubSpot Login
- Click the Settings icon in the top right corner of your dashboard page.
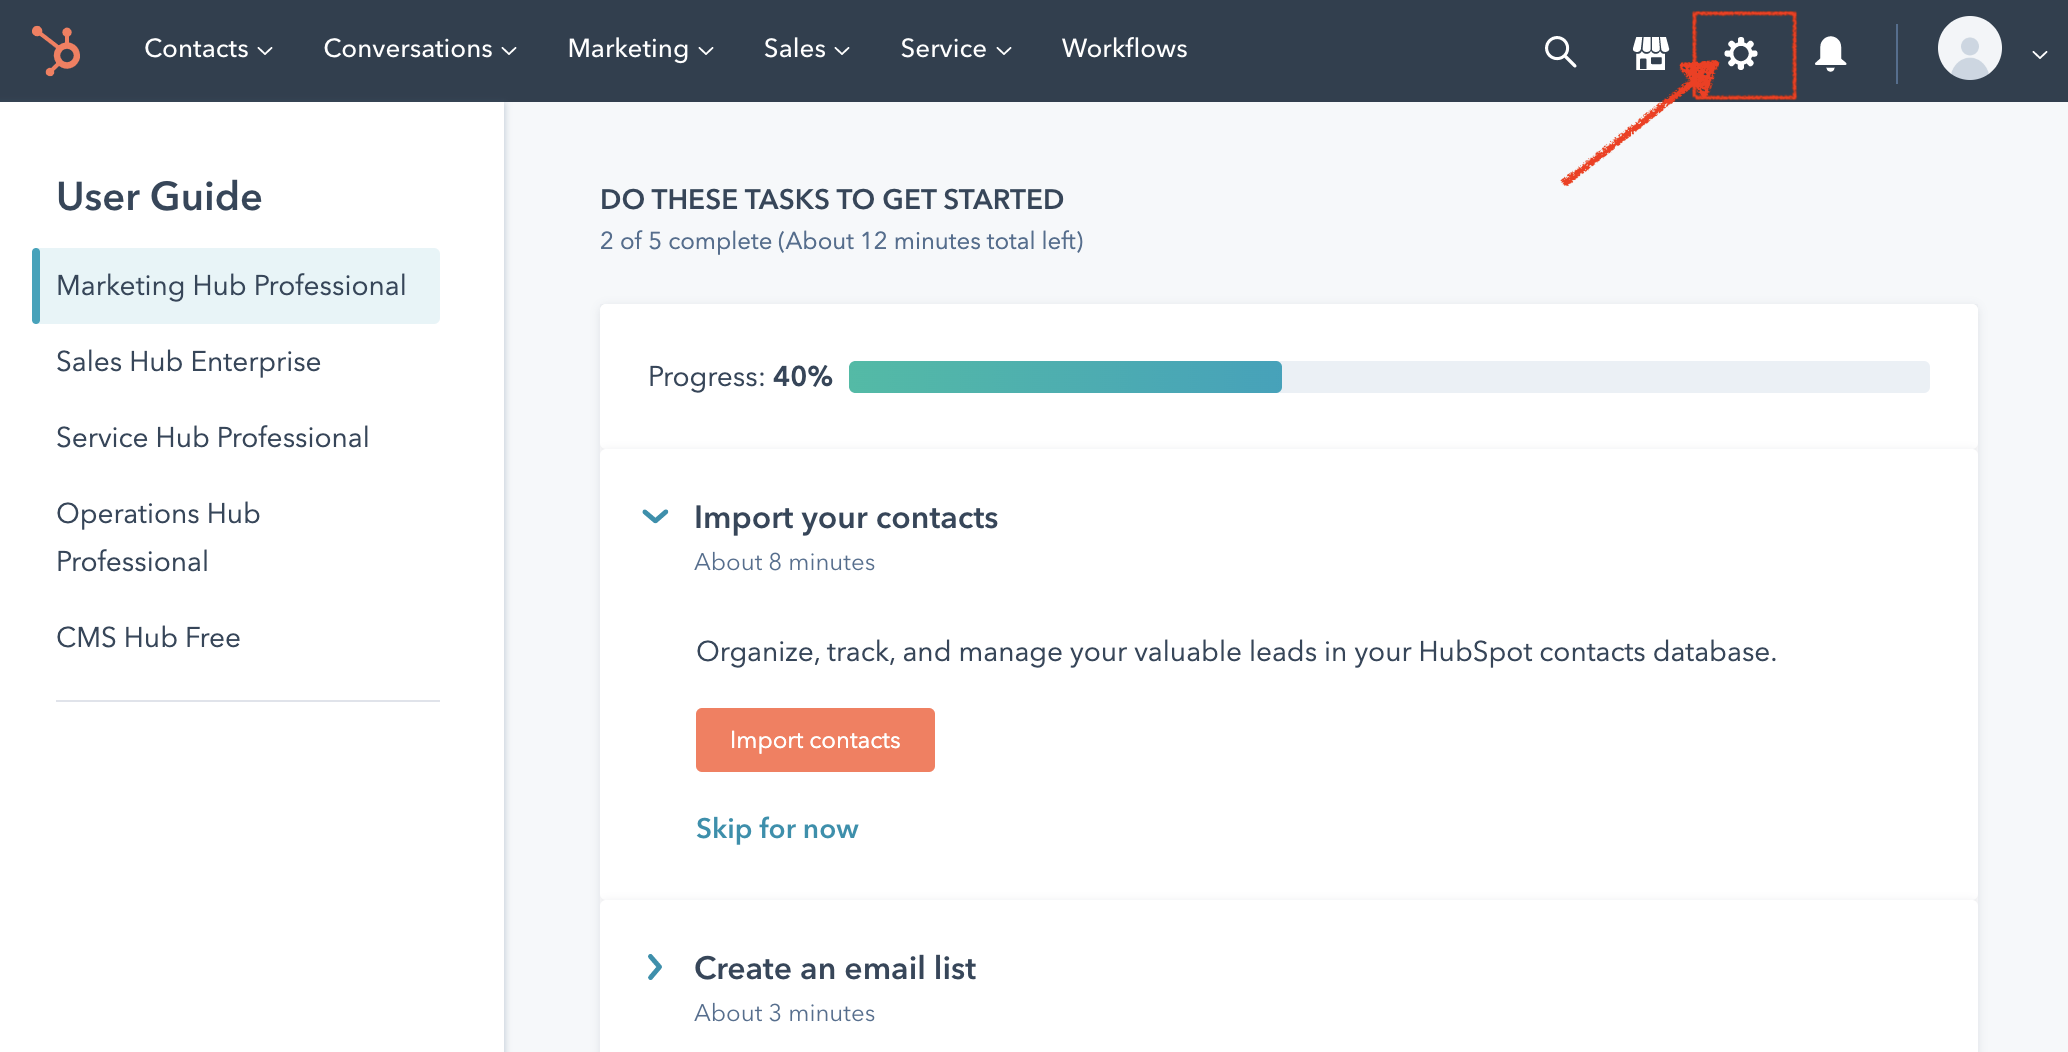
- On the left side menu under Tools > Website, select between Blog or Pages to add the CINNOX widget.
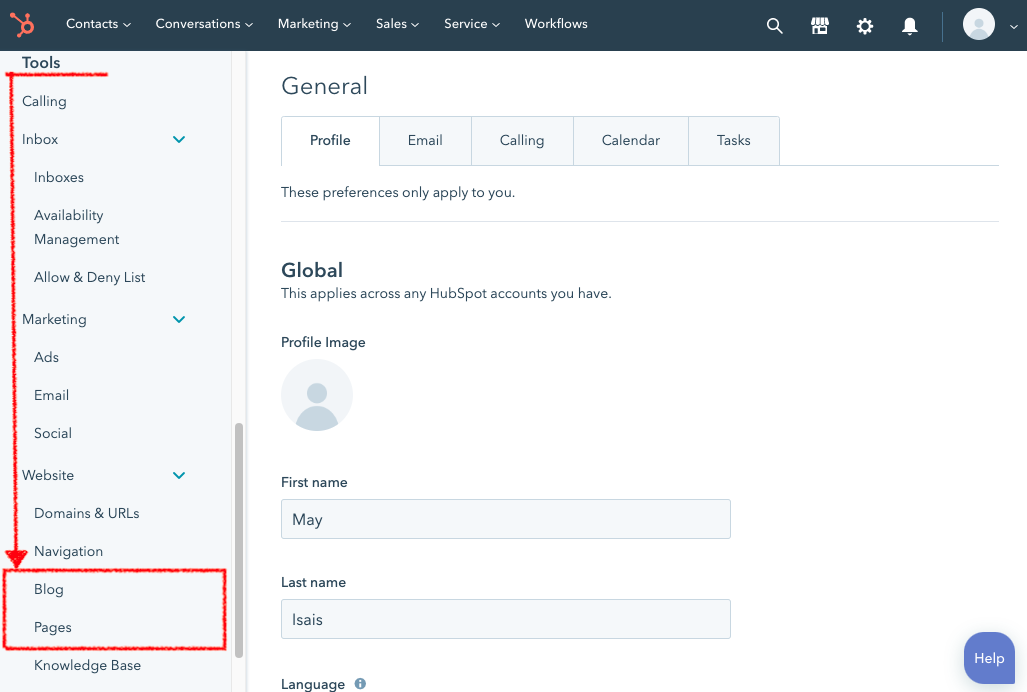
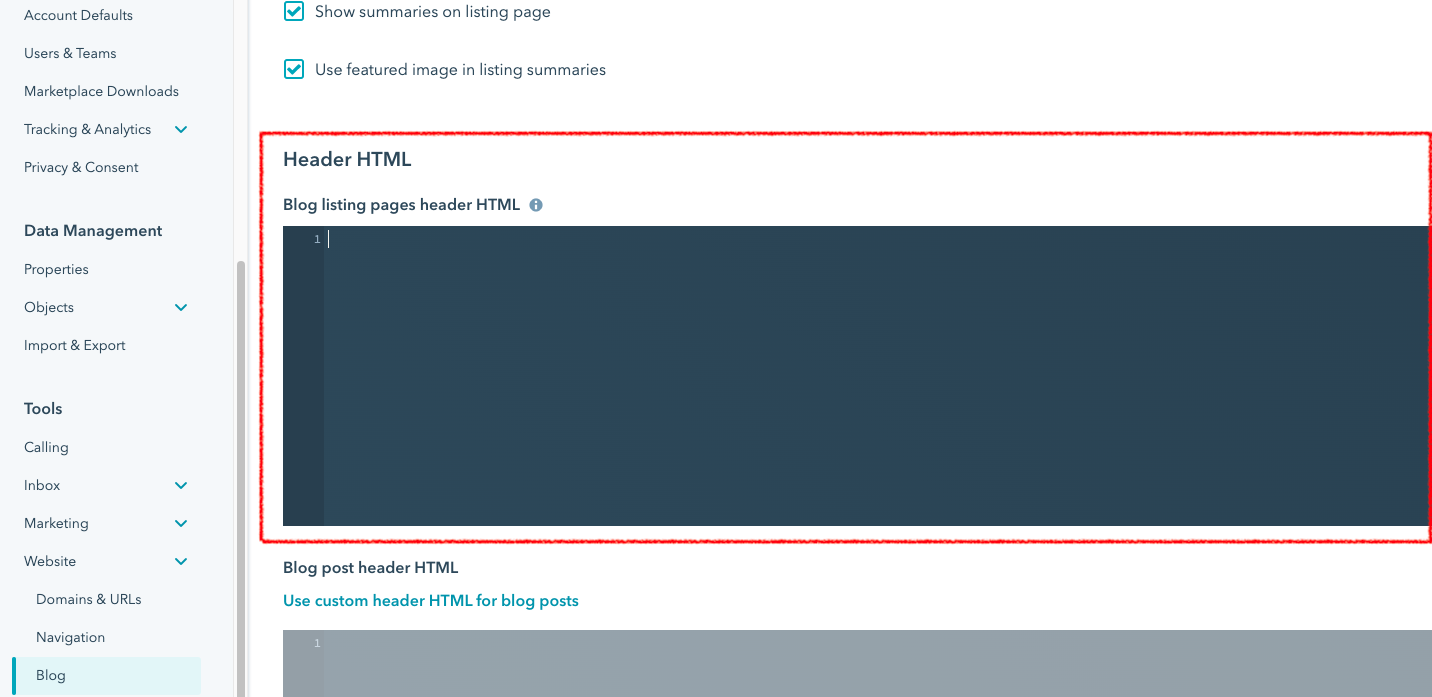
Blog
- On the Blog page, select the Templates tab.
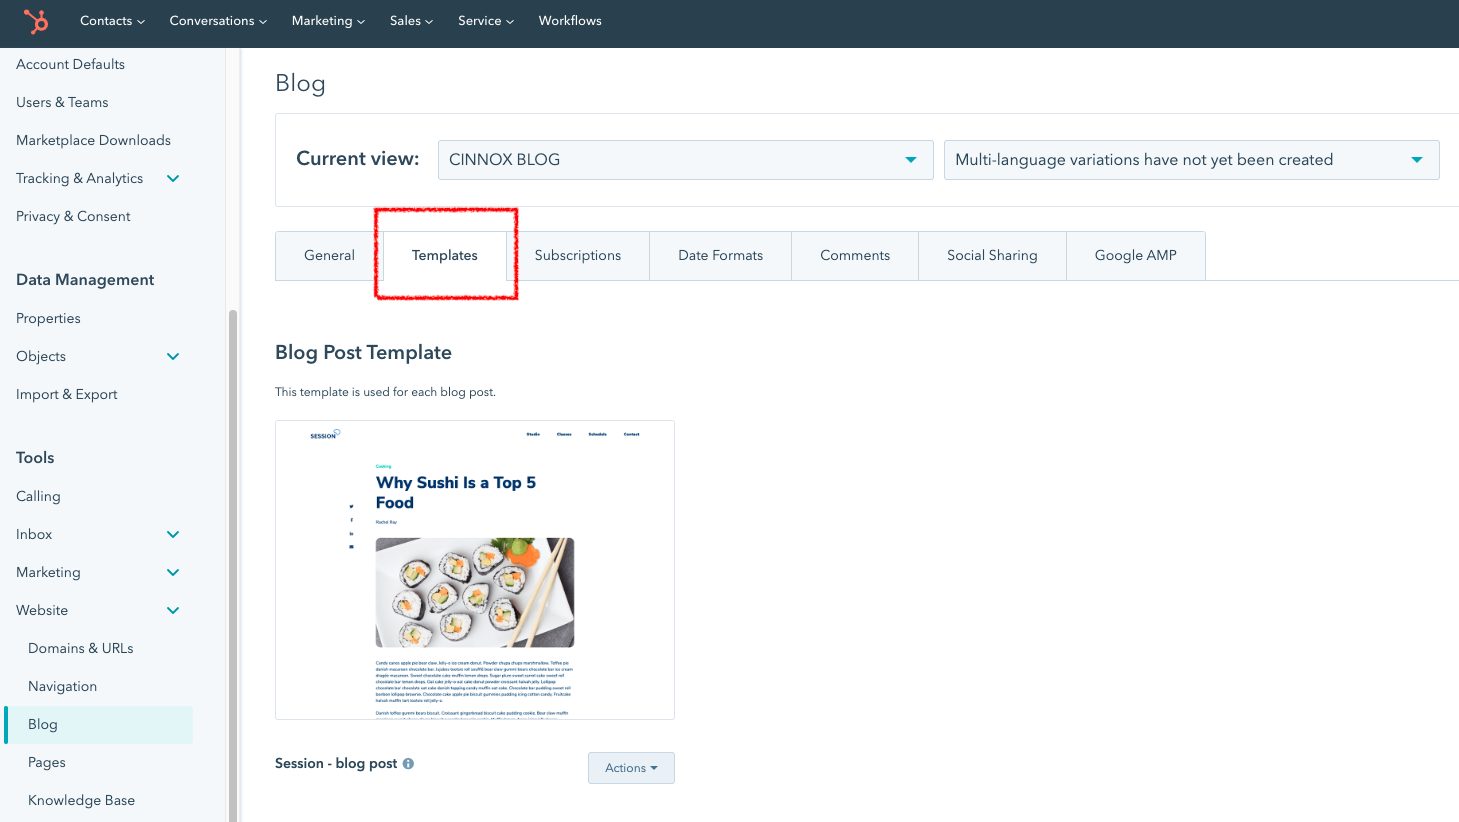
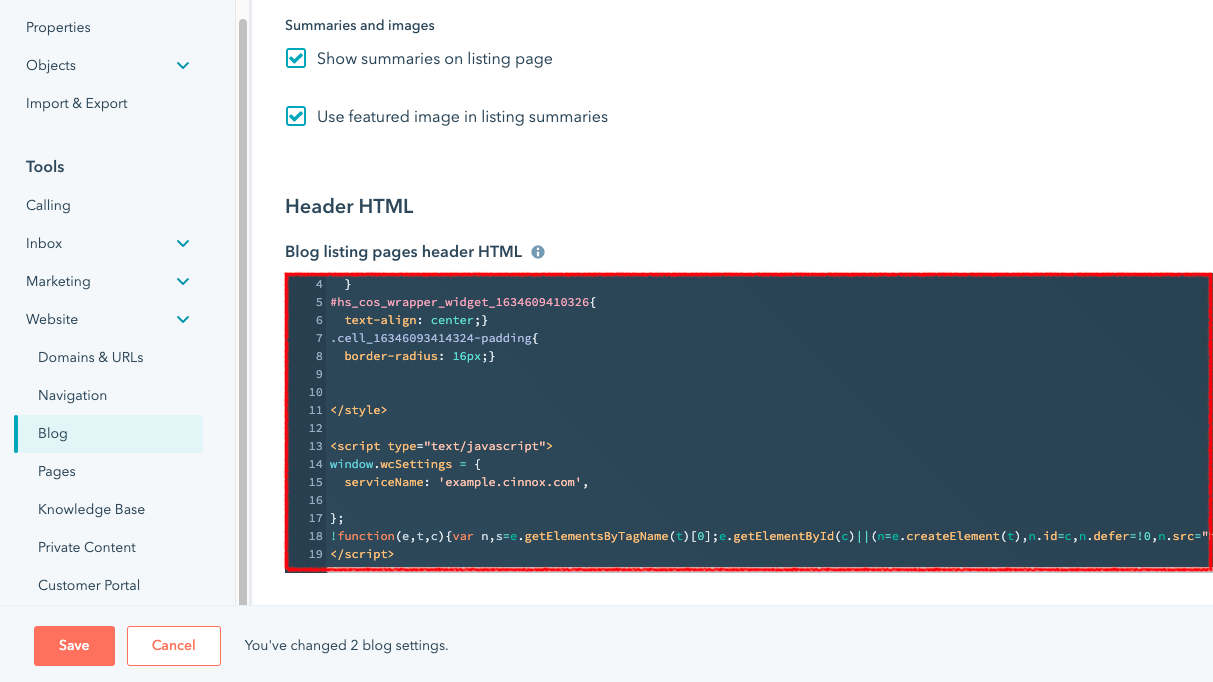
- Under the Templates tab, navigate to the Header HTML > Blog listing pages header HTML.
Pages
- On the Pages page, select the domain where the CINNOX Widget will be installed under the Choose a domain to edit its settings:.
By default, all settings changes will be applied to all domains.
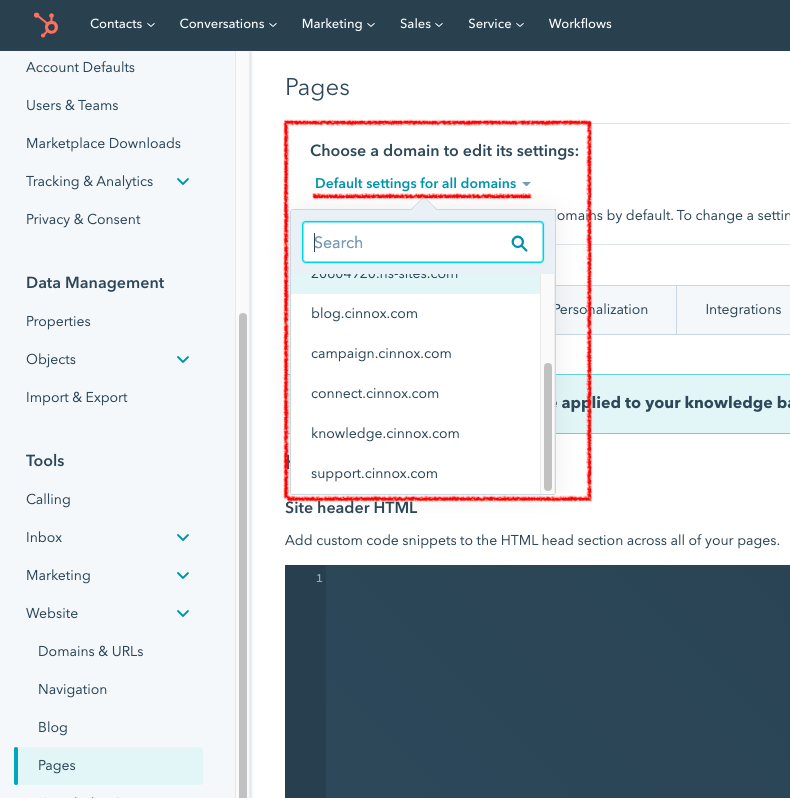
- Under the Templates tab, navigate to the HTML > Site header HTML.

- Log in to your CINNOX Web Dashboard.
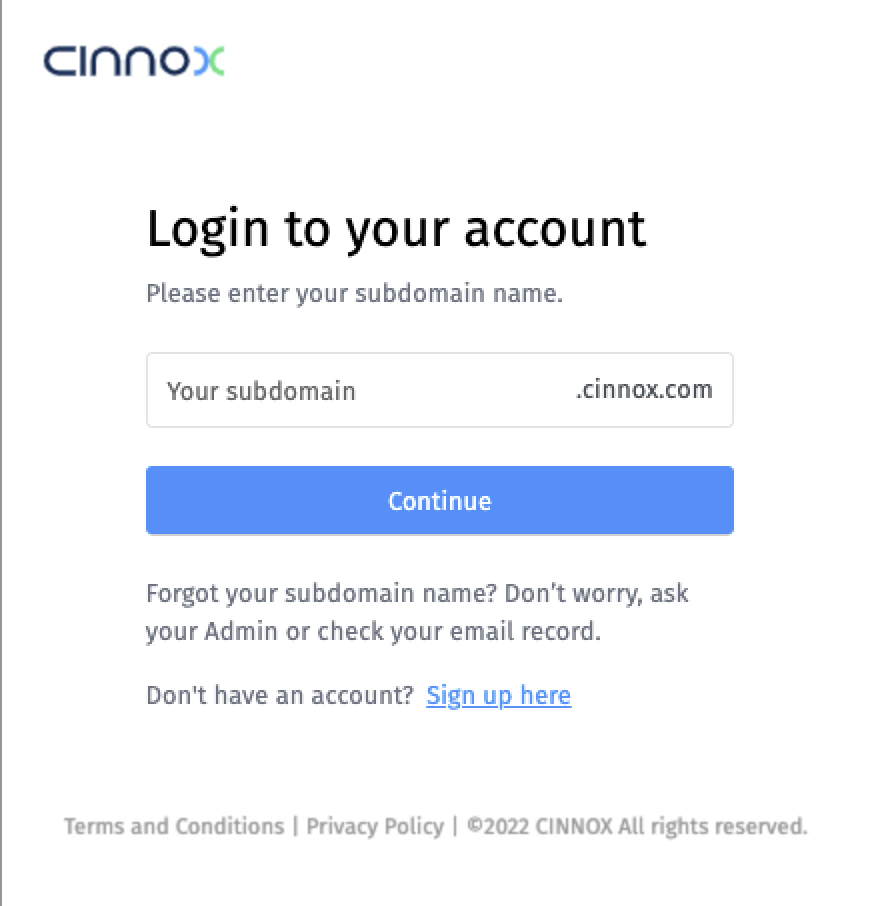
CINNOX Login Page
- Navigate to Administration > Widget > Installation. From the Widget Installation > Web Widget, click on Copy.
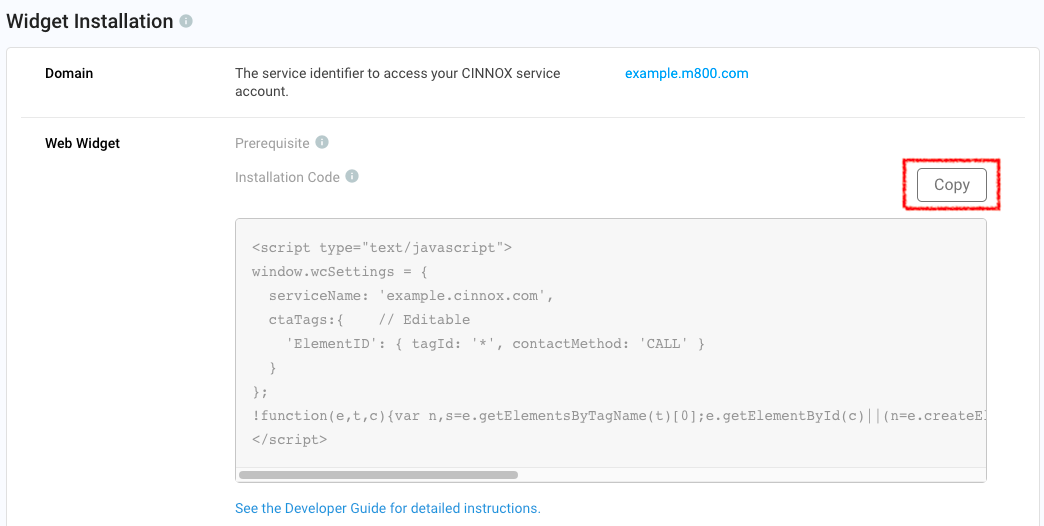
CINNOX Admin > Widget > Installation
- Back on your Hubspot - Blog or Pages, HTML, and paste the CINNOX Widget code.
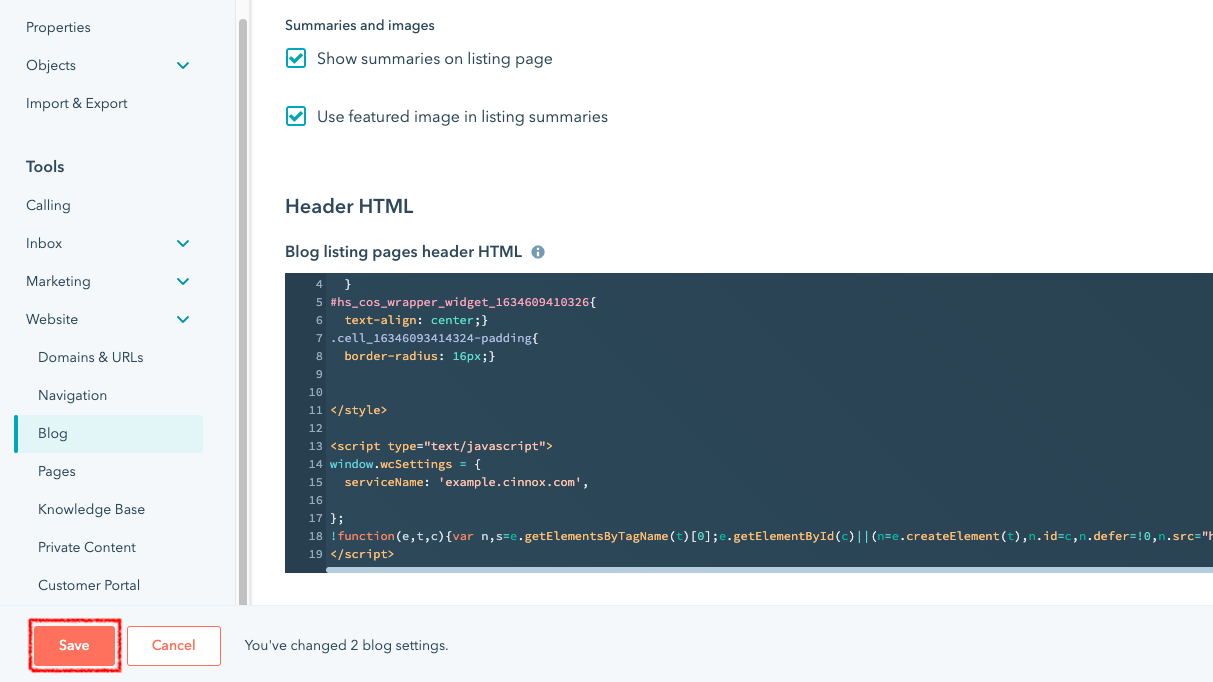
- Click Save.
- Open your Hubspot Blog or Pages to preview. The CINNOX Widget should appear at the bottom right corner.
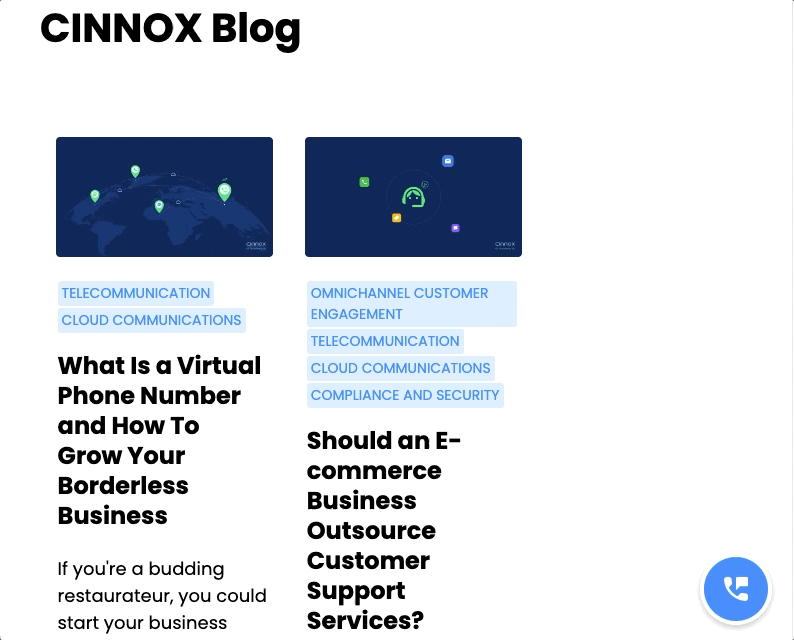
Visitors can contact you through live chat or on your Hubspot site.
📘
Follow the steps for both Blog and Pages to add CINNOX Widget on all your pages.
📘
For more information on configuring your CINNOX widget, refer to this Guide's Customising Your Widget section.
📘
To know how to change the widget position from right to left, refer to this Guide's Dynamic Change of Installed Widget section.