BigCommerce
Need Omnichannel Live Chat Support for your BigCommerce website?
CINNOX offers an omnichannel solution that seamlessly integrates with BigCommerce. Engage with your website visitors in real-time through live chat, providing instant support and boosting customer satisfaction. With CINNOX, you can effortlessly handle customer enquiries across various channels and devices, including social media, email, and calls. Simplify your customer service with CINNOX's omnichannel solution today.
BigCommerce is an e-commerce platform that lets users set up an online store and sell their products.
For more details, go to www.bigcommerce.com.
Here are the steps to follow when adding the CINNOX web Widget on your BigCommerce site:
- Log in to your BigCommerce account.
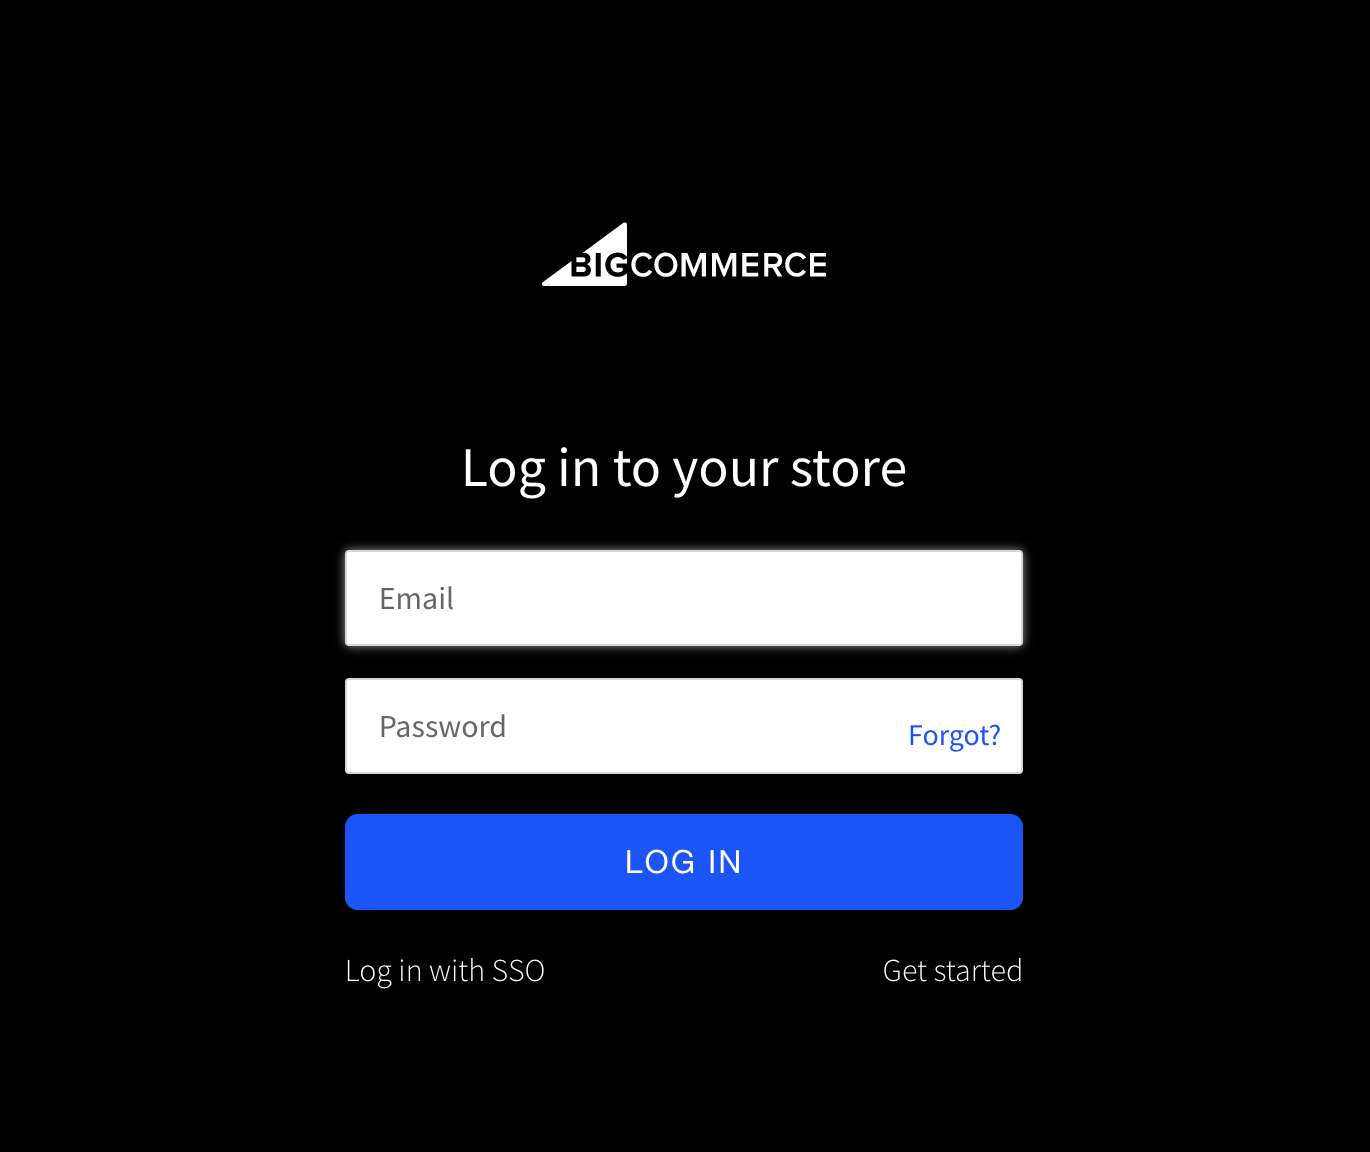
BigCommerce > Login
- Go to Storefront from the side menu.
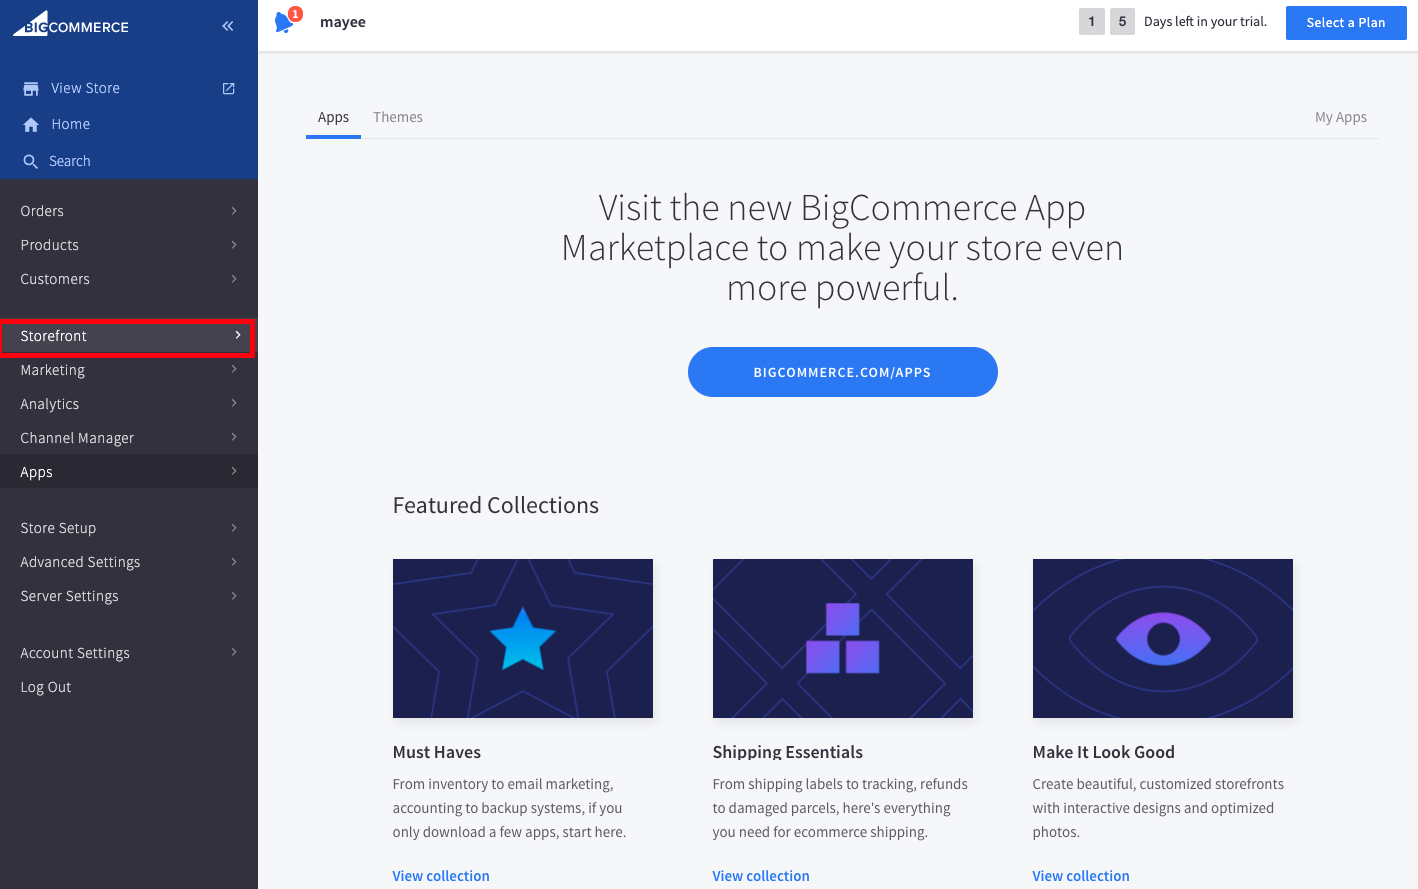
BigCommerce > Storefront
- Click Script Manager, then click the Create a Script button.
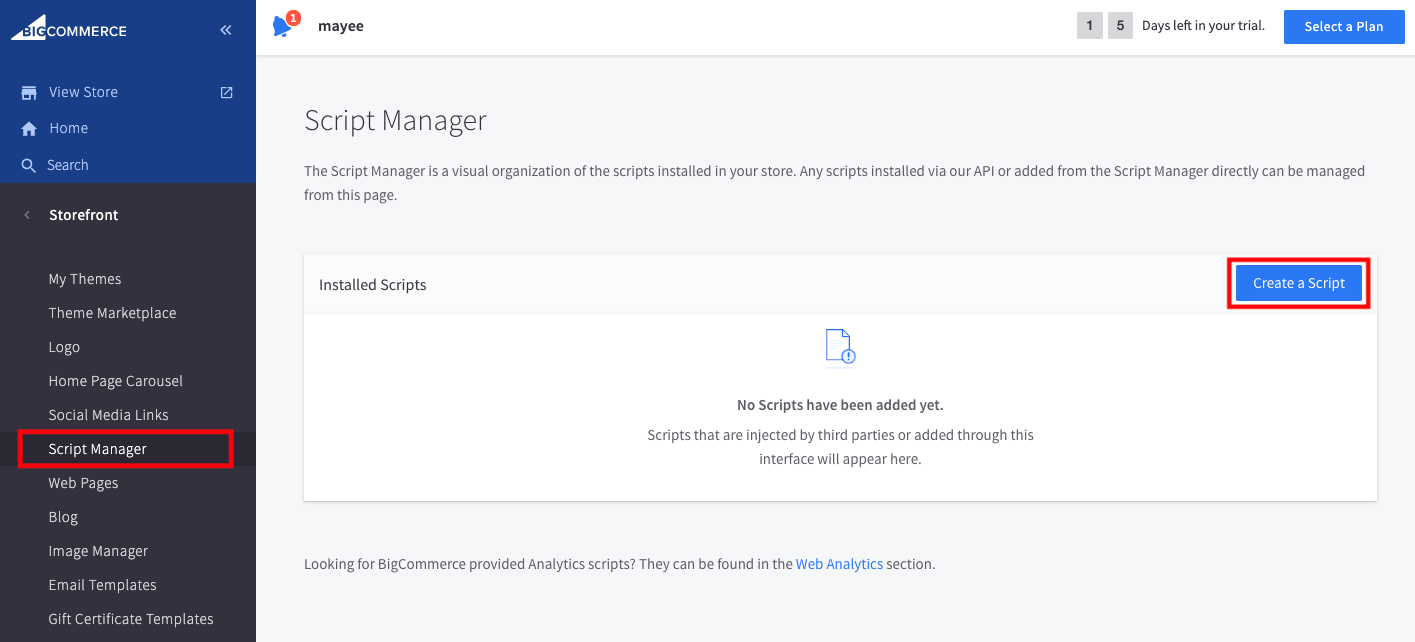
BigCommerce > Script Manager
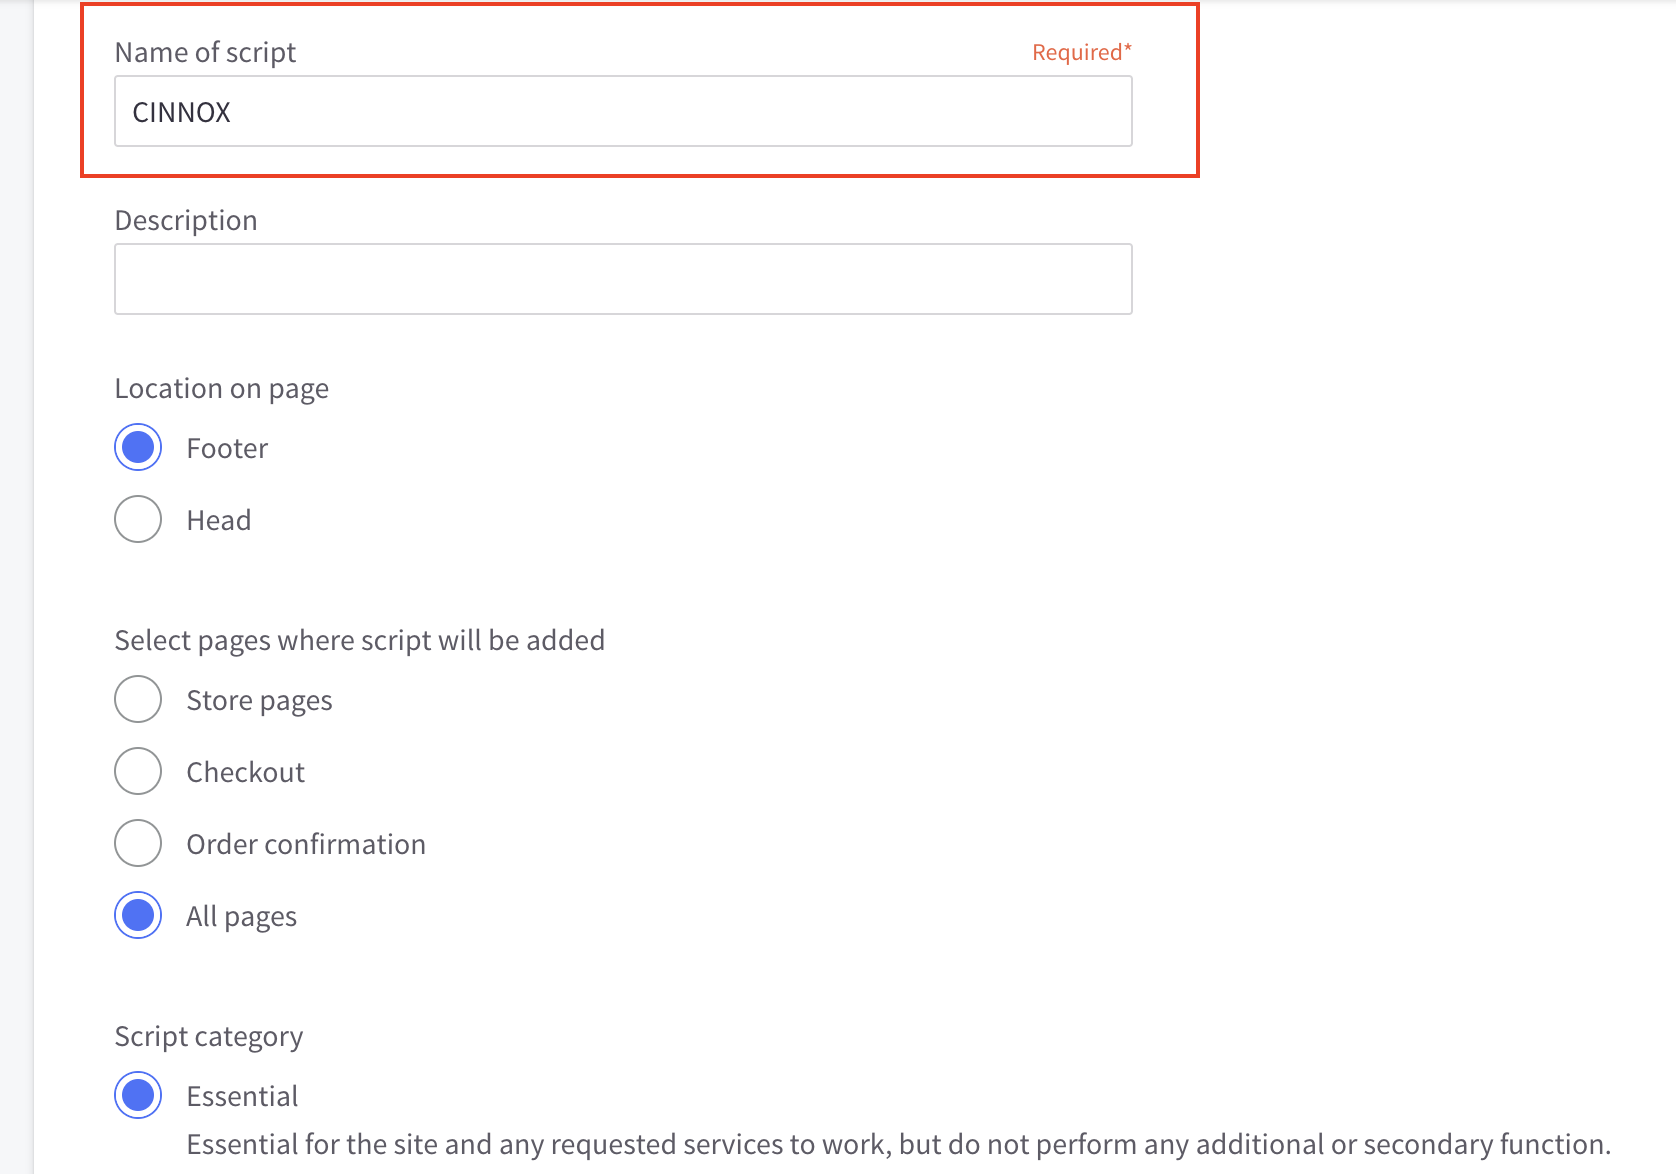
- Type a name for the script (e.g. 'CINNOX' or 'CINNOX widget'), so you can easily remember or find it later. You may also type in an optional Description in the given field.
BigCommerce > Create Script
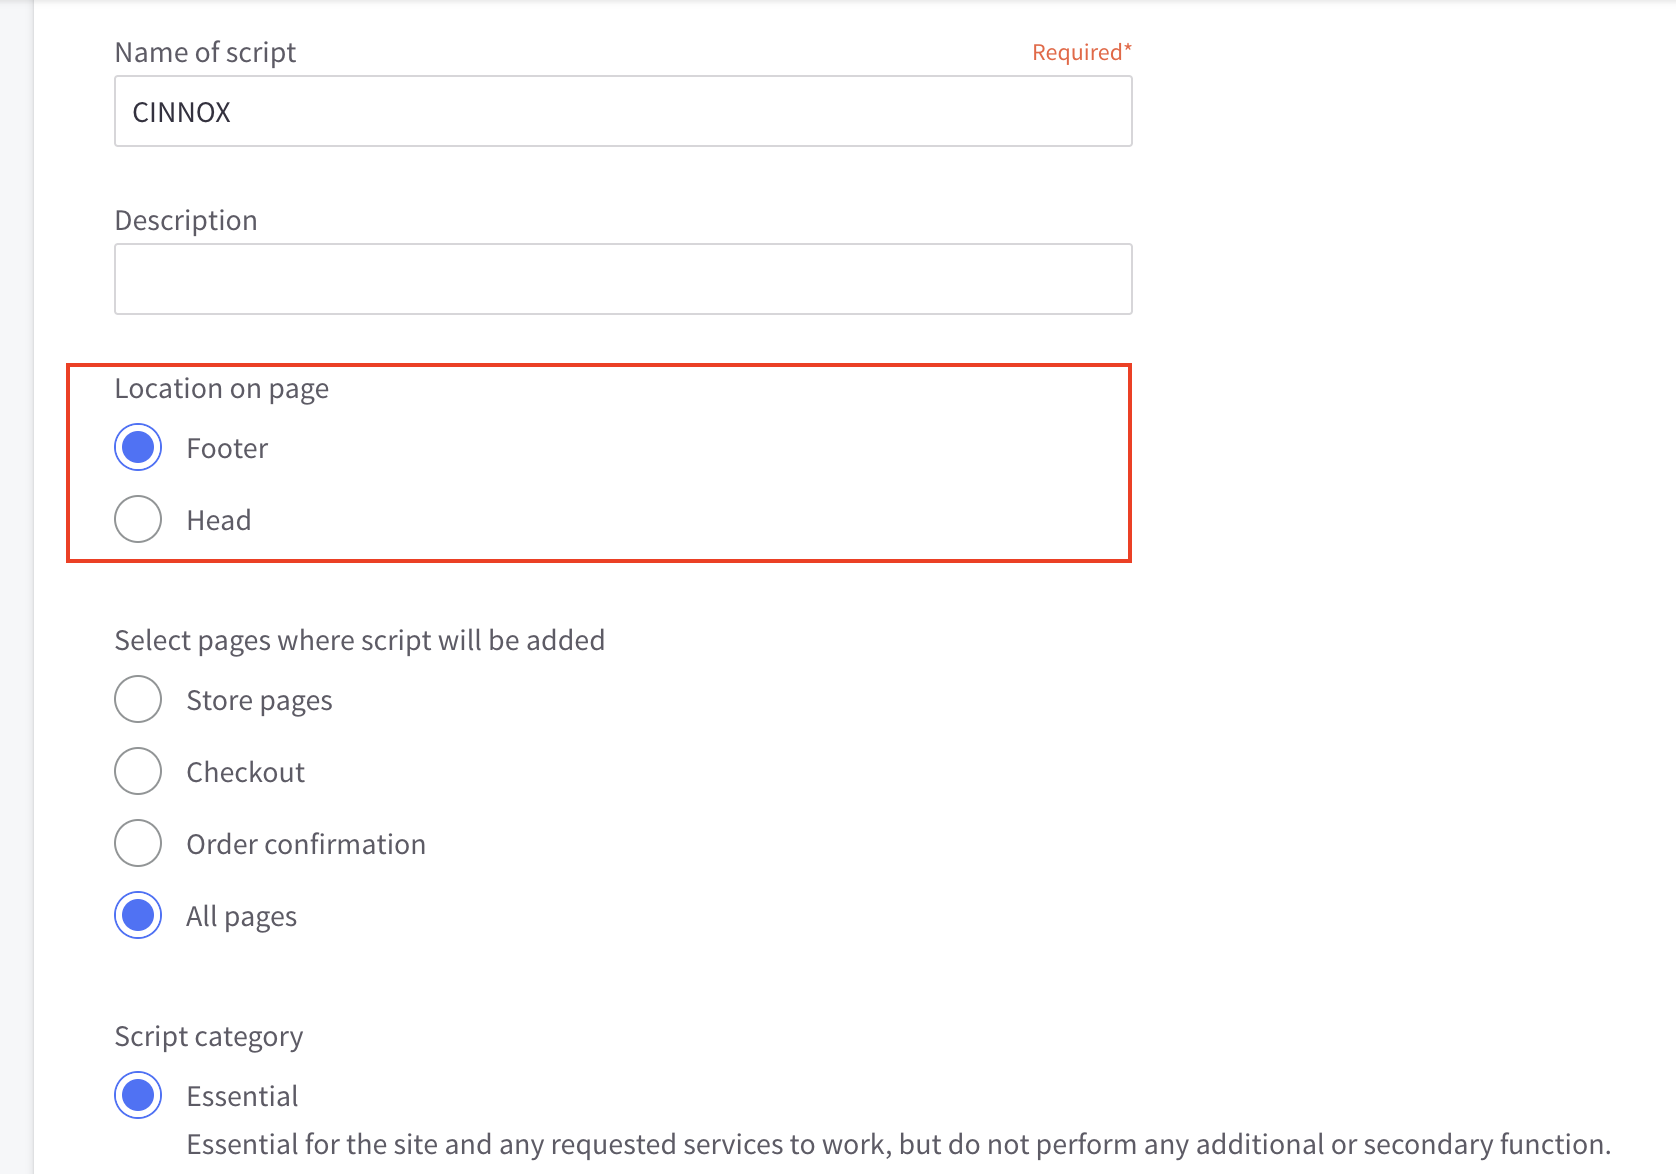
- Under Location on the page, choose Footer.
BigCommerce > Create Script
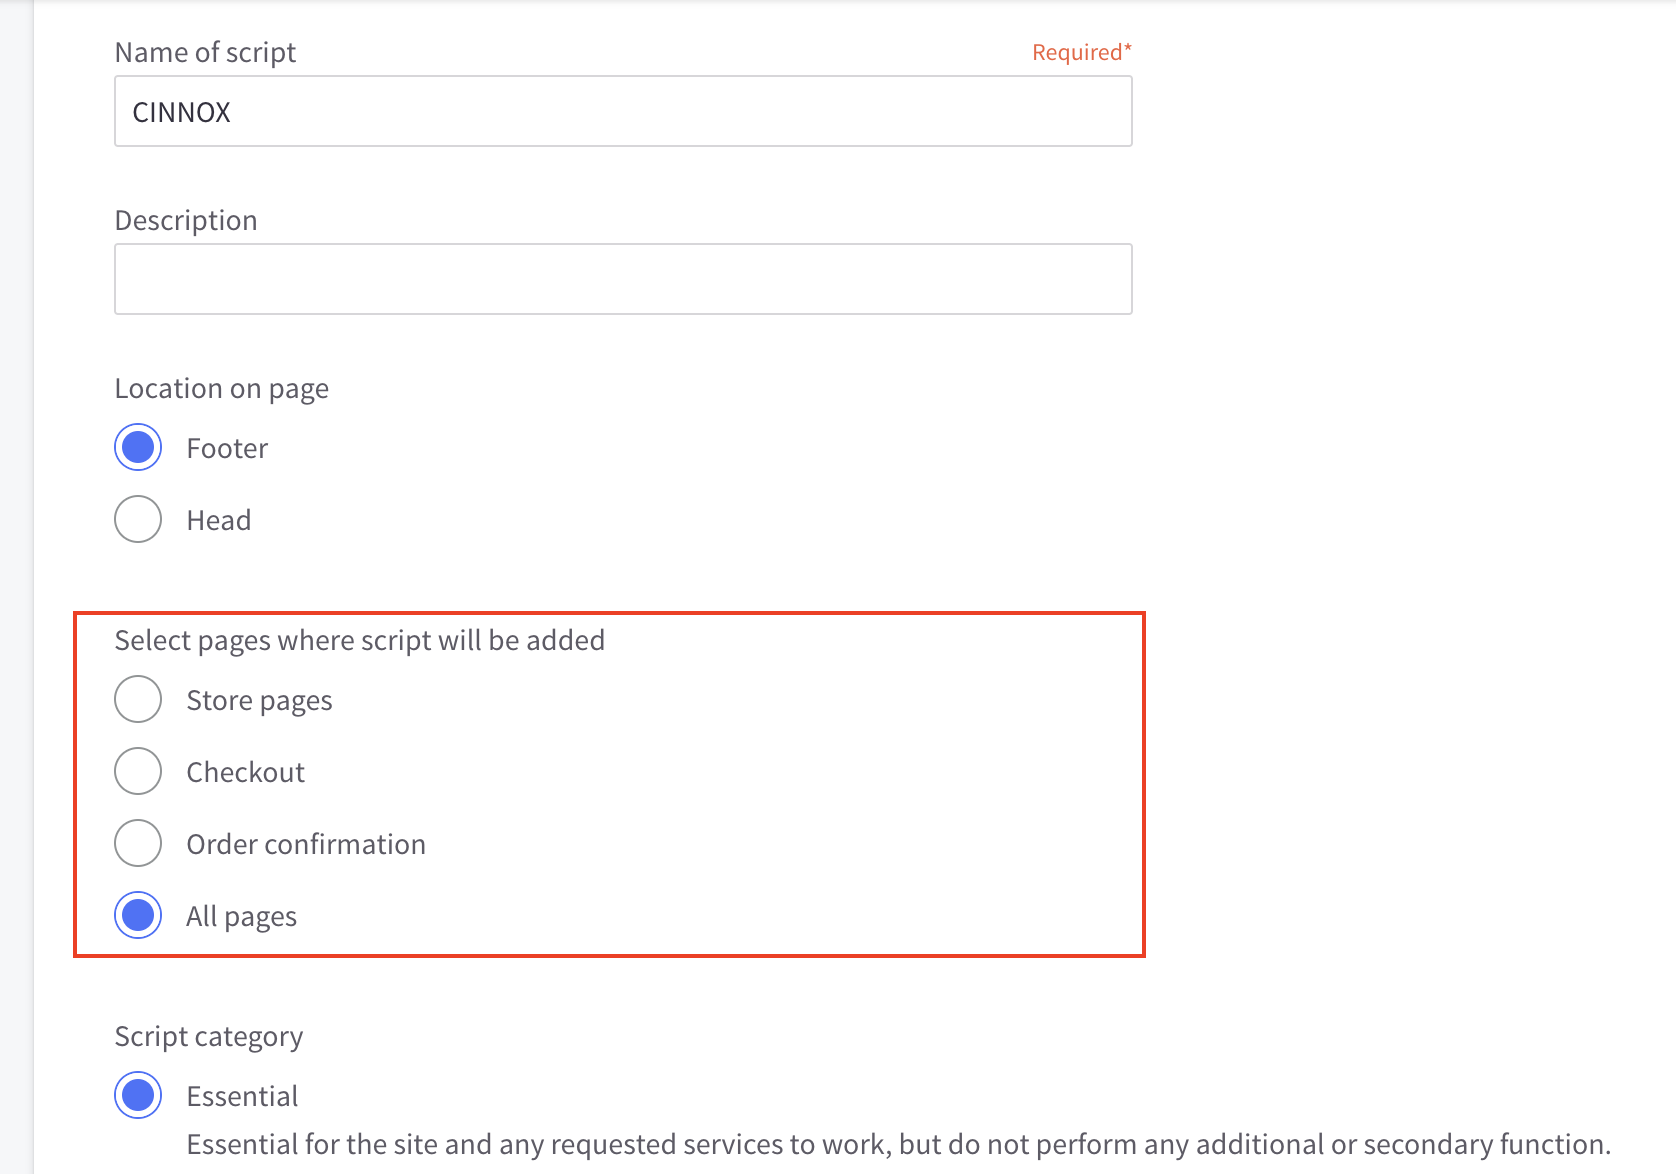
- Under Select pages where script will be added, choose All pages, unless you want the CINNOX widget to be added only on specific pages.
BigCommerce > Create Script
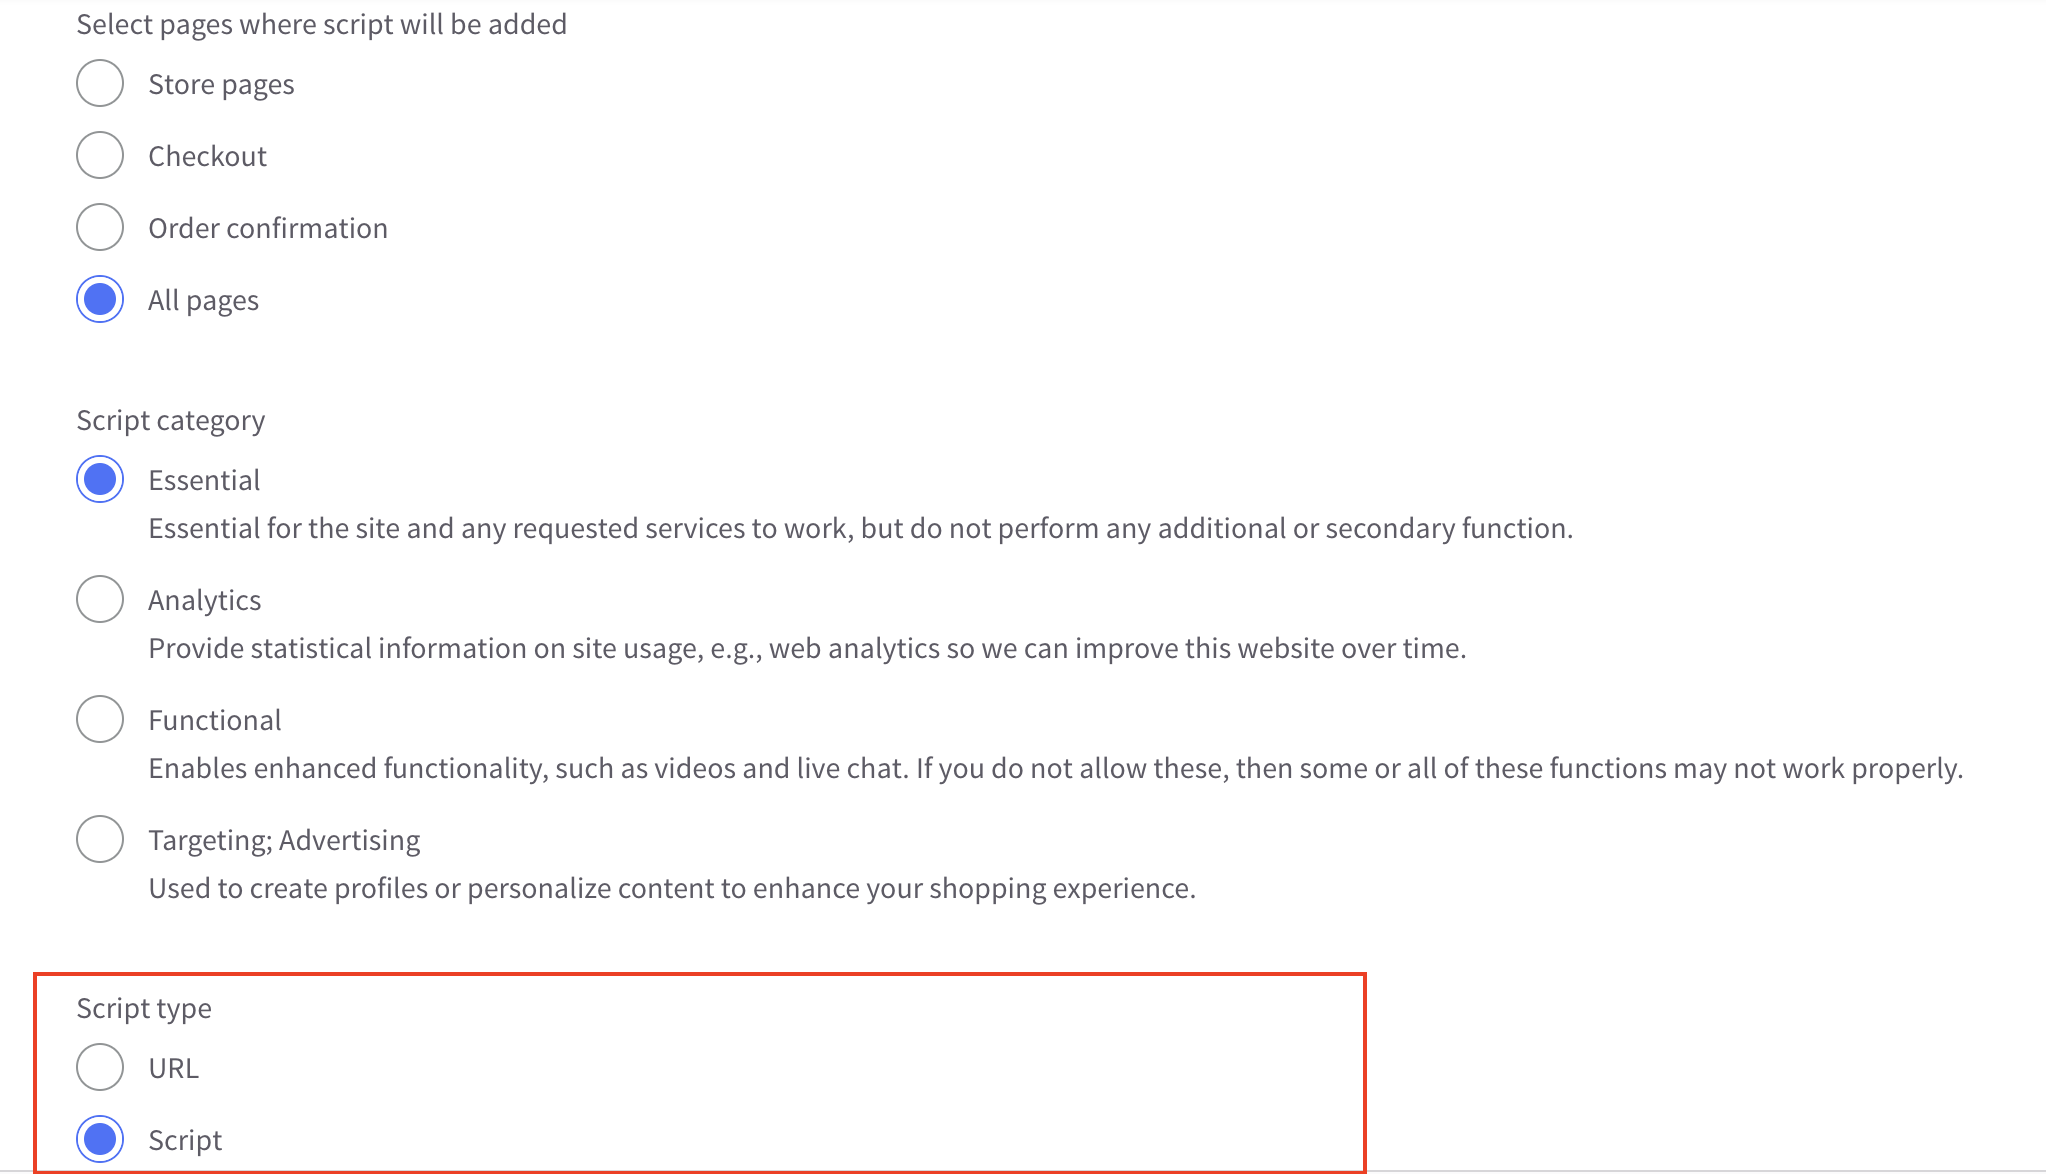
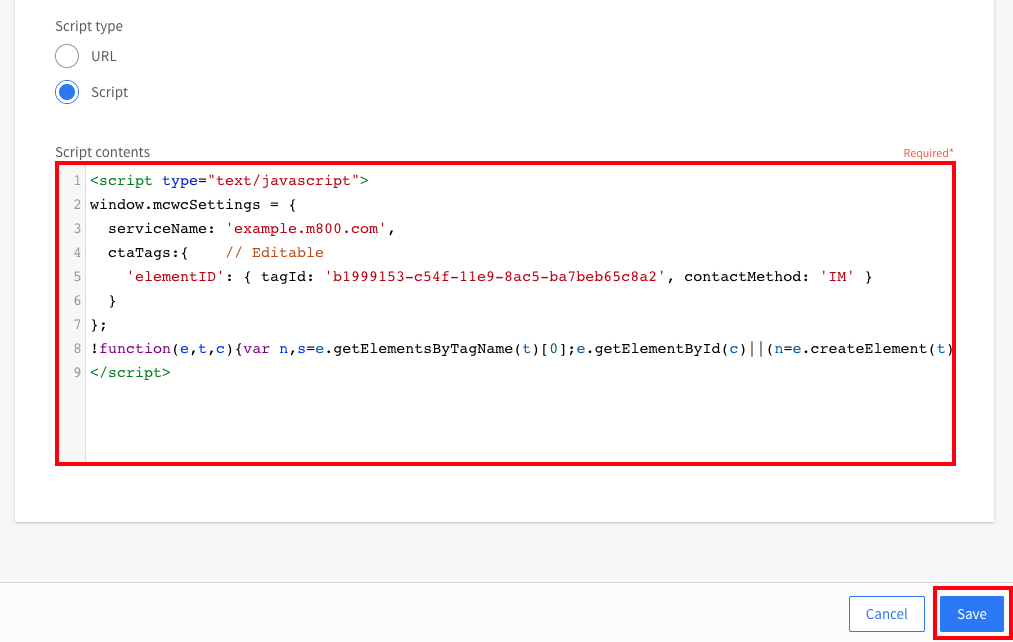
- Under Script type, choose Script.
BigCommerce > Create Script
- Log in to your CINNOX Web Dashboard.
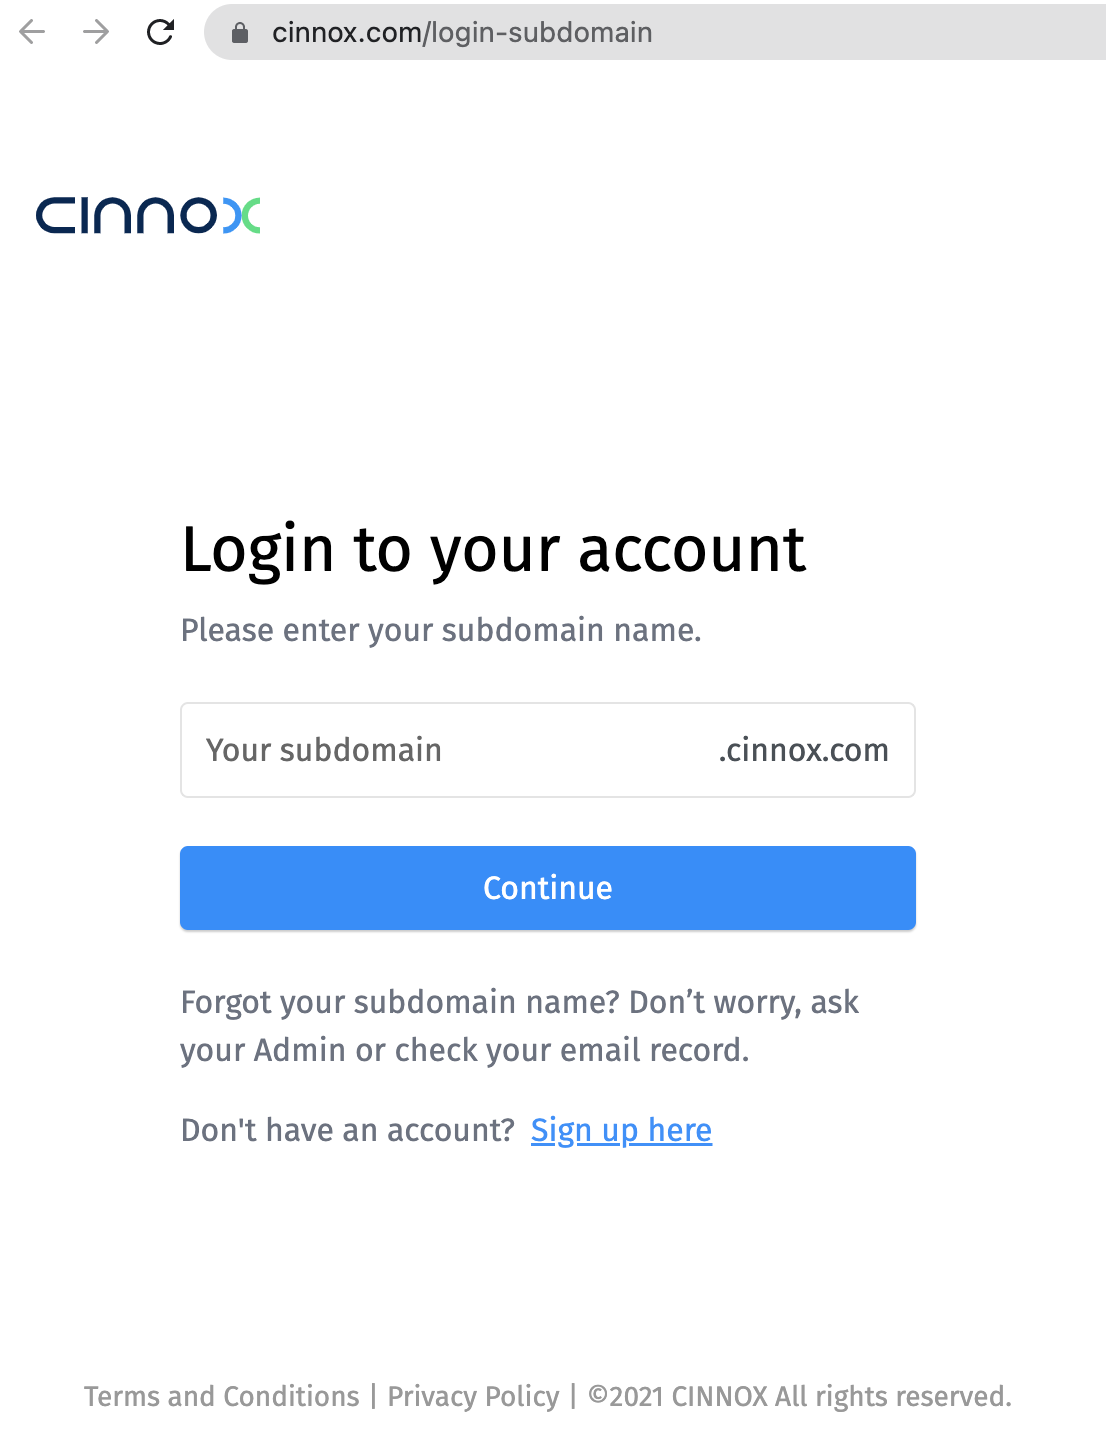
CINNOX > Login
- Navigate to Administration > Widget > Installation. From the Widget Installation > Web Widget, click on Copy.
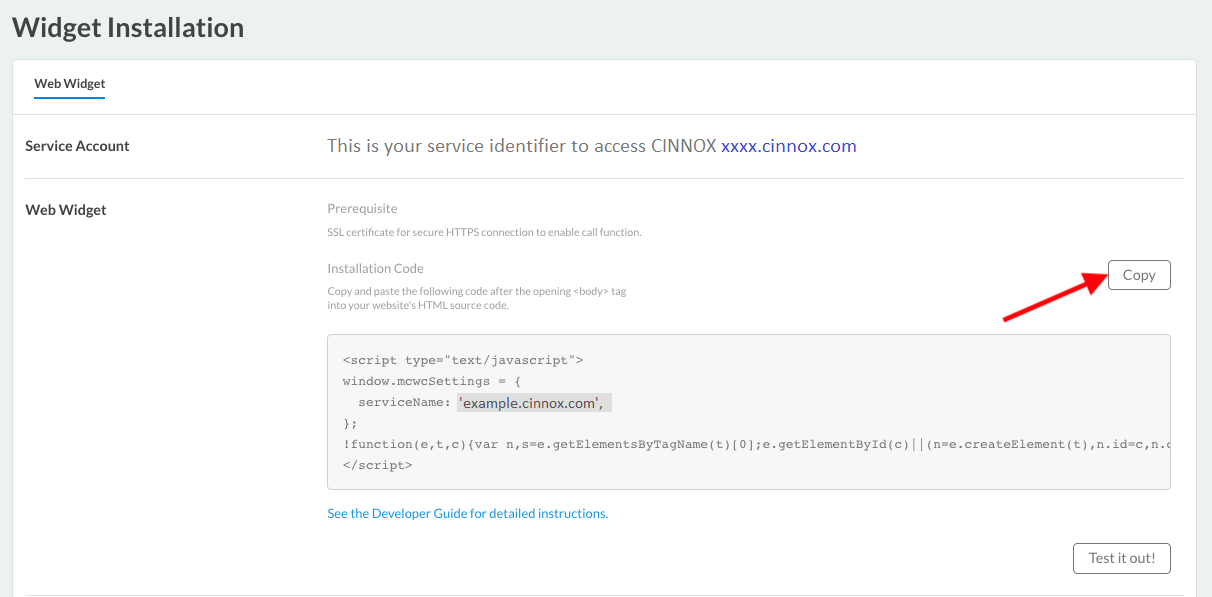
CINNOX Admin > Widget > Installation
- Back on your BigCommerce > Settings > Advanced > Code Injection, paste your CINNOX Widget code under the Footer.
- Click on Save, located at the upper left part corner of the page.
BigCommerce > Create Script
- Open your published website. The CINNOX Widget should appear at the bottom right corner.
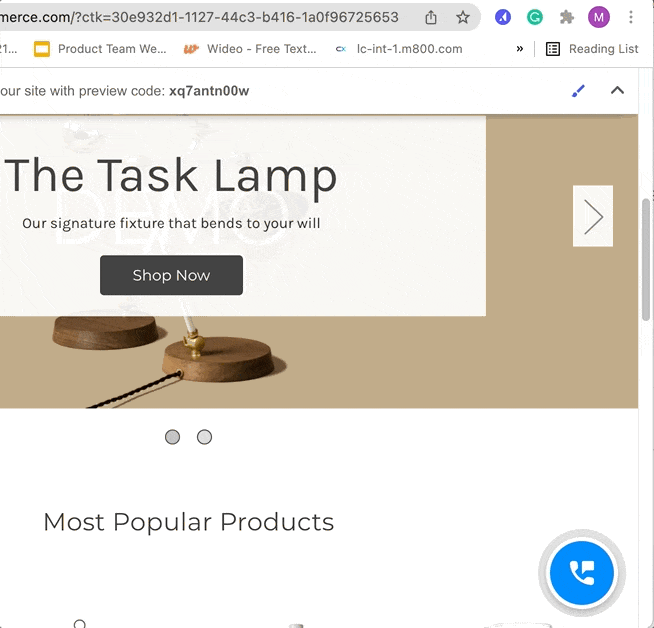
Publish BigCommerce Site with CINNOX Widget
From now on, visitors can contact you through live chat and call on your BigCommerce website.
📘
For more information on configuring your CINNOX widget, refer to this Guide's Customising Your Widget section.
📘
To know how to change the widget position from right to left, refer to this Guide's Dynamic Change of Installed Widget section.