Managing Widget's Smart Greeting
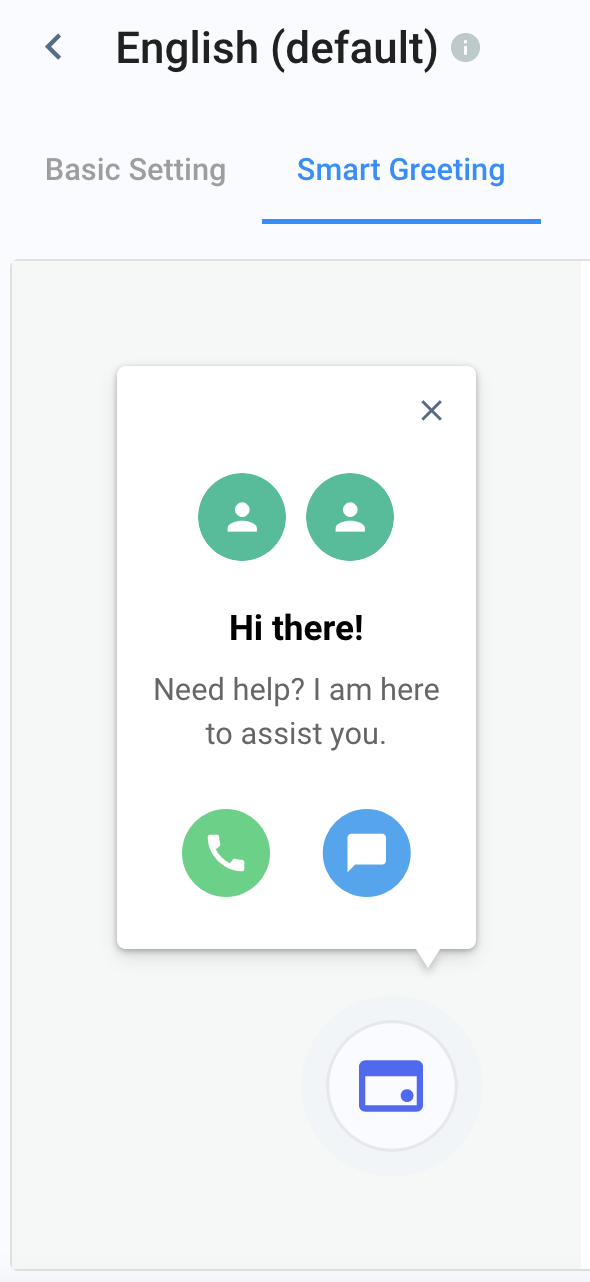
Smart Greeting is a Widget feature that automatically displays a welcome message to visitors whenever they visit your website. This message pops out just above your minimised CINNOX Widget, letting your visitors know they can use the Widget to connect and interact with your support agents through calls or chat. It is an innovative, simple way to create an excellent first impression on your visitors.
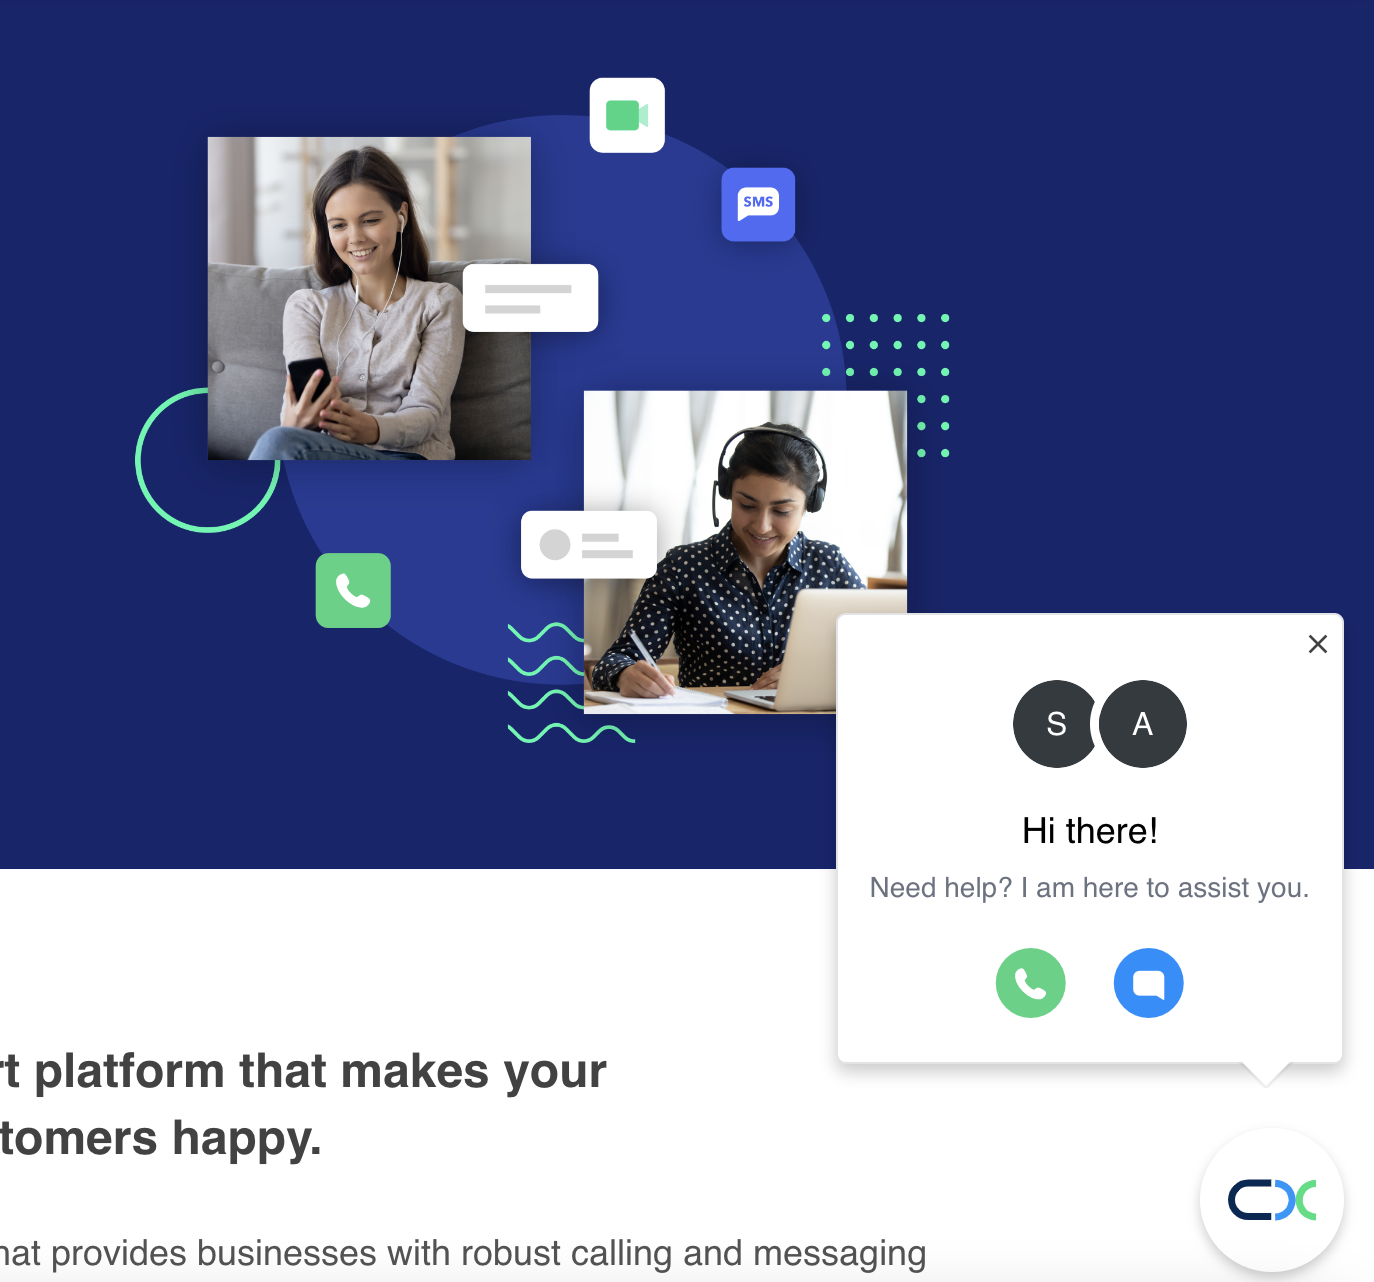
To add a Greeting to your Widget for each language:
- Go to Administration > Widget > Customisation.
- Select the language to begin with, then click >.
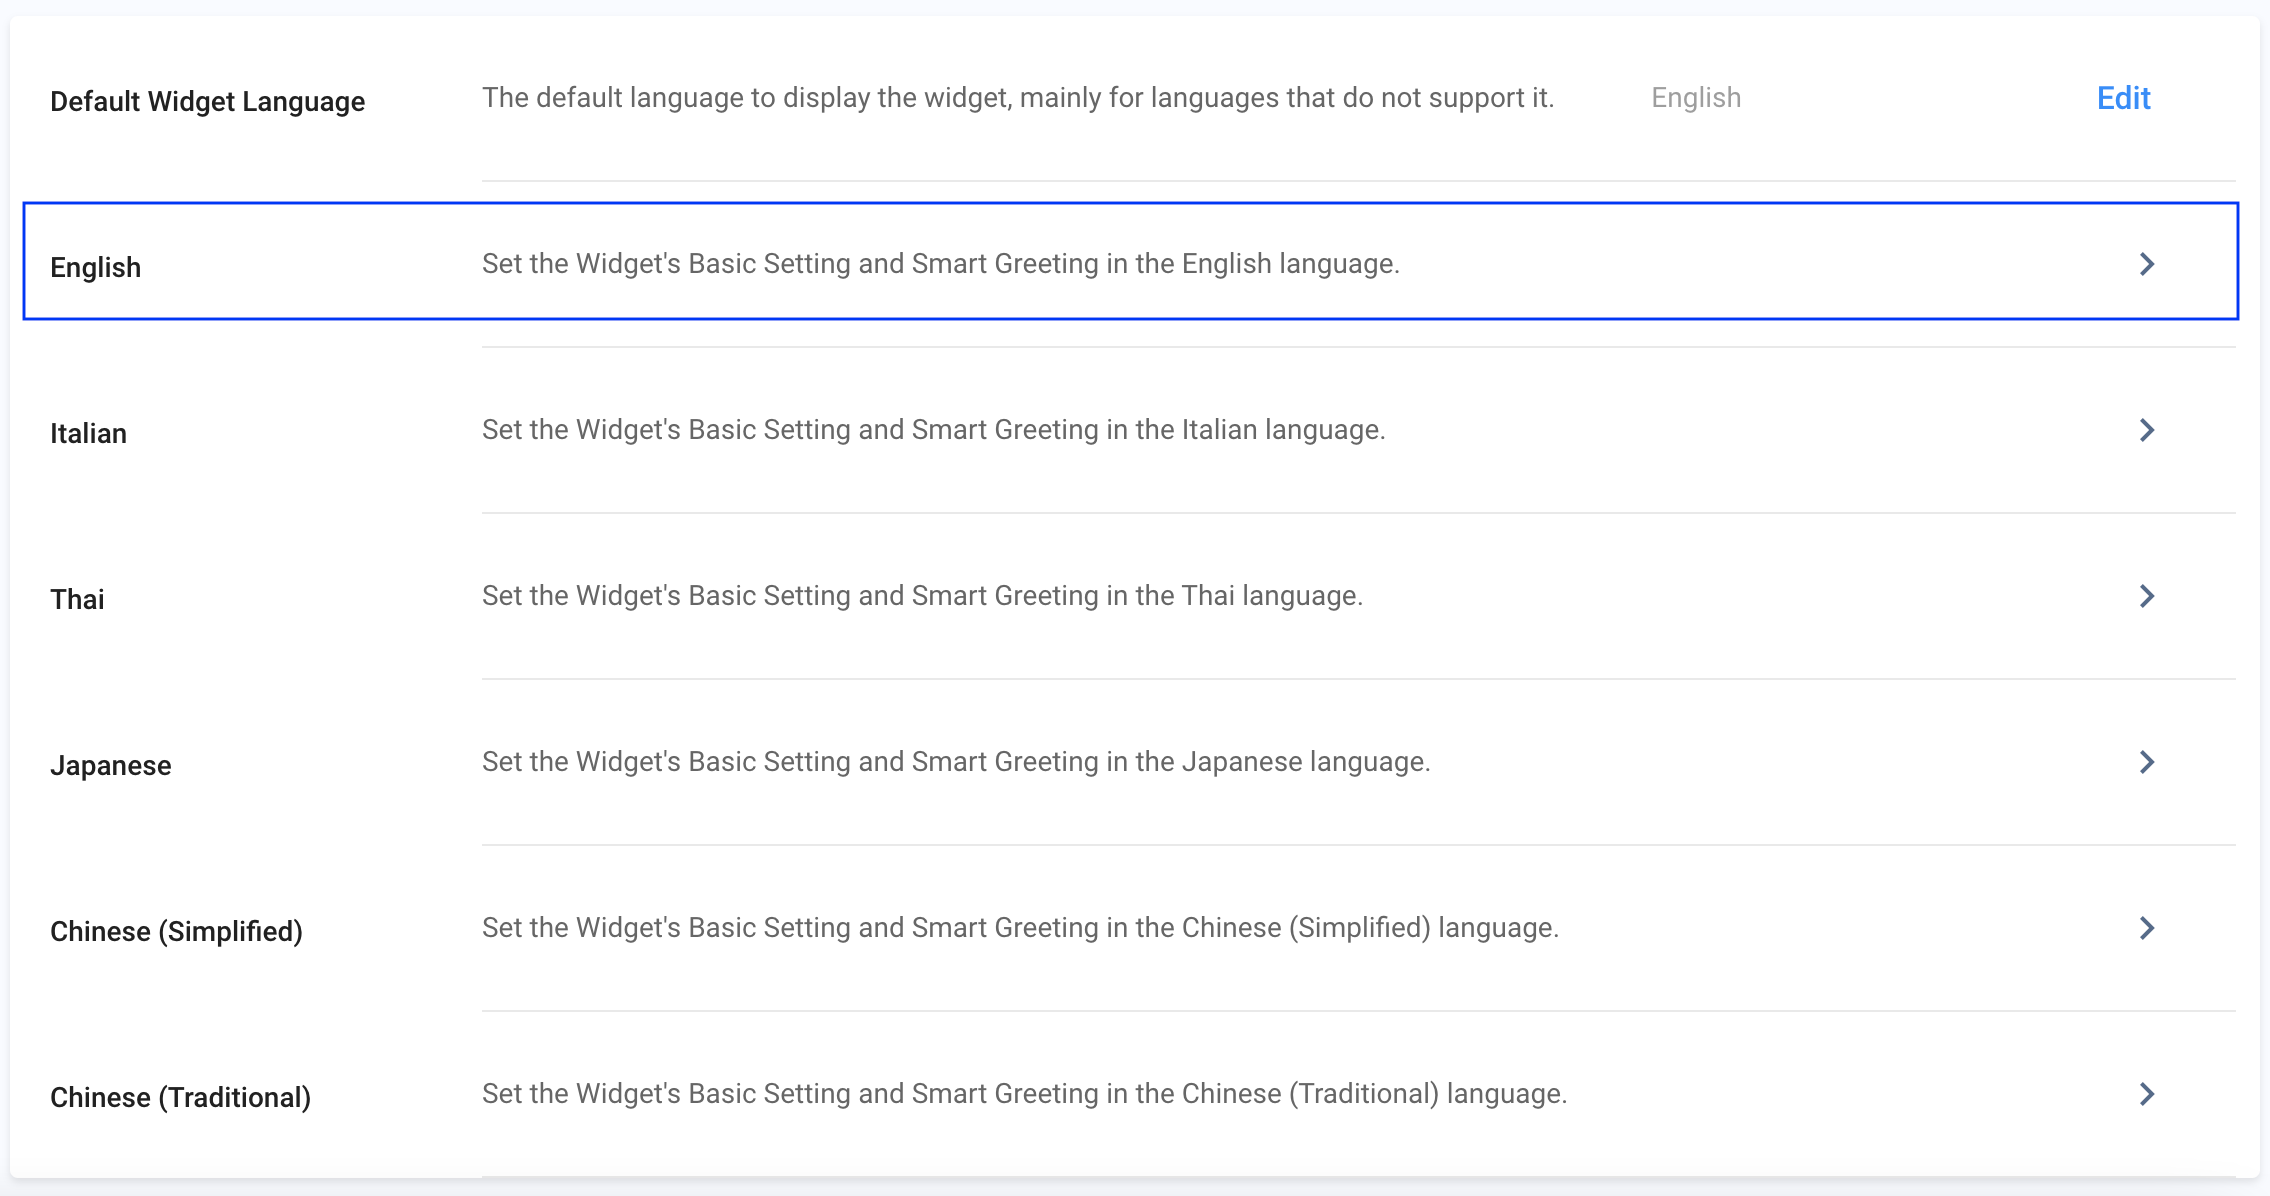
You will be redirected to the Widget Customisation page with two tabs.
Basic Settings
The Basic Setting tab provides brand customisation options to closely align the web widget to your organisation's look and feel.
Refer to Customising Your Widget for details on configuring your CINNOX Web Widget.
Smart Greeting
Enabling Smart Greeting
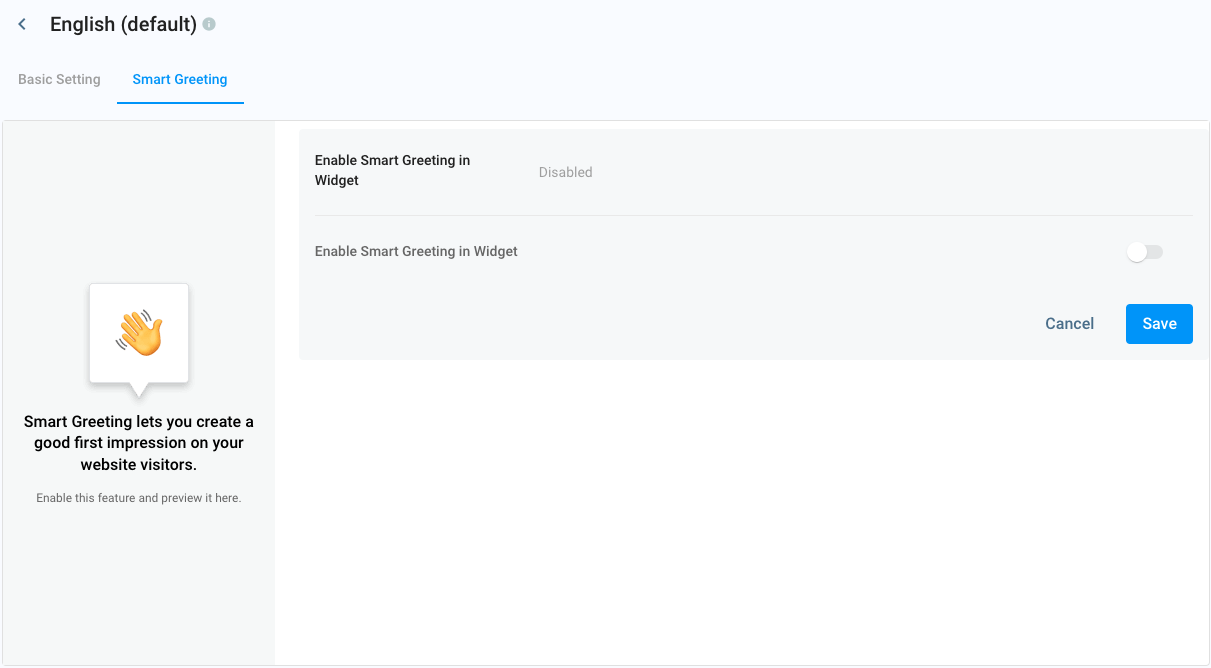
To enable Smart Greeting:
- Select the Smart Greeting tab.
- Click on Edit.
- Toggle ON the Enable Smart Greeting in Widget.
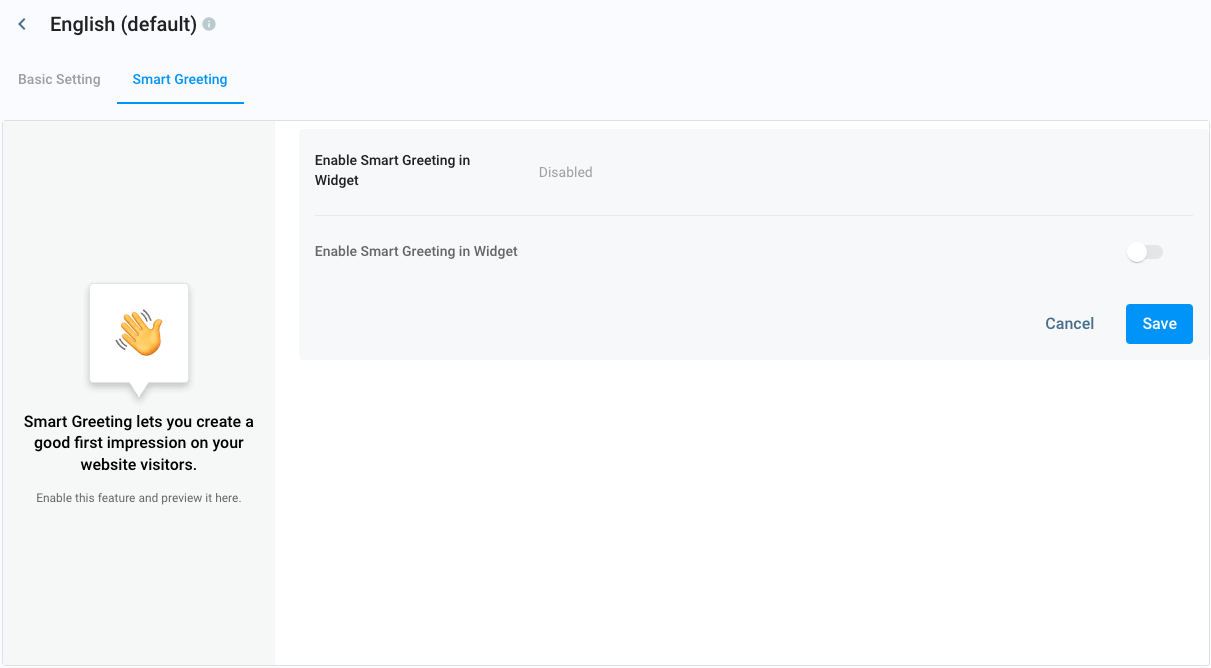
Once you enable Smart Greeting, you can customise its appearance, content, and settings.
Greeting Style
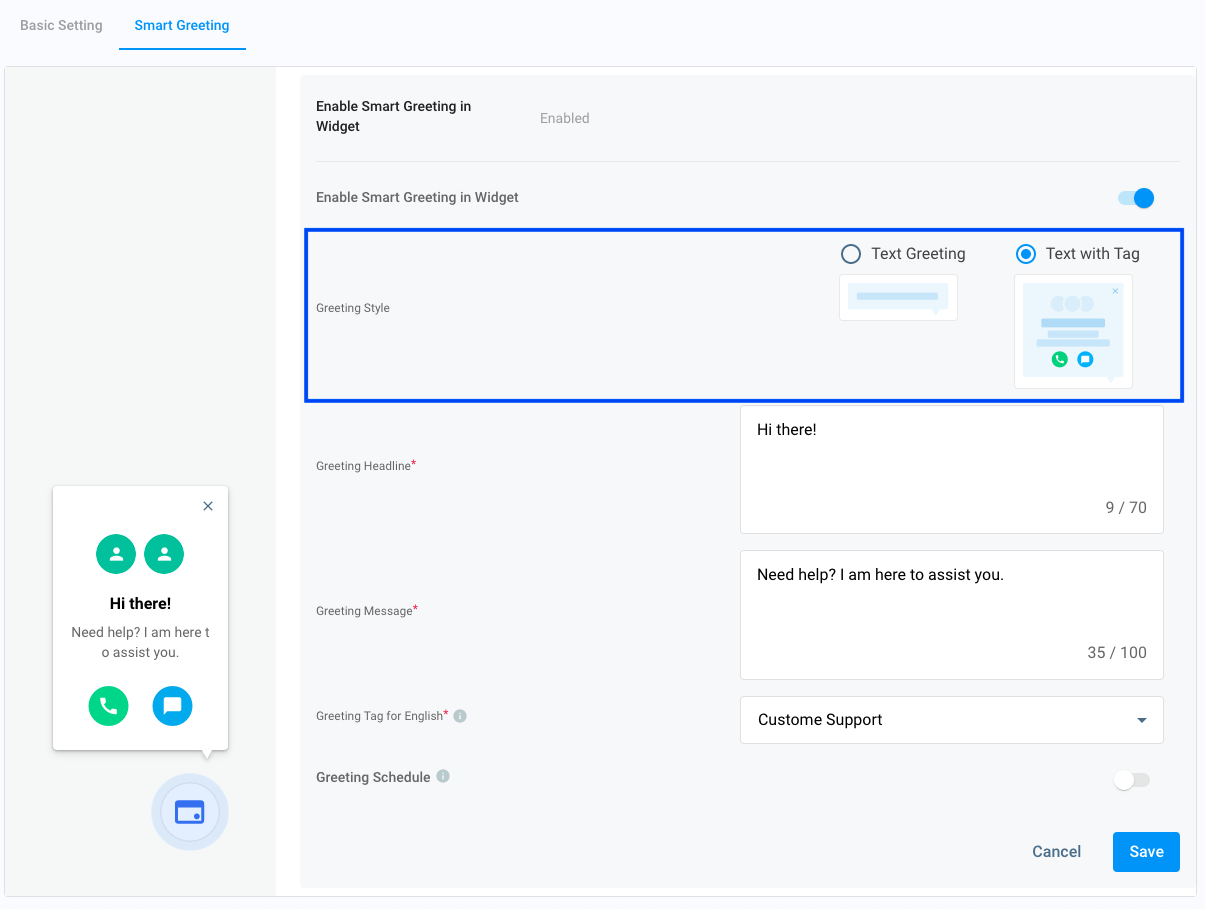
You can choose from the following Smart Greeting Styles:
- Text Greeting: The CINNOX Widget displays a simple text message. The message can be a greeting, a question, or an invitation to open the Widget.
- Text with Tag: The CINNOX Widget displays a text message and calls or chat buttons that route to a specific Tag. These interactive buttons let visitors directly engage with your support agents associated with the Tag without opening the Widget and scrolling through its Tag Directory.
To select a Greeting Style:
- Beside Greeting Style, click on the radio button beside your preferred option.
Enabling Smart Greeting
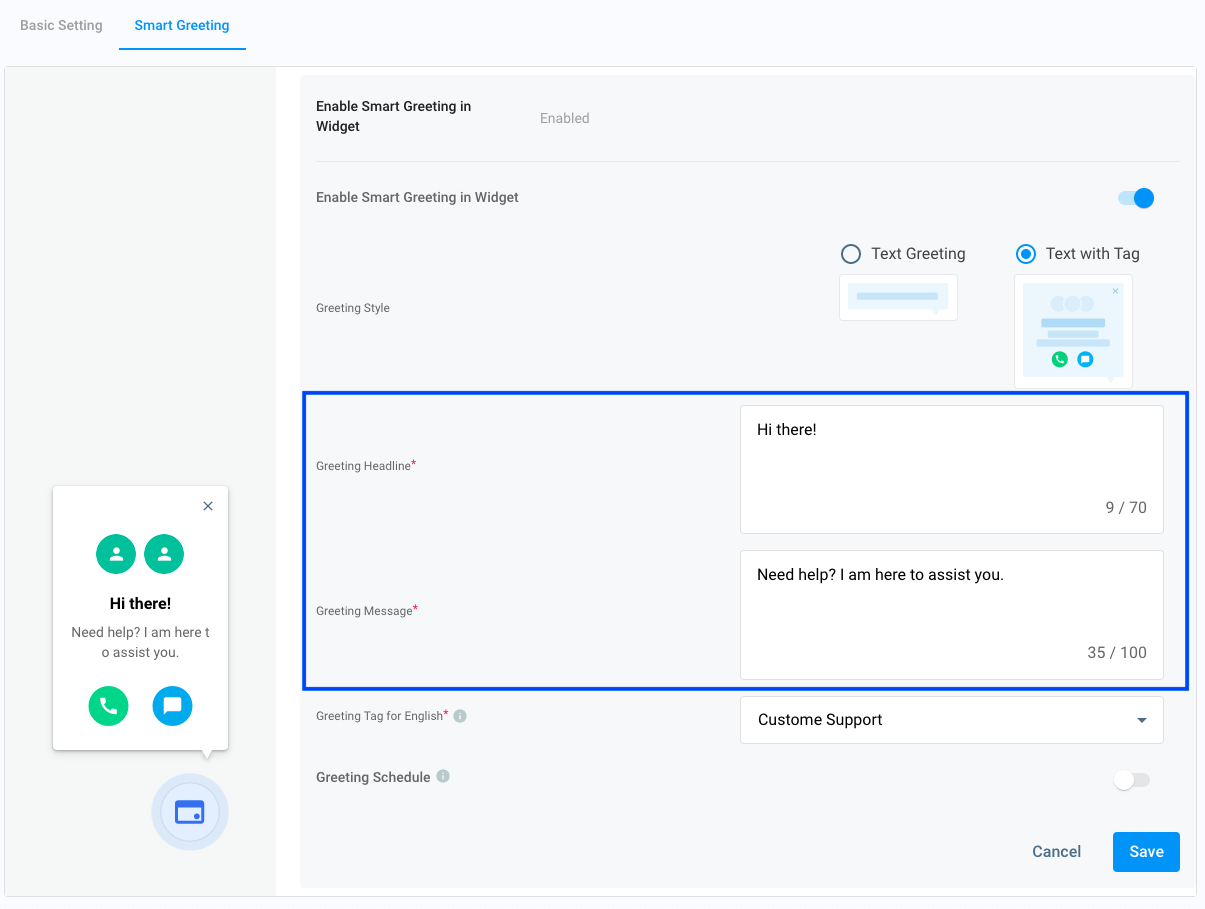
Greeting Headline and Greeting Message
These refer to the main message or greeting you want from the minimised CINNOX Widget whenever a visitor visits your website.
-
In the Greeting Headline, type in the headline text that you want to capture your visitors' attention immediately. The greeting headline should be 70 characters long.
-
In the Greeting Message, type in additional information or details you want to share with your visitors, such as an invitation to contact your support agents. The Greeting Title should be no longer than 100 characters.
Greeting Tag
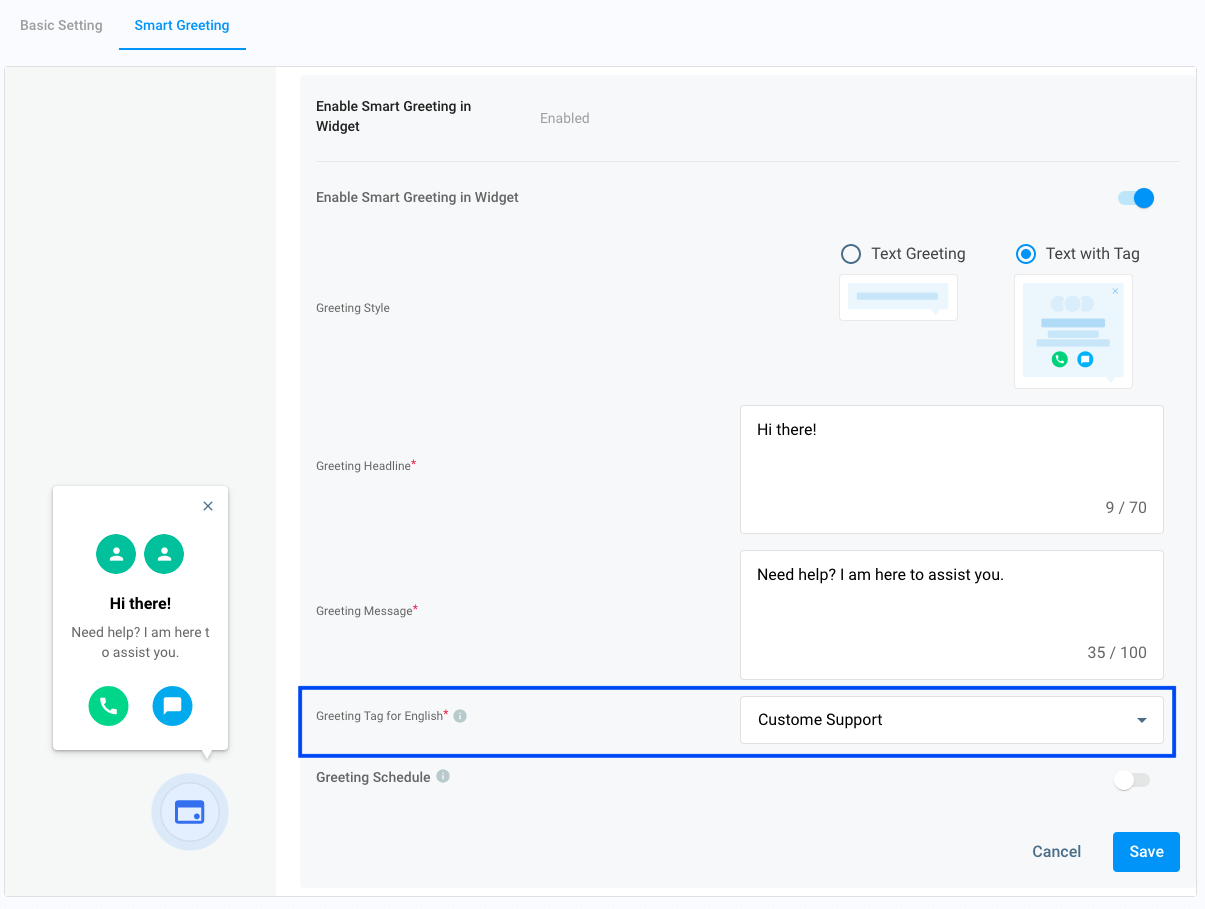
If your selected Greeting Style is Text with Tag, you must choose a Destination Tag where CINNOX will route incoming enquiries from the Smart Greeting.
- Select a Tag from the list of available Tags in the dropdown box.
- Click on Save.
Greeting Tag
It is recommended that a designated Tag meets the following criteria:
- Has at least one Destination that supports all languages (or the language you are currently setting);
- Has at least one Destination that supports all countries/regions, and;
- Has the Conditional Trigger disabled.
To learn more about Tags, refer to this Guide's Creating New Tags section.
Greeting Schedule
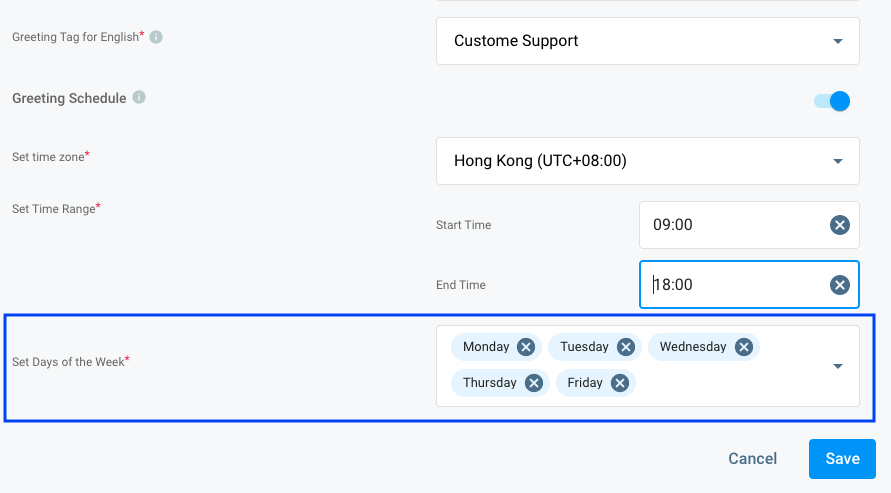
You can set the Smart Greeting to only display on your website during specific times and days of the week.
-
In the Greeting Schedule, toggle the button ON to enable this setting.
-
In the Set Timezone dropdown list, select the timezone where you wish to display the Smart Greeting.
-
In the Set Time Range, select the start and end times you wish to display the Smart Greeting.
-
In the Set Days of the Week, click on the days you wish to display the Smart Greeting from the navigation menu.
-
Click on Save.
Greeting Schedule
Disabling Smart Greeting
To Go to the navigation menu, go to Administration > Widget > Customisation.
- Click on **English (default)**and then the Smart Greeting tab.
- Toggle the Enable Smart Greeting in Widget OFF. A pop-up message will appear, asking you to confirm the action.
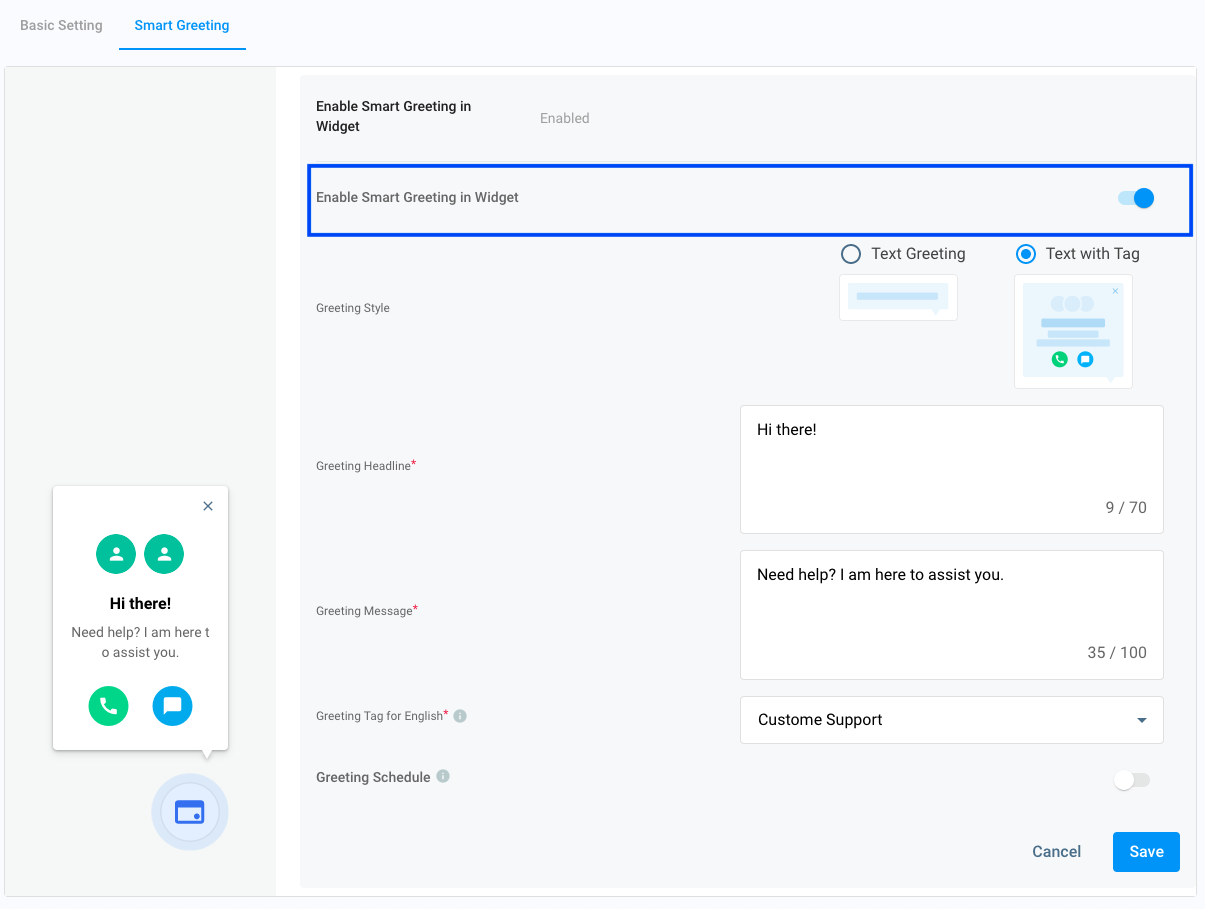
- Toggle OFF the Enable Smart Greeting in Widget.
- Click on Save.
Preview Panel
The preview panel displays the real-time rendering of your Widget's Smart Greeting as you configure the Smart Greeting tab.
Updated 5 months ago