Jimdo
Need Omnichannel Live Chat Support for your Jimdo website?
CINNOX offers an omnichannel solution that seamlessly integrates with JIMDO. Engage with your website visitors in real time through live chat, providing instant support and boosting customer satisfaction. With CINNOX, you can effortlessly handle customer enquiries across various channels and devices, including social media, email, and calls. Simplify your customer service with CINNOX's omnichannel solution today.
Start for FREE Get a Demo
Jimdo is a cloud-based platform which helps businesses create websites, add images, logos and text using drag-and-drop and modify colours and layouts. It lets businesses set up an online store, receive customer payment, and provide them with a local pickup option.
For more details, go to www.jimdo.com.
The CINNOX live chat and web call lets you instantly add call and chat functions on your Jimdo site so you can promptly answer enquiries from your online visitors. It installs the CINNOX Widget on your page and lets you use its core features.
Here are the steps to follow when adding the CINNOX web widget on your Jimdo website:
- Log in to your Jimdo dashboard account.
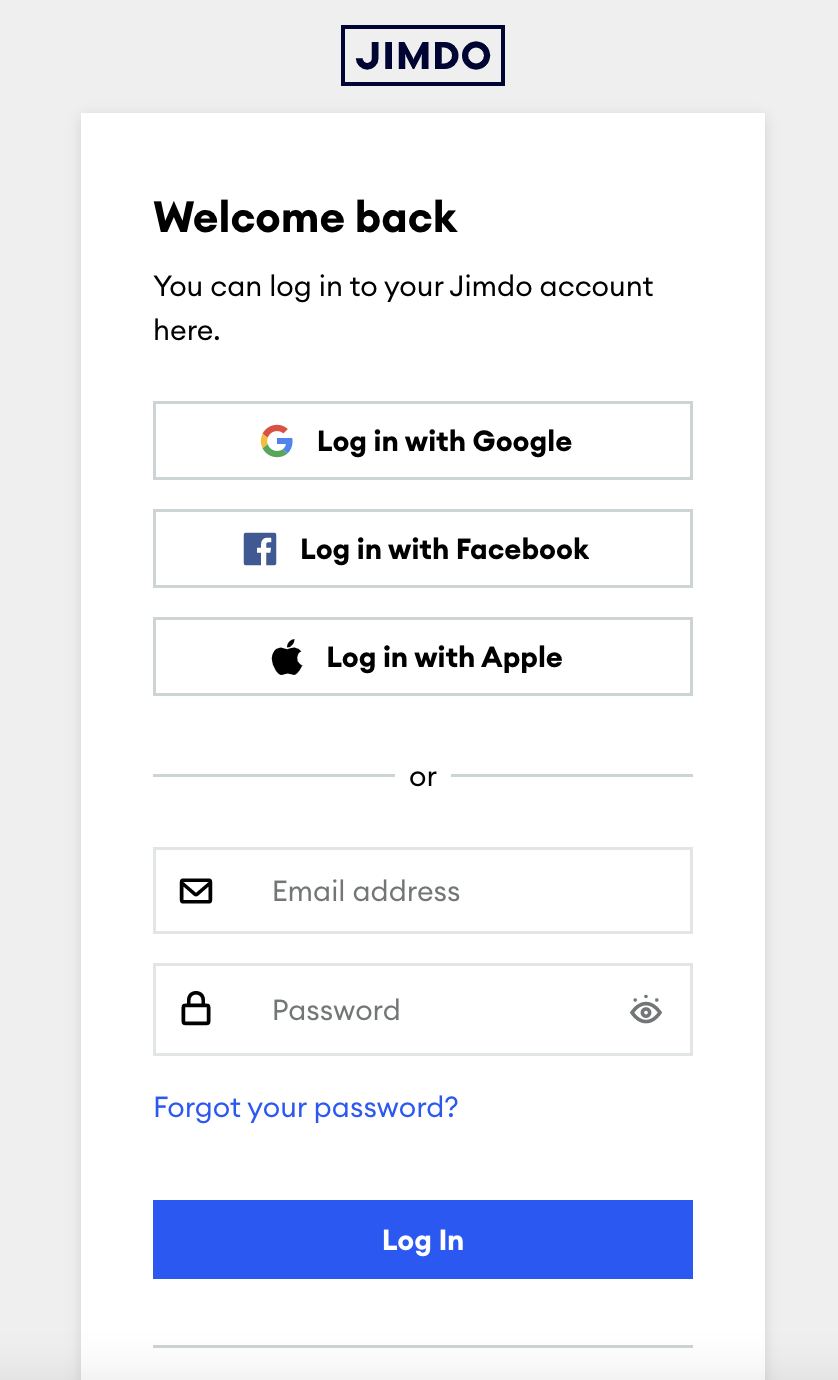
Jimdo Login Page
In Jimdo, there are 2 types of creating a new website:
- Create a beautiful website—no coding required
- The editor for coding experts

Below are the steps for a website that has selected The editor for coding experts.
- On your dashboard, choose a website, click Actions, then select Edit for the website where you want to add the CINNOX chat and call function.
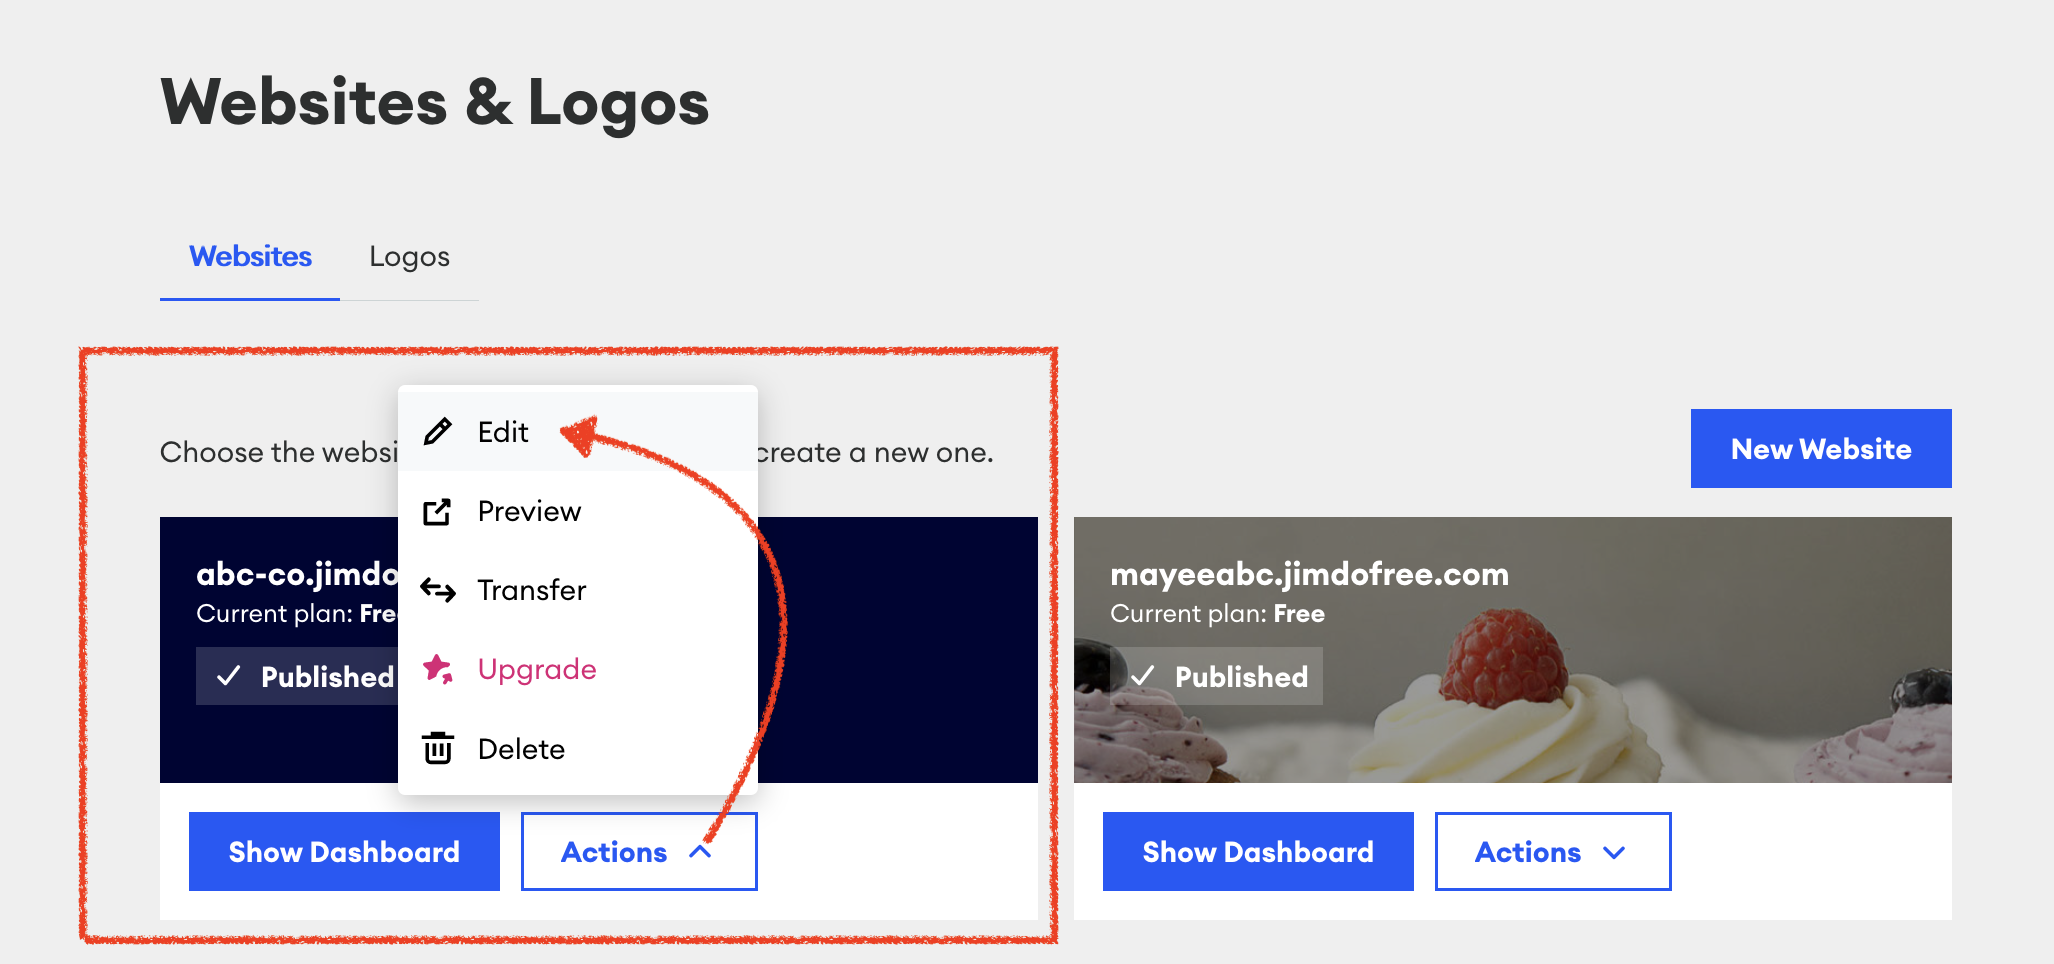
Jimdo Dashboard
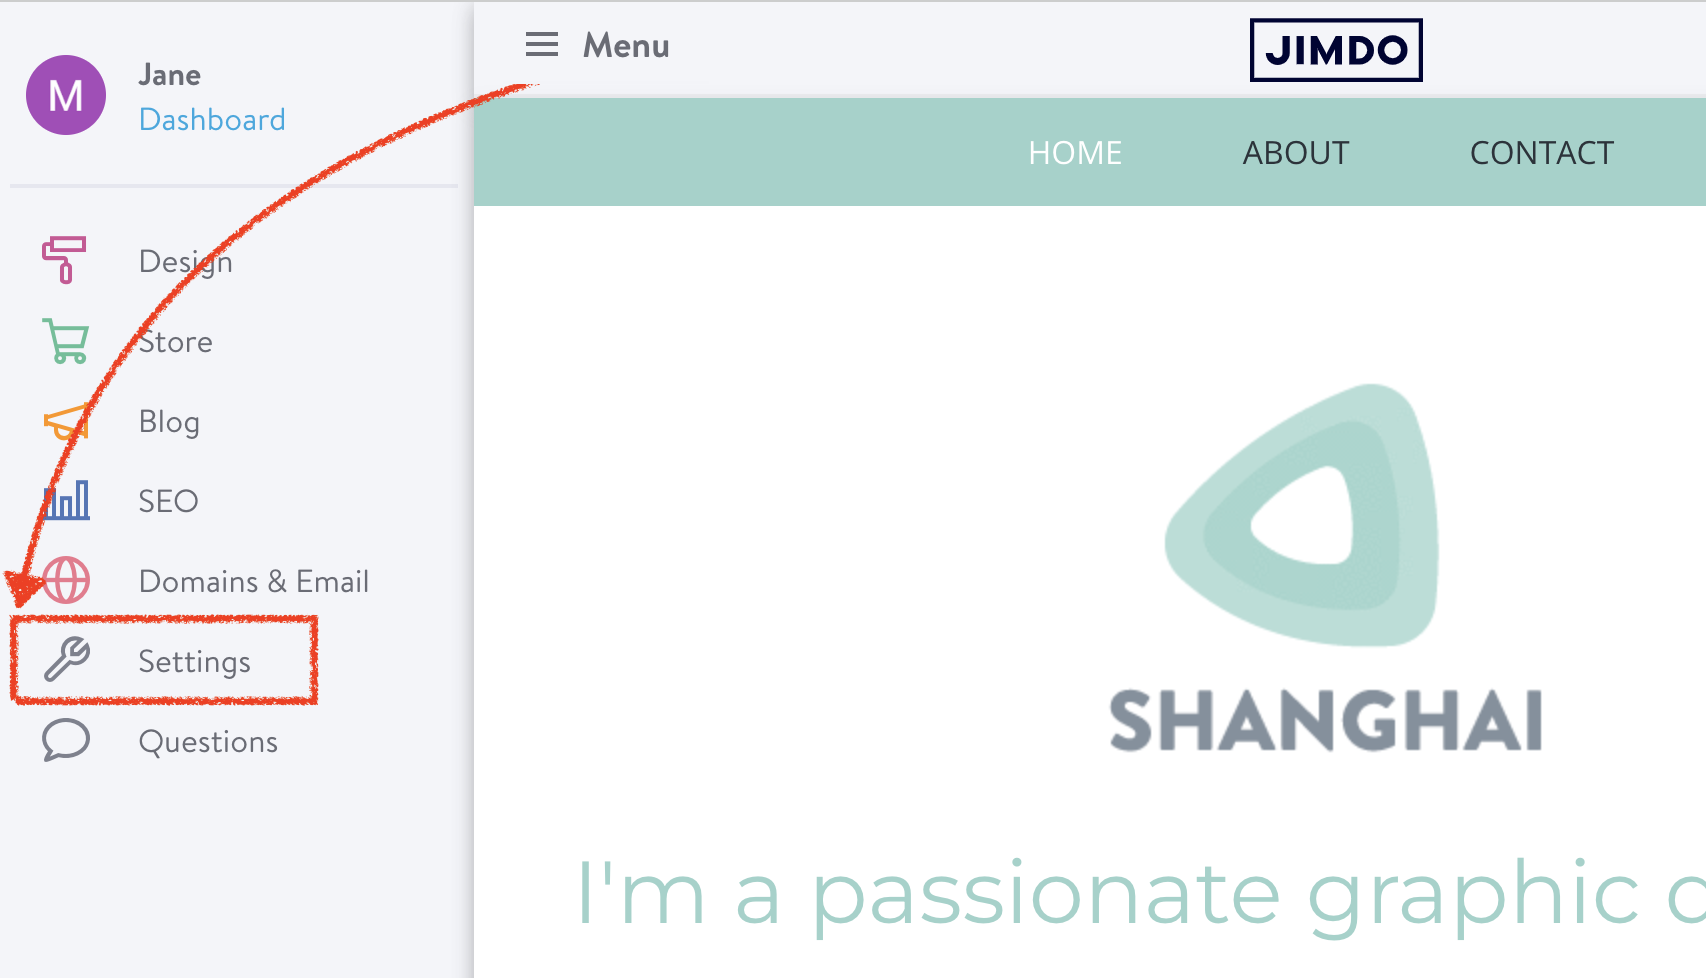
- Under Menu on the left, select Settings
- Select Edit Head. This is where you will paste the CINNOX widget code for your website.
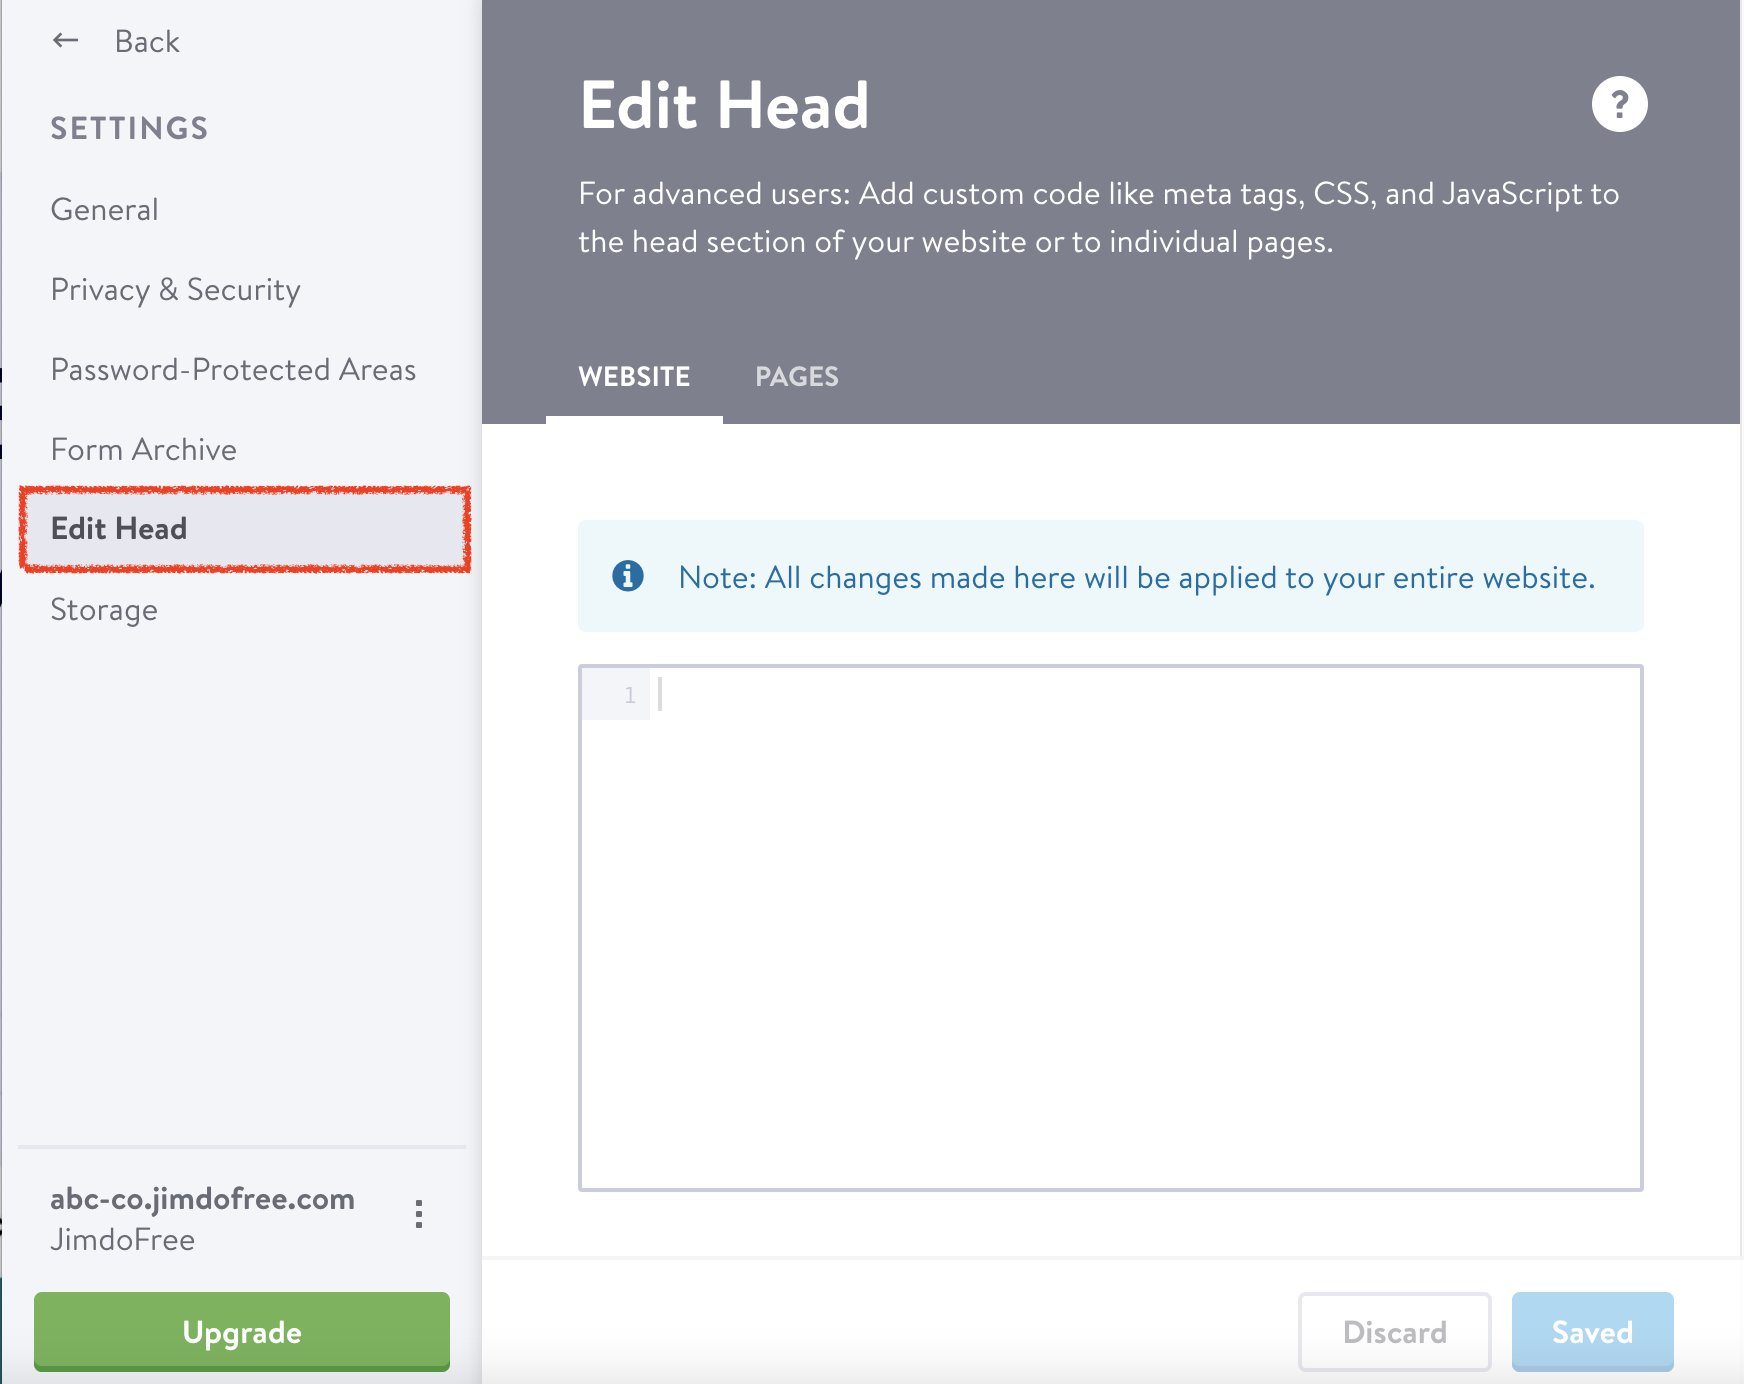
Jimdo Custom Code
- Log in to your CINNOX Web Dashboard.
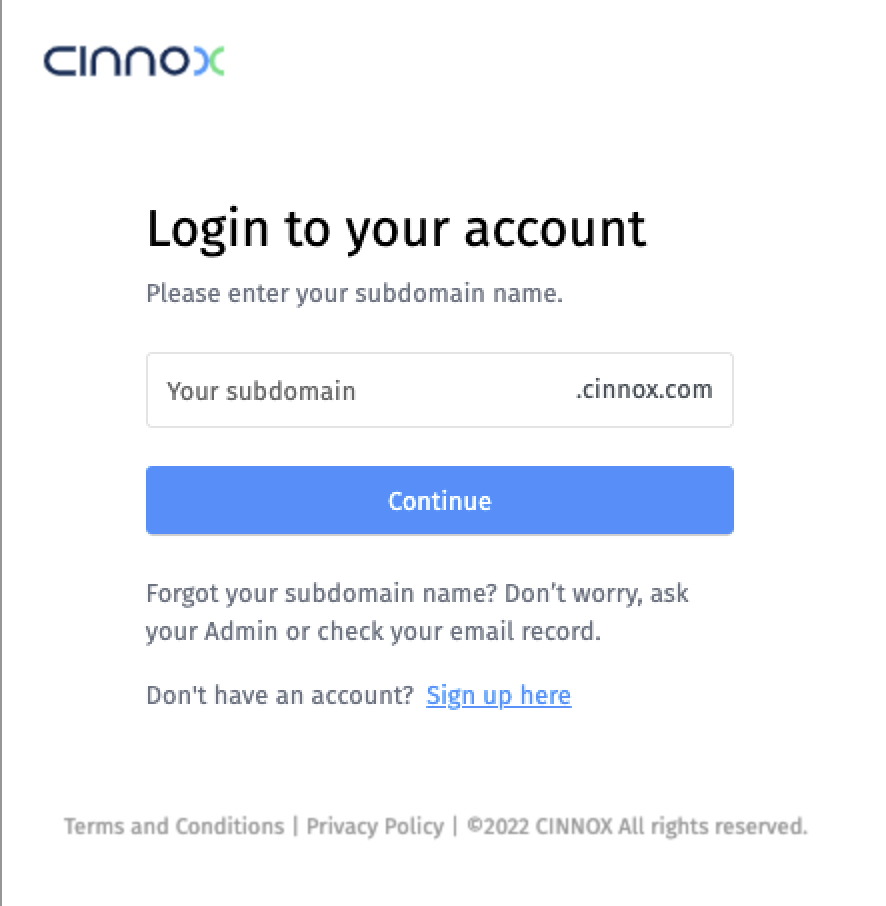
CINNOX Login Page
- Navigate to Administration > Widget > Installation. From the Widget Installation > Web Widget, click on Copy.

CINNOX Admin > Widget > Installation
- Back on your Jimdo, under the Edit Head, paste your CINNOX Widget code.
If existing codes exist in the Head Code, paste the CINNOX Widget code after.
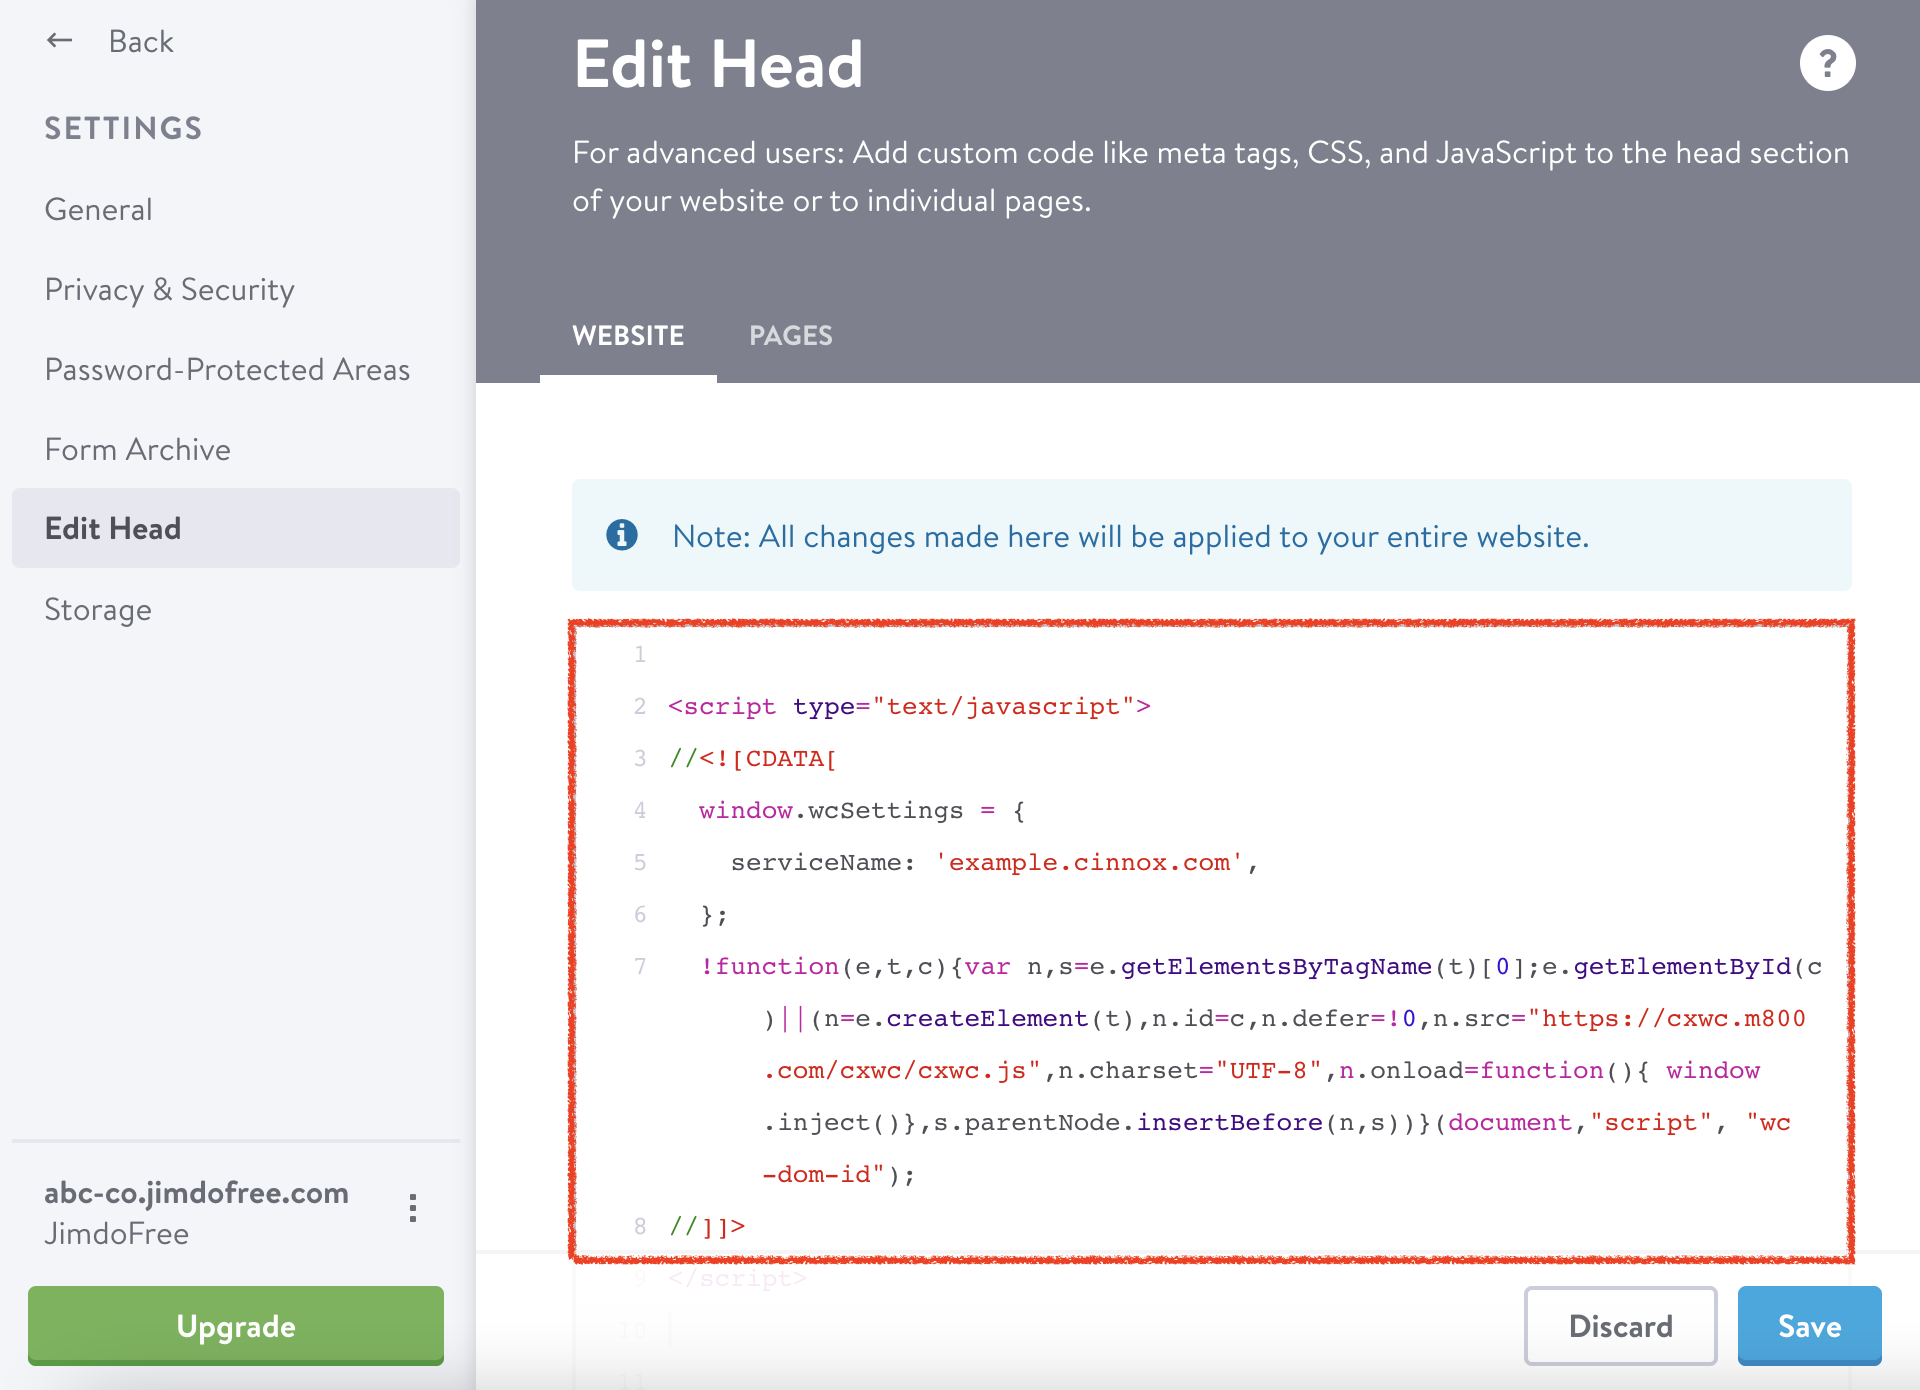
Jimdo Edit Head
- Click on Save, at the bottom right corner of the page.
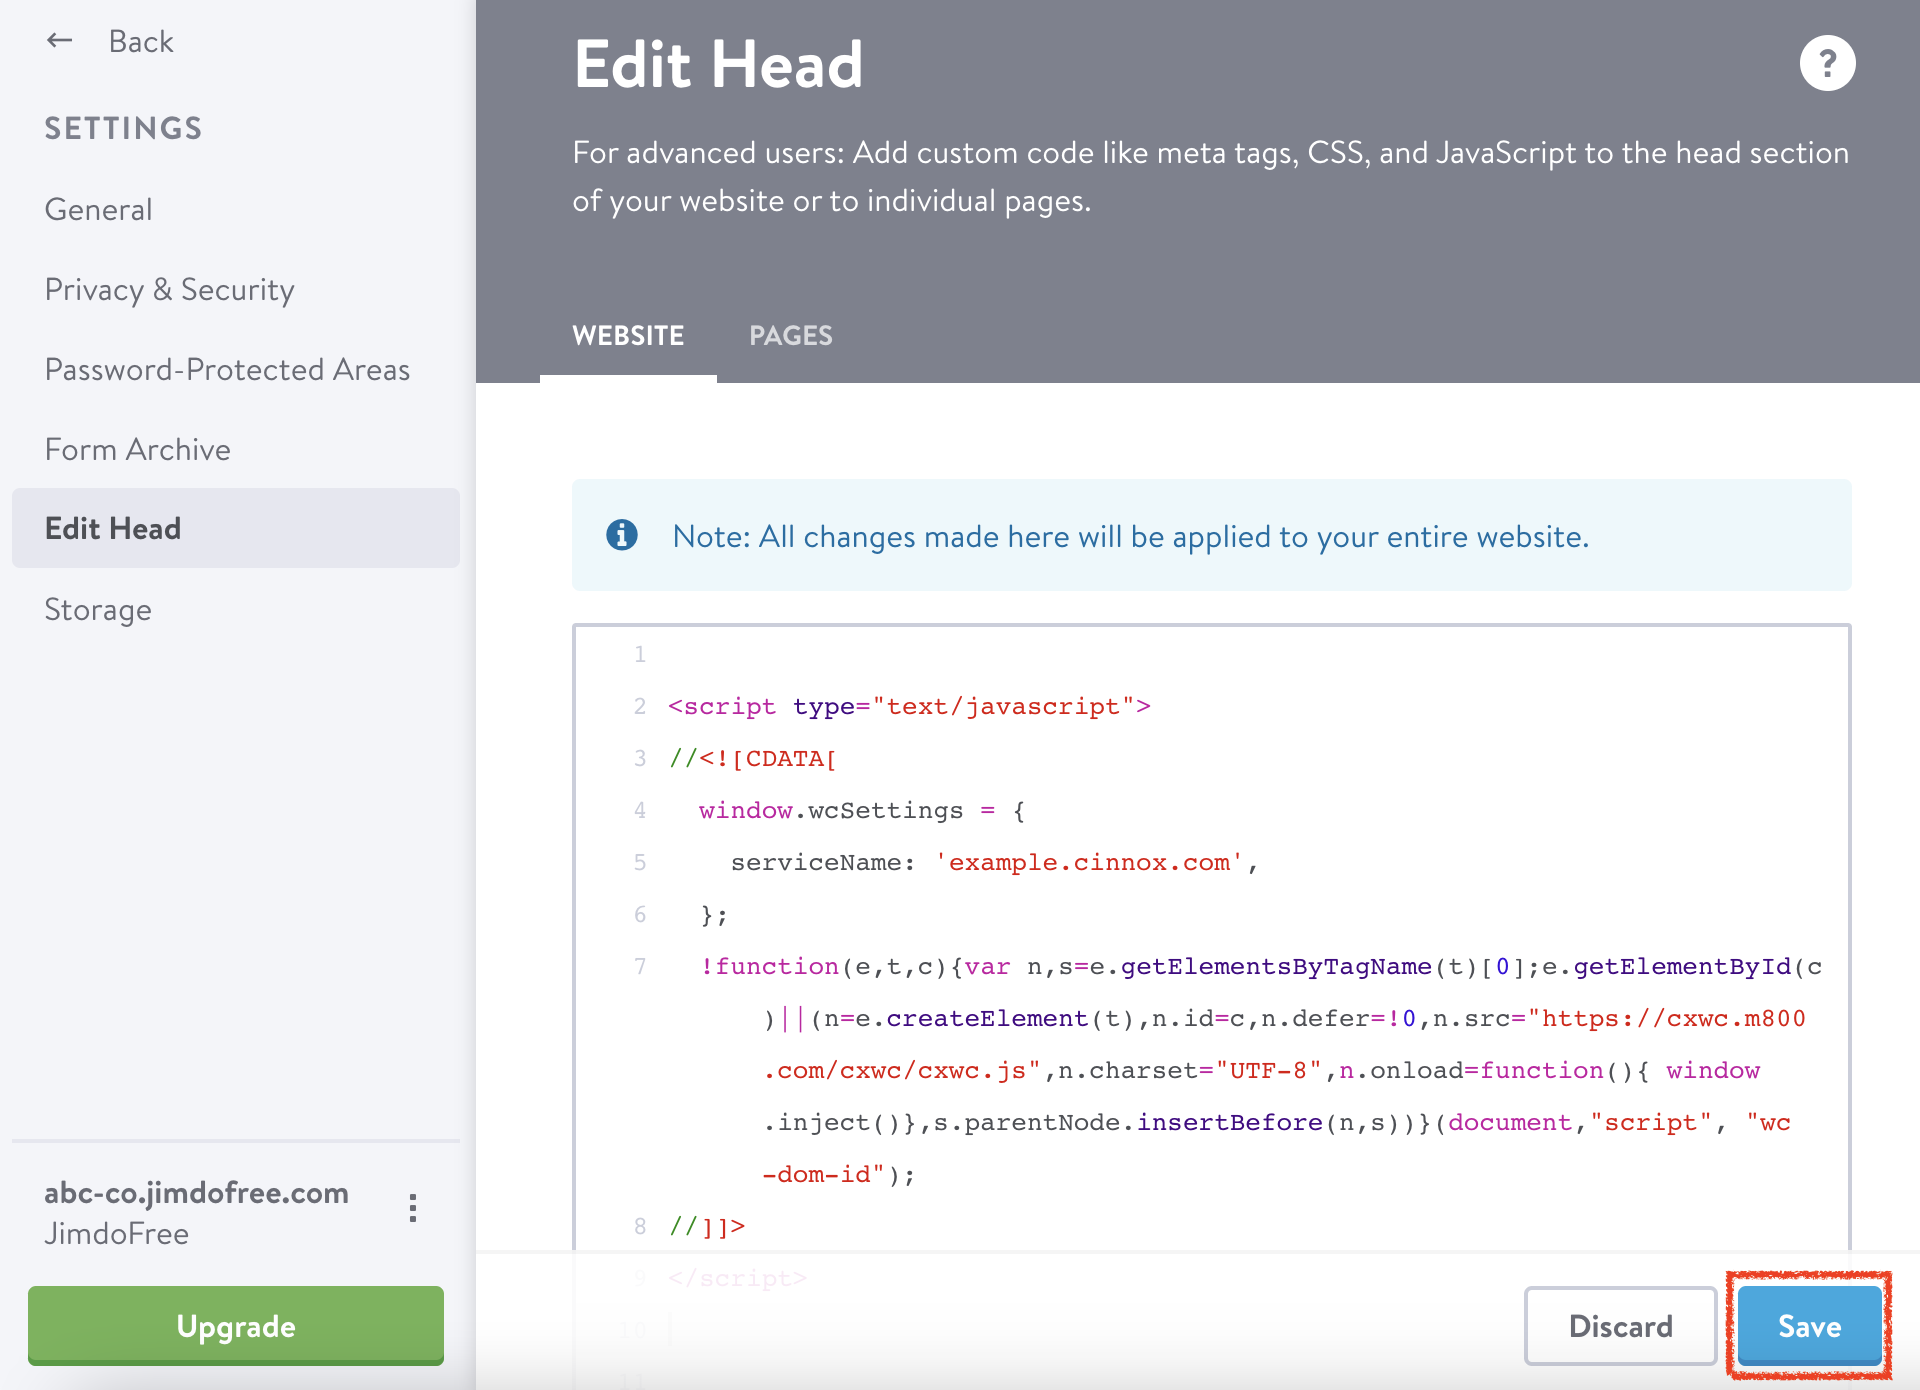
Jimdo with CINNOX Widget Code
- Open your website to preview. The CINNOX Widget should appear at the bottom right corner.

Jimdo Site with CINNOX Widget
From now on, visitors can contact you through live chat and call on your Jimdo website.
For more information on configuring your CINNOX widget, refer to this Guide's Customising Your Widget section.
To know how to change the widget position from right to left, refer to this Guide's Dynamic Change of Installed Widget section.
Updated 5 months ago