Manage Tag Directory
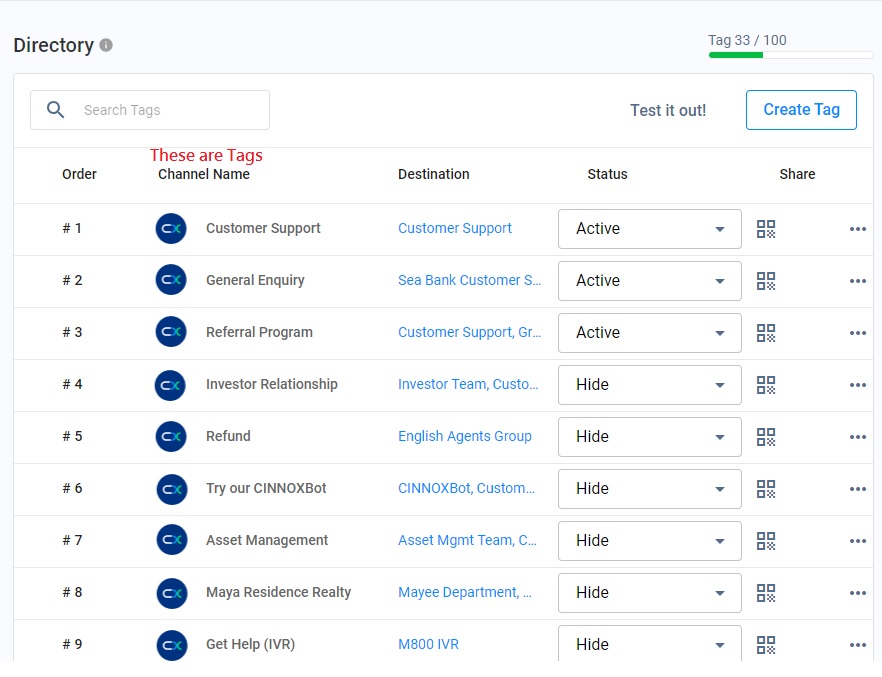
Directory
The CINNOX Directory lists your corporate tags and staff members so visitors can reach your customer support via live chat and call when they click the widget on your website.
There are two types of Directories that you can enable and utilise in your web widget.
- Tag Directory - list of corporate services with the support team as agents.
- Staff Directory - list of staff members that can be contacted directly by your website visitors. Refer to our Configuring the Widget - Enable Staff Directory section of this Guide.
Tags
Tags are usually associated with the business divisions or teams in a company, and they help your website visitors identify which one they will have to contact.
For example, if you create a tag named Marketing and Sales, it will be listed in your Tag Directory, and your website visitors can contact your marketing and sales team directly from there.
You can create tags in the CINNOX dashboard and configure their destination settings based on your support teams, supported locations and languages.
QR Code and Web Link
When you create a tag, CINNOX automatically generates its QR code and web link. QR codes and web links are alternative methods your customers can use to connect directly with your support team.
To share the Tag's QR code with your staff and customers, or attach it on a web page or other channels where visitors can reach you, download and save the QR code image in PNG or SVG format. To share the Tag's web link, copy its URL.

QR Code and Web Link
- Visitors or customers can interact with your Tag via Chat or Call through the web link.

How to Create a New Tag
Please refer to the How to Create New Tags section of this Guide.
How to Set Tag Status
You can set the status of your Tags to any of the following:
- Active: this status will display the Tag in your tag directory
- Suspend: this status will deactivate the Tag and will not display it in your tag directory
- Hide: this status will not display the Tag in your tag directory
To set the status of your Tag:
- Go to Administration > Channels > Directory from the navigation menu.
- On the Directory page, locate the Status column.
- For each Tag listed on the table, please select the status you wish to set from the dropdown box.
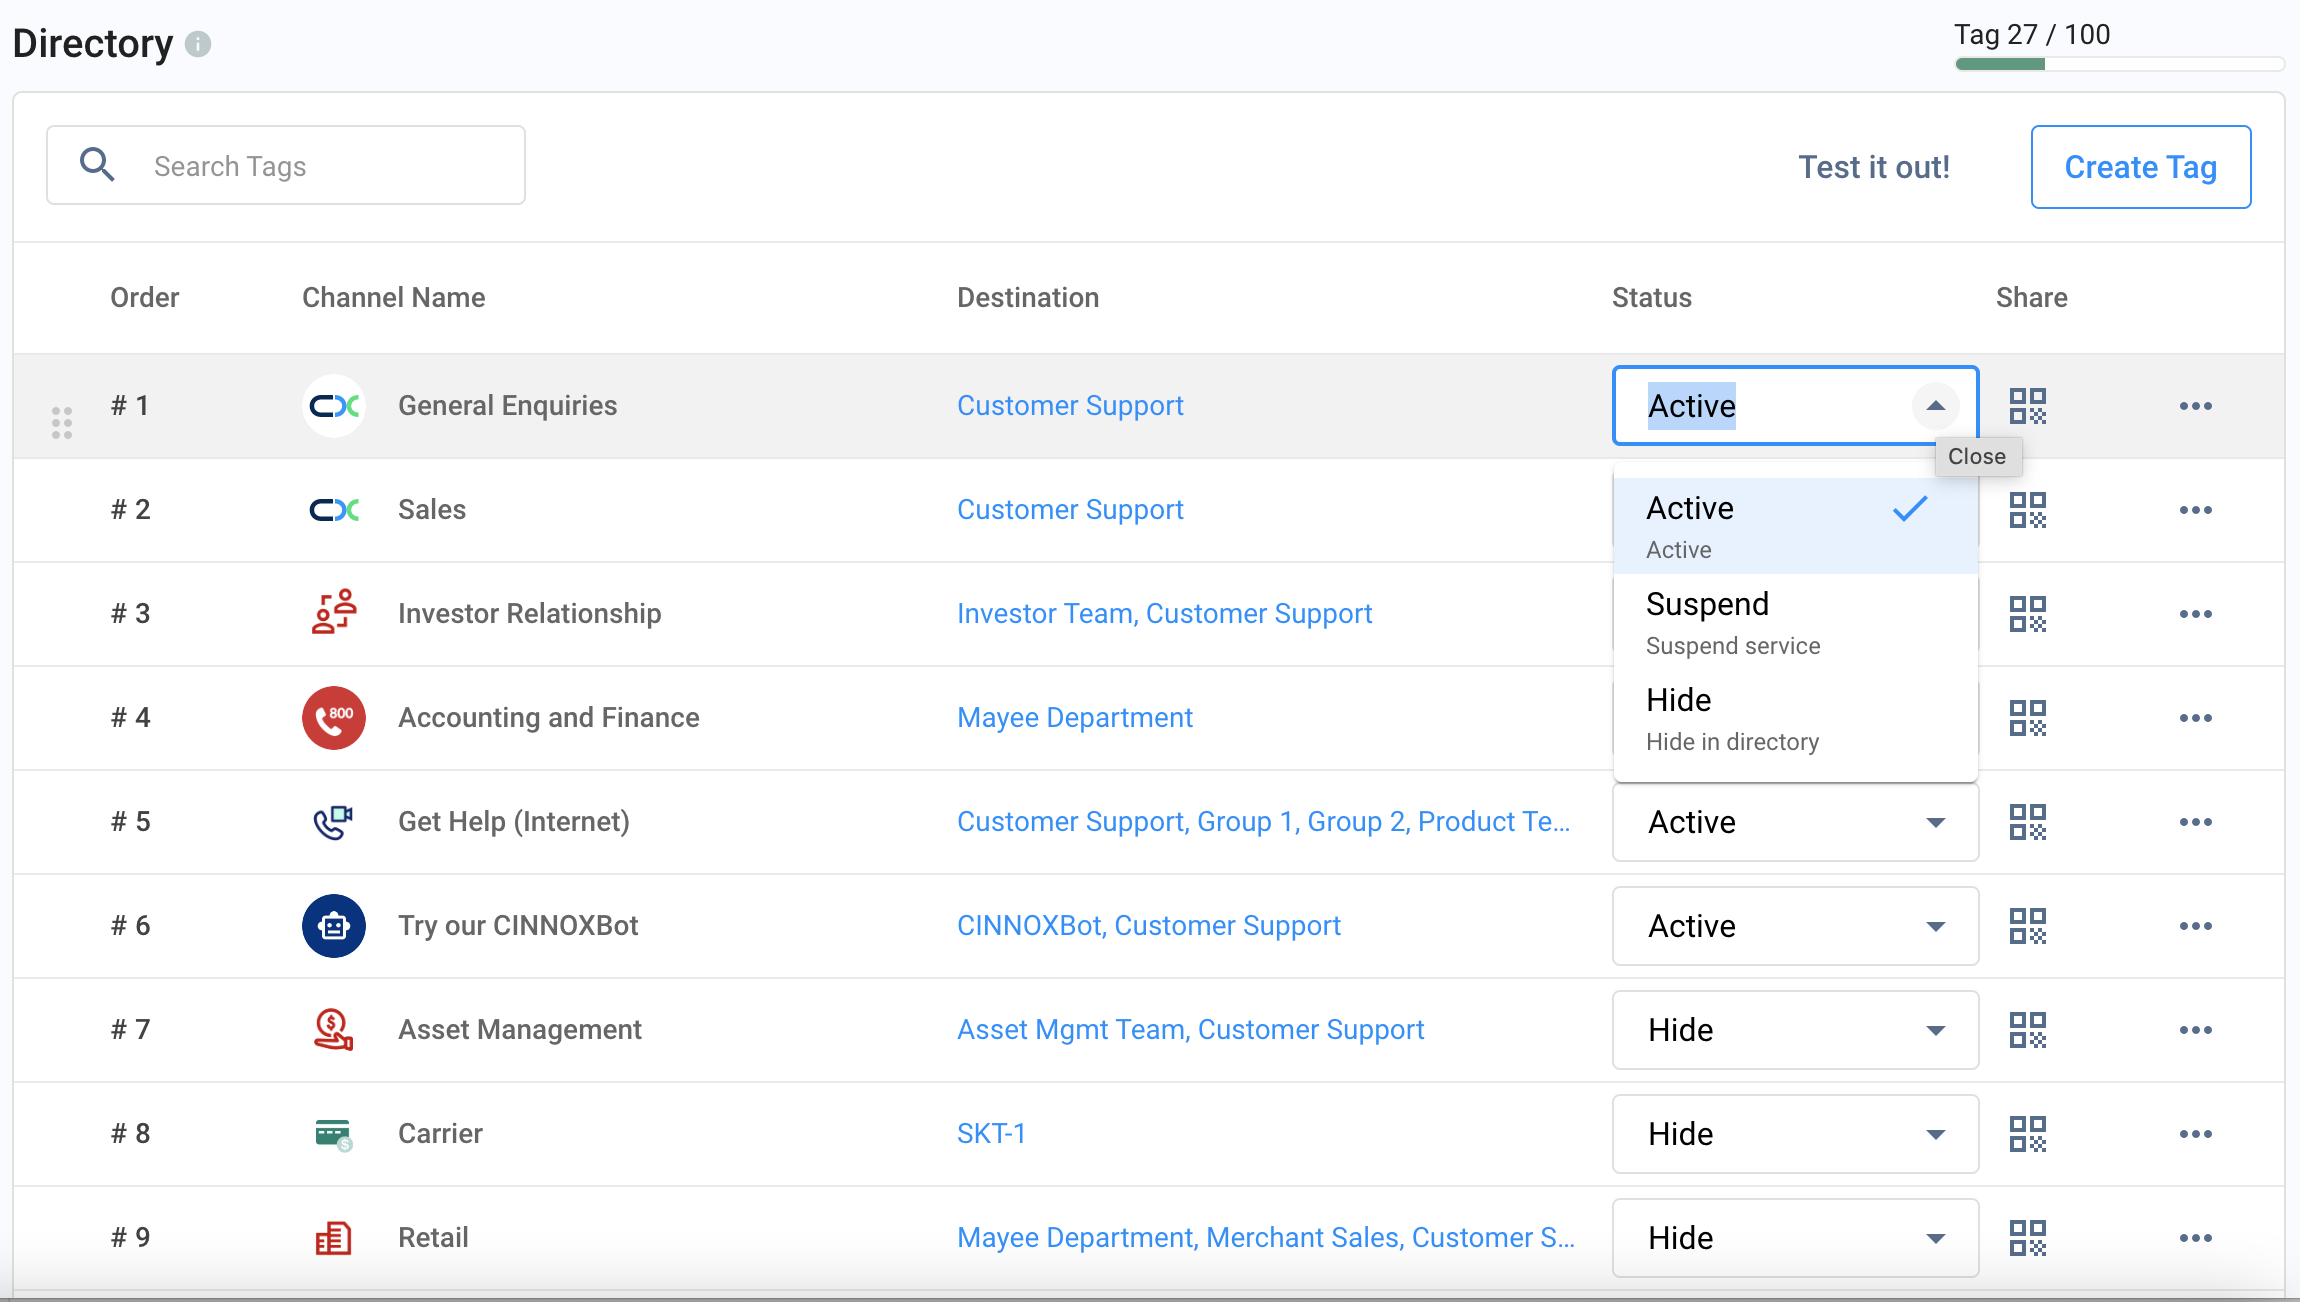
Setting Tag Status
How to Reorder Tags
You can rearrange how the Tags are listed in your web widget.
Drag and Drop
- On the Directory page, click on a Tag Name and drag it to your preferred position on the list.
Reorder Tags
Rearrange the Order Number
- On the right-hand side of a particular tag, click the vertical ellipsis ( ), then click Rearrange the order.
- Under the Order column, enter the number of your preferred order, then press Enter.
How to View Tag Details
To view a tag:
- Go to Administration > Channels > Directory from the navigation menu.
- On the right-hand side of a particular tag, click the vertical ellipsis ( ), then click Tag Details. The Tag Details page displays the following:
- Basic Information
- Functions Enabled
- Display Name
- Display Icon
- Description
- Display Name in Selected Languages
- Welcome Message
- Idle Message
- Transfer Failed Message
- Close Enquiry Message
- Routing Settings
- Sticky Routing
- Conditional Trigger
- Web Link
- Channel Custom Info
- Basic Information
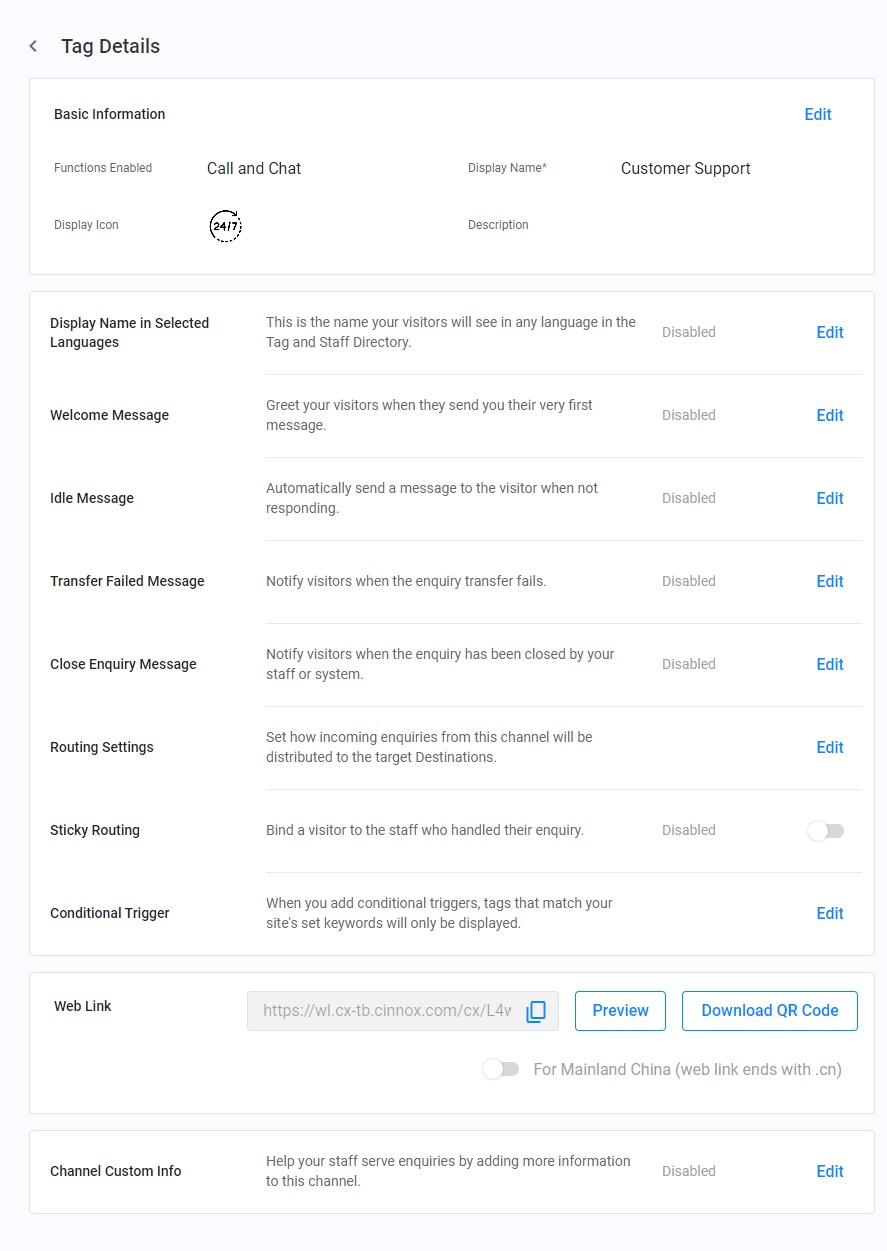
View Tag Details
- To check the tag settings and its actual look, Click Preview.
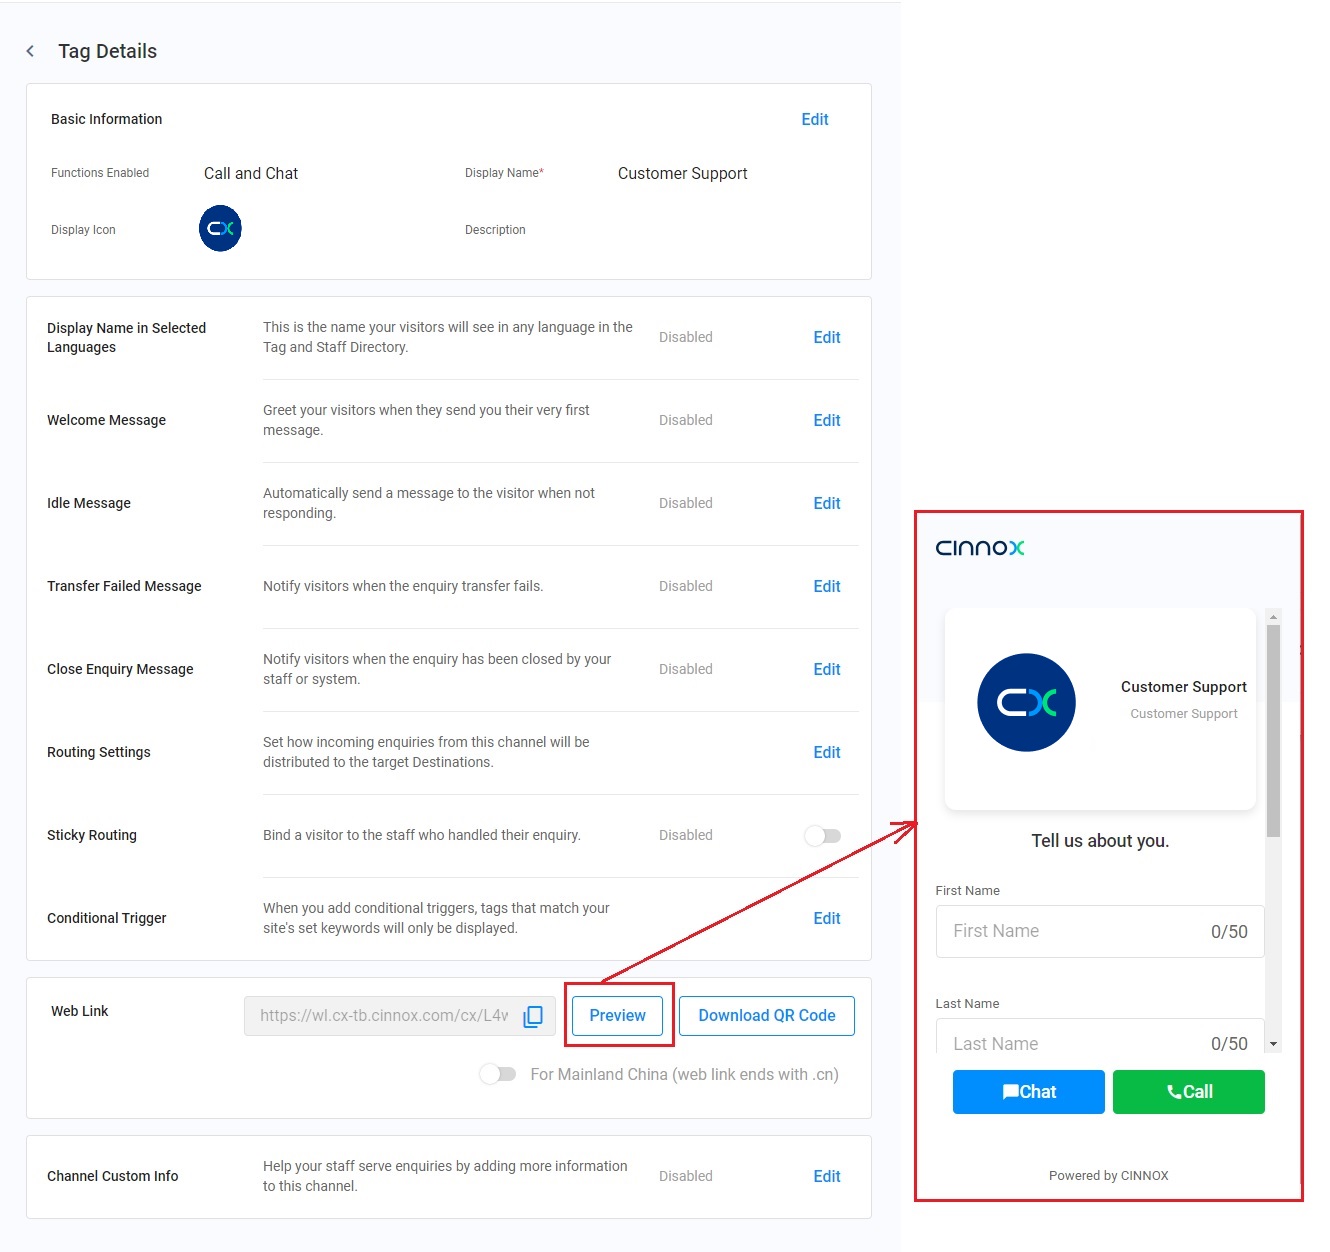
Web Link - Directory Preview
Conditional Trigger
A Conditional Trigger is a metadata set that treats keywords as criteria to show or hide the Tag. If you leave this setting blank, the Tag Directory will display the Tag by default.
For detailed instructions on how to set Conditional Triggers to a tag, refer to the Tag Conditional Trigger section of this Guide.
How to Edit a Tag
To edit a tag:
- On the Tag Details page, click Edit.
- Update any of the following:
- Basic Information
- Display Name in Selected Languages
- Welcome Message
- Idle Message
- Transfer Failed Message
- Close Enquiry Message
- Routing Settings
- Sticky Routing
- Conditional Trigger
- Channel Custom Info
- Click Save

Edit a Tag
🚧
Reminder:
Changes in the tag details will take effect immediately after clicking Save.
To avoid connection disruption between your staff members and visitors, be mindful of the timing when editing tag details.
How to Delete a Tag
To delete a tag:
- Go to Administration > Channels > Directory from the navigation menu.
- On the right-hand side of a particular tag, click the vertical ellipsis ( ), then click Delete Tag. A pop-up window will appear, asking to confirm the deletion of the Tag.
- Click Delete.
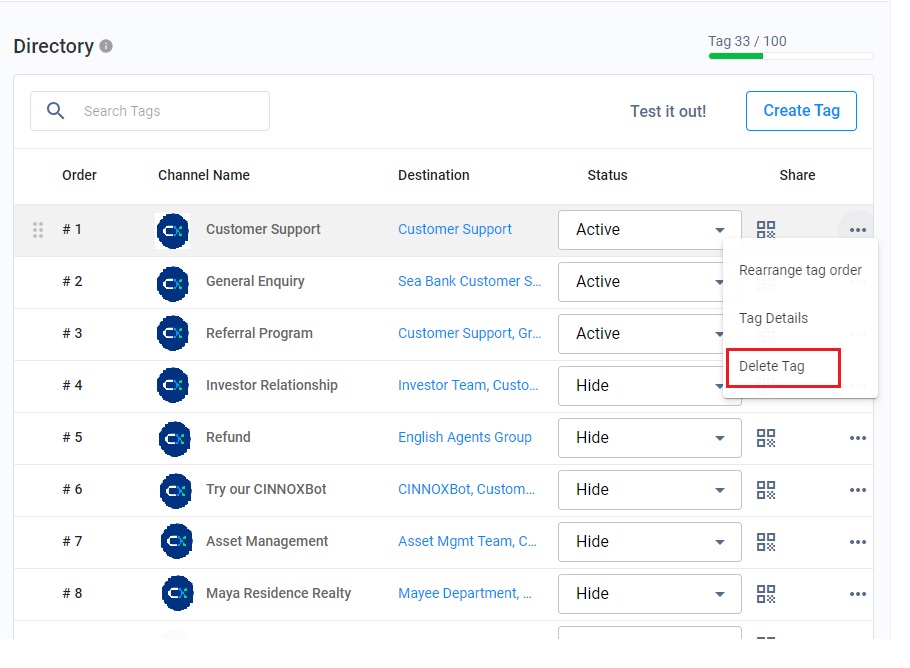
Delete a Tag
📘
Tutorial
Your Complete Guide to Tags, Directories, and Smart Routing for Curating Customer Experience.