Managing Service Group
Service Groups are groups or teams of supporting staff serving incoming enquiries. This staff are responsible for answering enquiries from your CINNOX channels. As it is your organisation's frontline contact with visitors and customers to handle enquiries, flexibility is one of the main concerns for the quality of the service.
CINNOX provides flexibility in the options of the three destination types to pick up your visitor and customer enquiries:
| Destination Type | Description |
|---|---|
| Staff List | Staff accounts created in CINNOX are listed as a destination endpoint to handle visitor calls and chat enquiries. |
| PSTN Phone | A phone number is required as the endpoint to handle the call enquiry. Keep an eye on incoming calls when you use a PSTN Phone (especially as the first endpoint). If a call goes to voicemail, it’s assumed that the PSTN Phone has handled the enquiry. To avoid this, consider disabling the voicemail. This allows other agents using CINNOX to answer the call. If not, use CINNOX voicemails for follow-ups and callbacks. |
| SIP Trunk | It requires assistance from the CINNOX Support Team to integrate your SIP trunk into CINNOX. Please get in touch with us for more information. |
Creating and Managing a Service Group Video Tutorial
This video tutorial will walk you through a step-by-step guide to successfully create and manage your service group with your customer support members. We'll show you a scenario on how to create a service group to serve targeted incoming enquries.
How to Create a Service Group
To create a service group
- Navigate to Administration > Channels > Destination.
- On the Service Group tab, click Create Group.
- In Service Group Name, enter the name of the support team to handle visitor customer enquiries (e.g., English Support Group)
Support Language
- In the Support Language, select the language(s) your support team will cover.
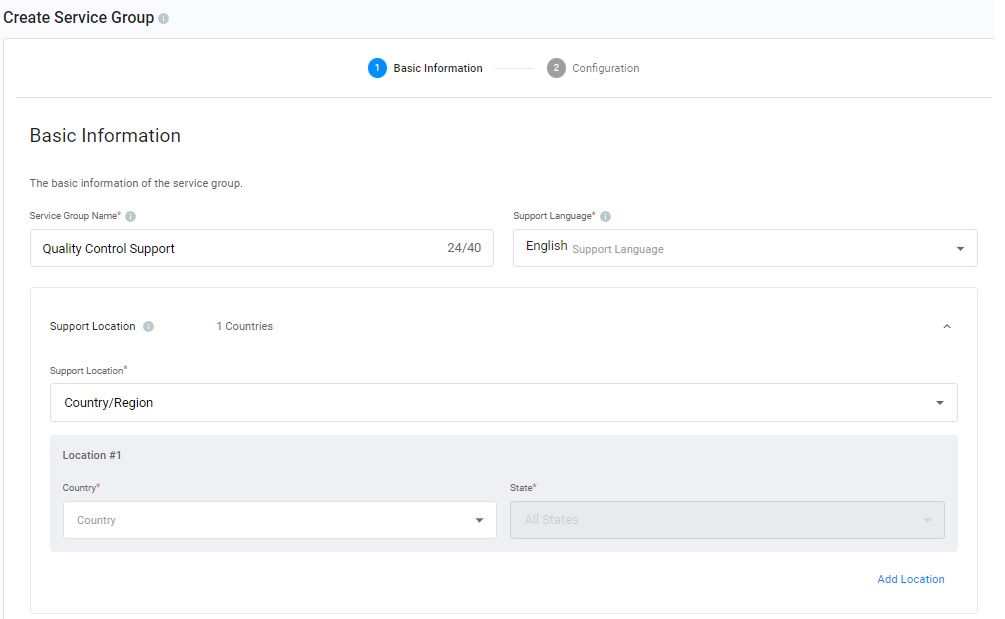
Fill in the Basic Information
Support Location
- Click on the drop-down list of the Support Location. When you choose Country/Region, you can click on the drop-down box to select CountryCountry and State to determine the CountryCountry and state your service group will cover. If your service group covers more than one CountryCountry and State, you can click on Add Location to choose more countries and states.
- Click on Next.
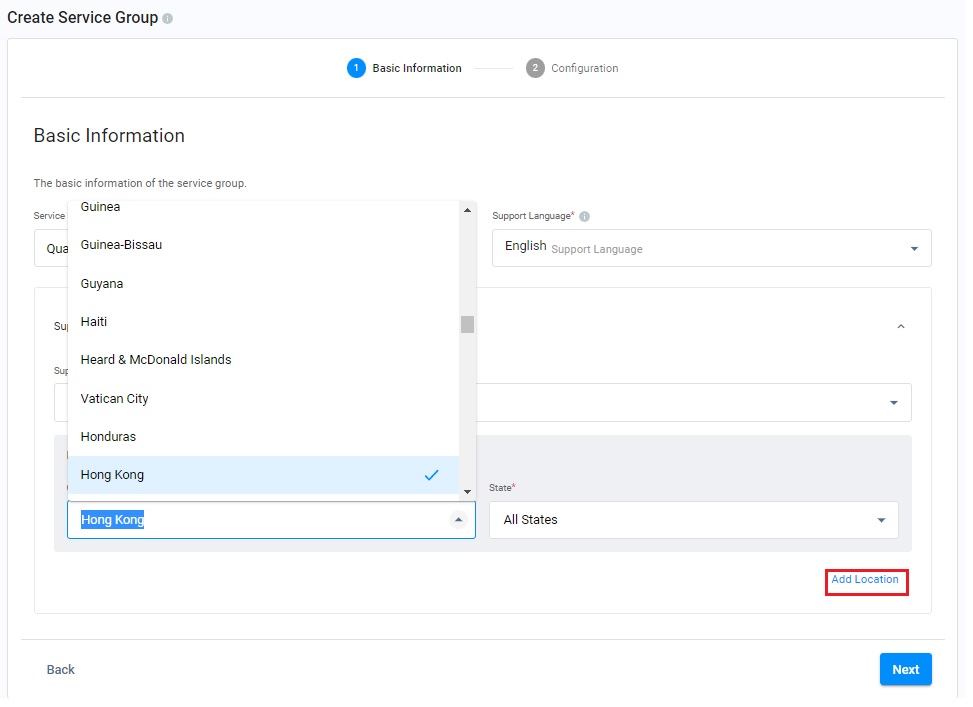
Choose the country and state your team will cover.
Automatic Enquiry Distribution
On the Destination Rules page, as long as the Call System is enabled, the Automatic Enquiry Distribution method is either the Simultaneous or Fixed Order selectable for your service group creation.
If the Advanced System is disabled, Simultaneous is set as a default for the Automatic call distribution method.
How to enable or disable the Advanced Call System
- Please refer to Advanced Call System of this Guide.

The Enable Call System button is on the Virtual Numbers list
Case 1: When the Call System is Enabled
- Click on the drop-down box to choose either Simultaneous or Fixed Order as your Automatic call distribution method.
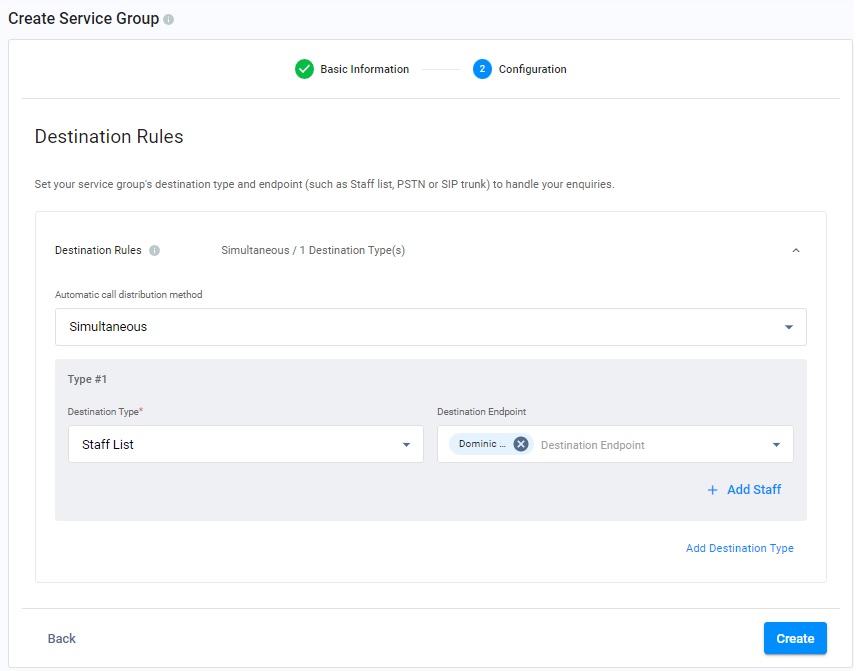
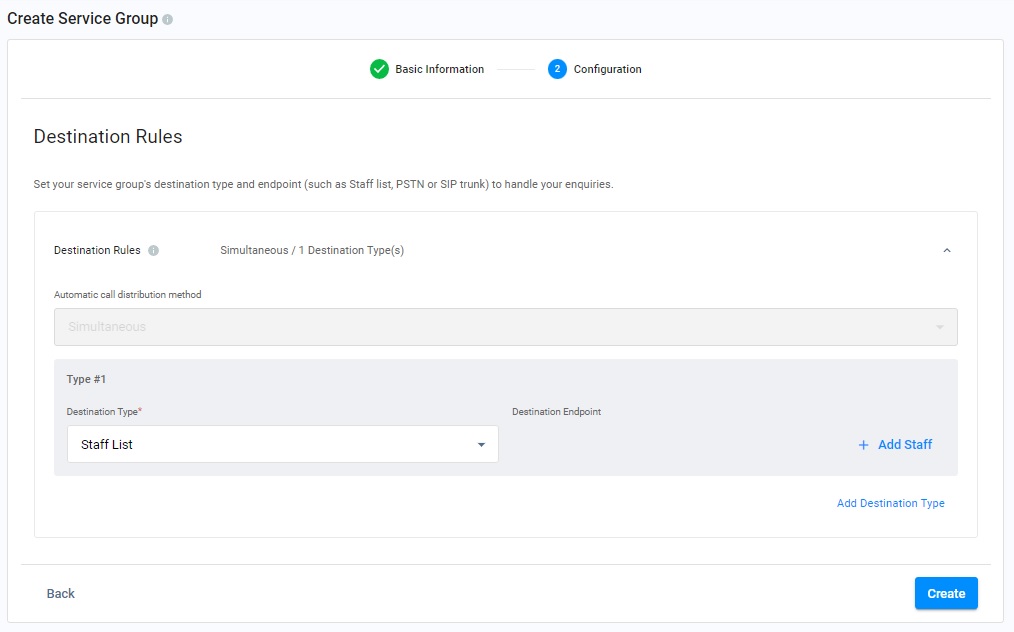
A. Automatic Enquiry Distribution method: Simultaneous
- Click on the drop-down box of Destination Type to choose either Staff List, PSTN Phone and SIP Trunk and its corresponding Destination Endpoint.
You can add up to 30 destination endpoints. All endpoints will simultaneously receive a notification whenever there is an open enquiry.
If required, you can click on Add Destination Type to add a different destination type. - Click on Create.
📘
The simultaneous distribution method refers to all destination endpoints alerted to an incoming call simultaneously. The first agent who picks up will handle the customer.
Automatic call distribution method is Simultaneous
- The service group is created successfully. Click on Done.
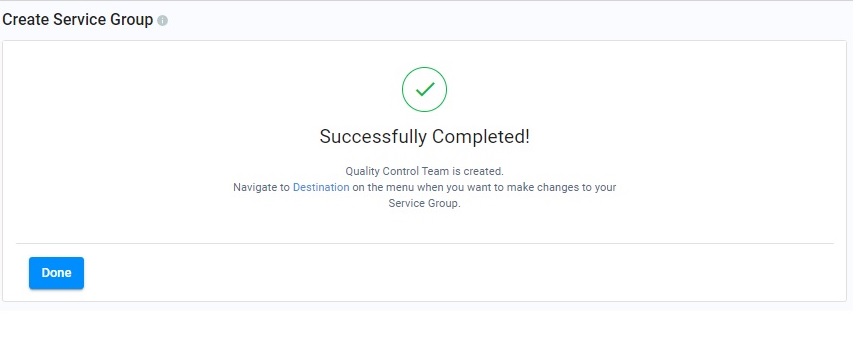
Click on Done.
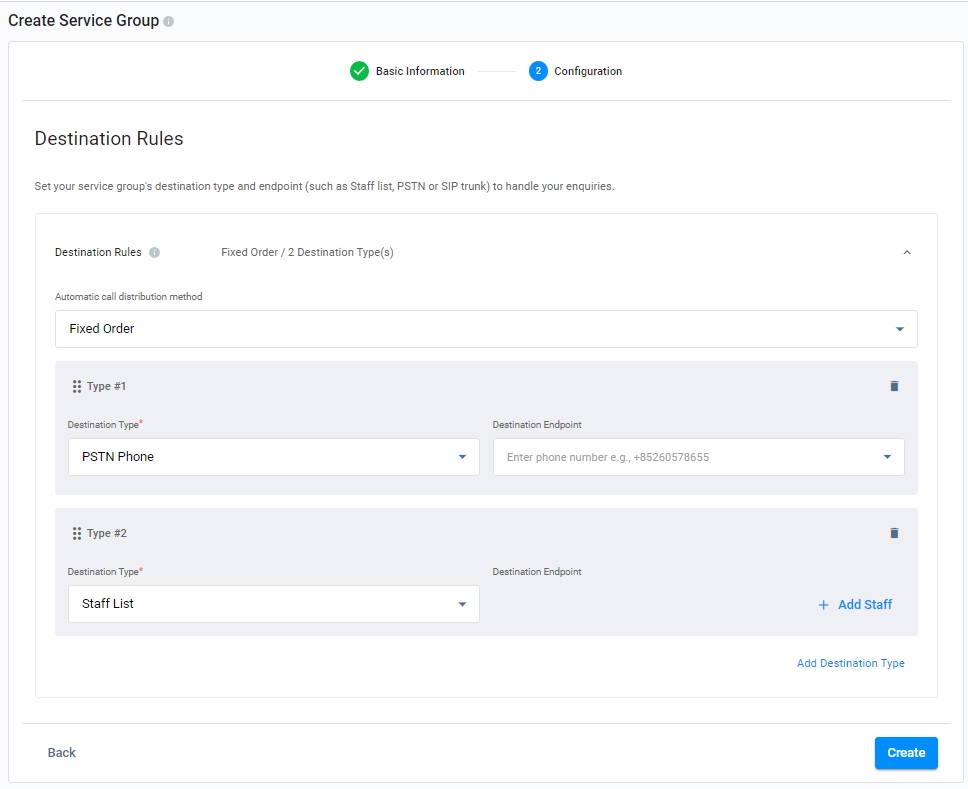
B. Automatic call distribution method: Fixed Order
- Click on the drop-down box of Destination Type, and select the preferred destination type (Staff list, PSTN or SIP Trunk).
According to the chosen destination type, add the endpoint, CINNOX Staff for the Staff list, the PSTN Phone phone number, and the SIP Trunk's trunk number.
If required, you can click on Add Destination Type to add a different destination type.
Choose your Destination Type
📘
The fixed-order distribution method refers to an incoming call initially distributed to the first endpoint based on the pre-defined order in Distribution Rules. The enquiry will only be distributed to the subsequent endpoint when the first one is unavailable (offline or busy).
- In each type, you can change the order of the staff receiving the call using drag and drop.

Change the order of staff using drag and drop
- You can also change the order of each Destination Type using drag and drop.
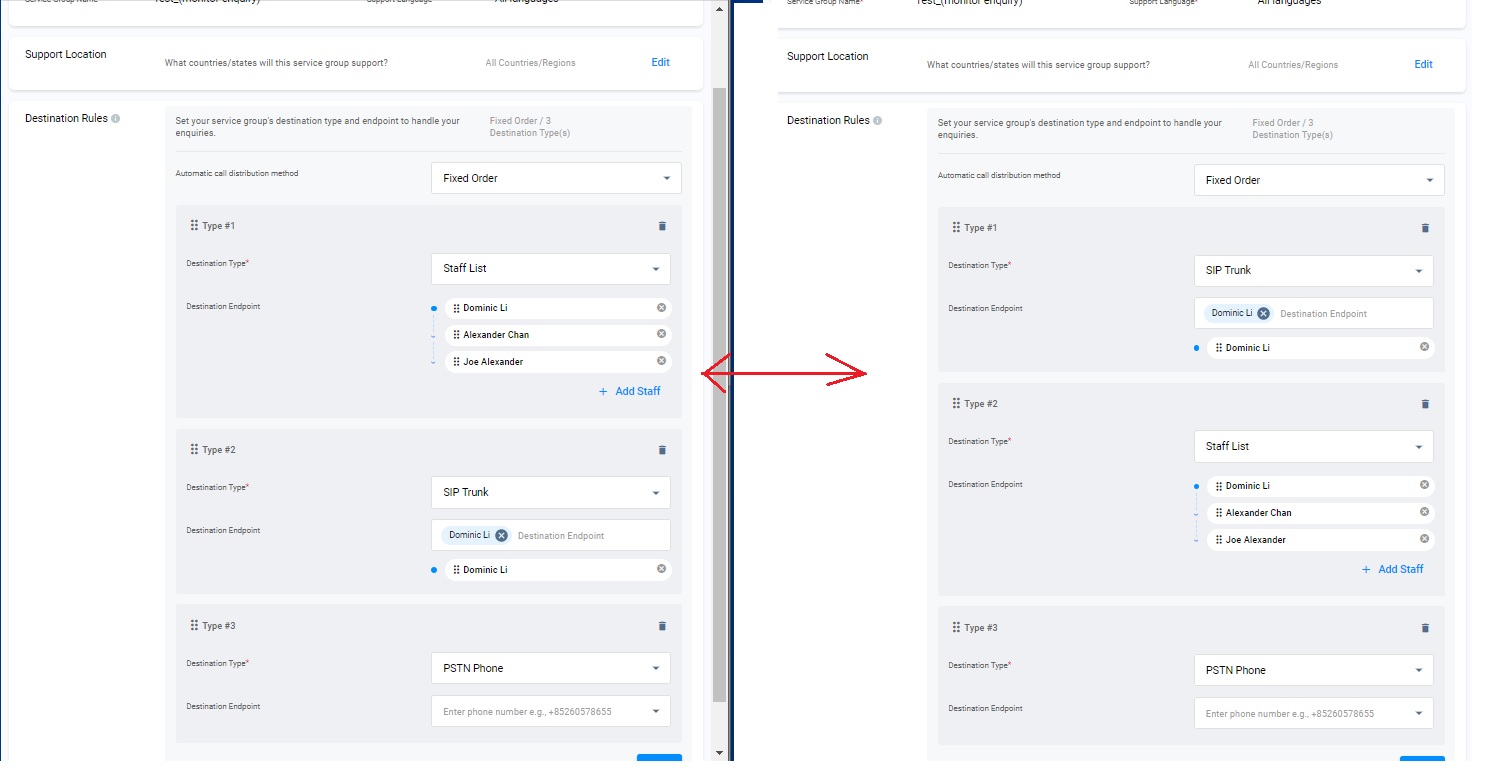
Change the order of the Destination Type
- Click on Create. The service group is created successfully. Click on Done.

Case 2: When the Call System is Disabled
Simultaneous is set as a default, and Fixed Order cannot be selected for the Automatic call distribution method.
- Follow the Case as mentioned above 1-A for settings.
Simultaneous is set as a default
A newly created service group will be listed in the service group list and used in your channel routing.
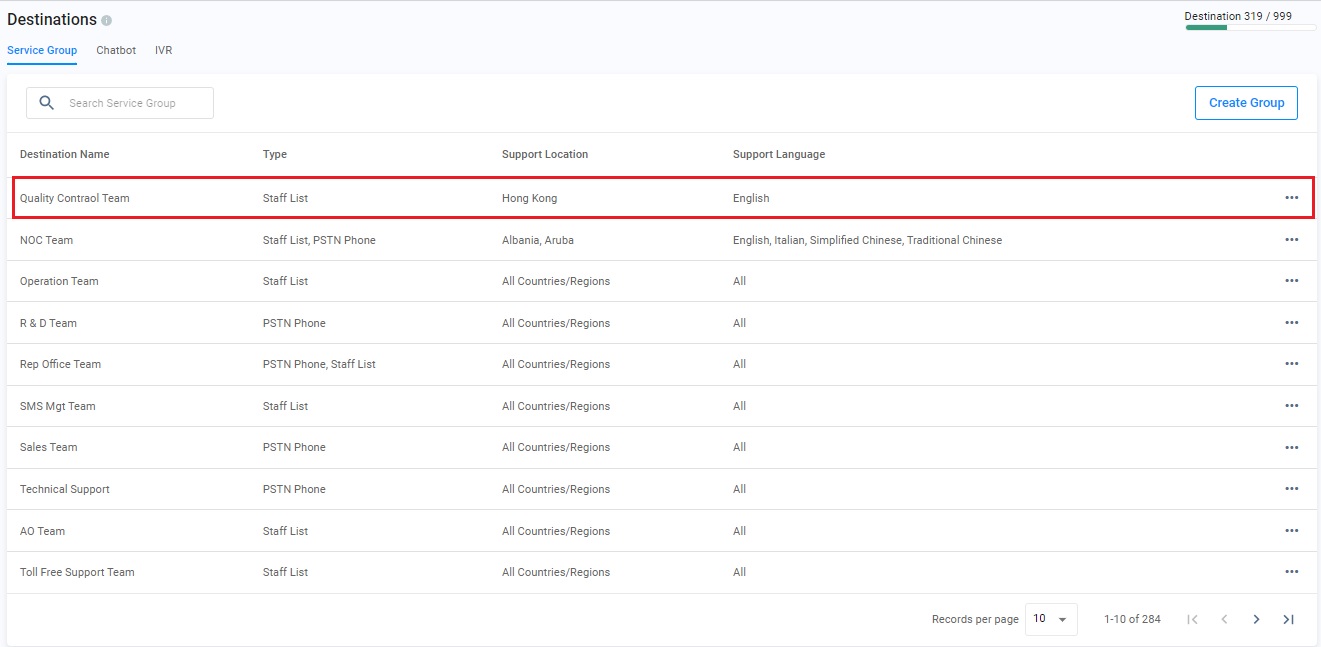
Service Group List
How to Edit a Service Group
To edit a Service Group:
- Navigate to Administration > Channels > Destination.
- On the Service group tab, click More (...) of a service group, then select Destination Details

- Update the details that need to be modified.
- Click on Save.
How to Delete a Service Group
To delete a Service Group:
- Navigate to Administration > Channels > Destination.
- On the Service Group tab, click More (...) of a service group to delete.
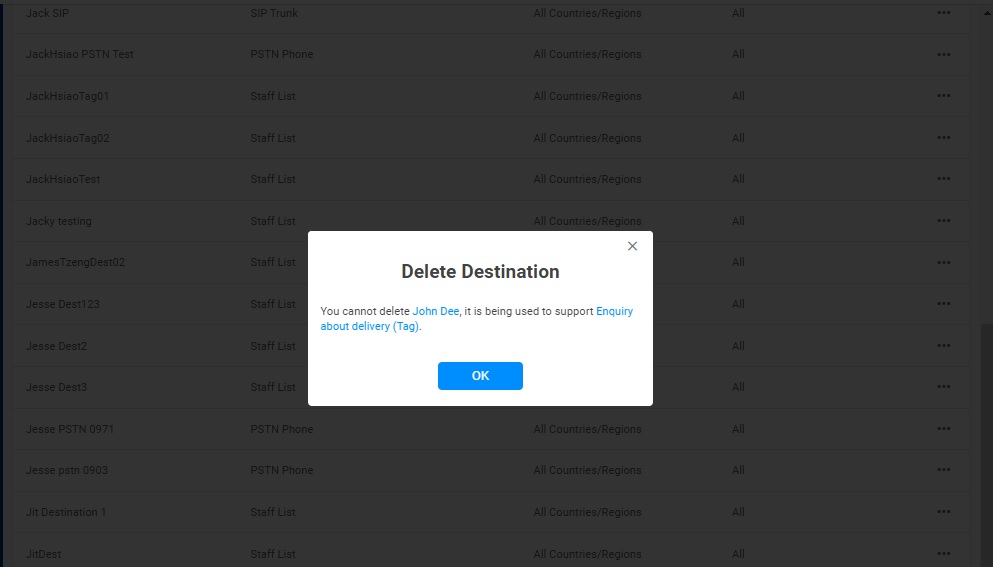
- Click Delete Destination.

- Click OK on the pop-up window that will appear, asking to confirm the deletion of the Service Group.