Wordpress
Need Omnichannel Live Chat Support for your WordPress website?
CINNOX offers an omnichannel solution that seamlessly integrates with WordPress. Engage with your website visitors in real time through live chat, providing instant support and boosting customer satisfaction. With CINNOX, you can effortlessly handle customer enquiries across various channels and devices, including social media, email, and calls. Simplify your customer service with CINNOX's omnichannel solution today.
The CINNOX Plugin for WordPress lets you instantly add call and chat functions on your WordPress site so you can promptly answer enquiries from your online visitors. It installs the CINNOX Widget on your page. It lets you use the platform's core features without installing third-party plugins to copy and paste the widget installation code.
You cannot install plugins on WordPress.com unless you upgrade to their business plan. On the other hand, you can immediately install any plugin you want on your self-hosted WordPress.org. Refer to this WordPress.org vs WordPress.com article for more information about the differences between the two domains.
This is a step-by-step guide on installing the CINNOX Plugin on your WordPress site.
To install the CINNOX plugin on your WordPress site:
- Log in to your WordPress Admin panel.
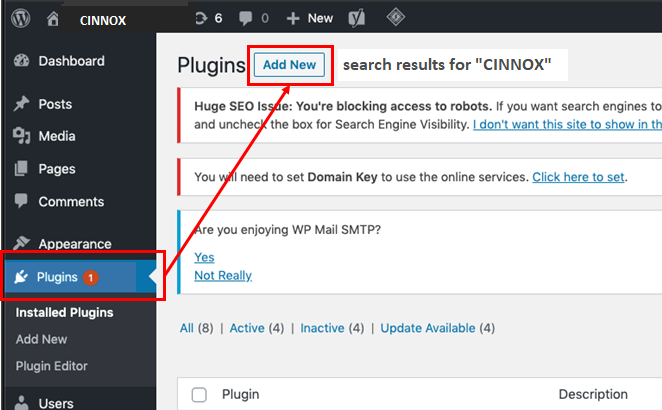
- On your WordPress Dashboard, click Plugins on the left navigation menu, then click the Add New button. This will redirect you to the WordPress Plugins Directory.
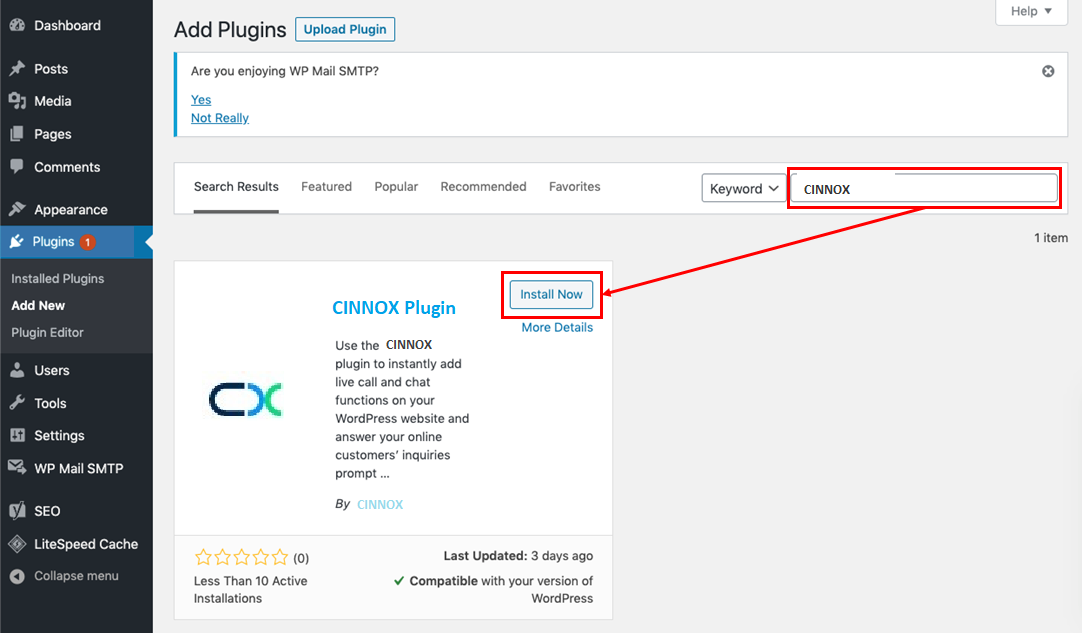
- On the Plugins Directory, type CINNOX in the search bar on the right side of the screen.
For the Search Results, look for CINNOX plugin, then click on Install Now. Wait for a few minutes until WordPress finishes installing the plugin.
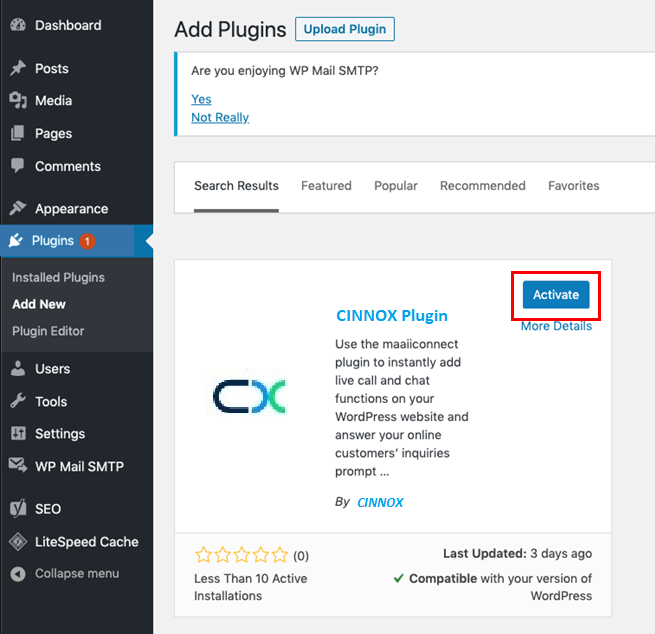
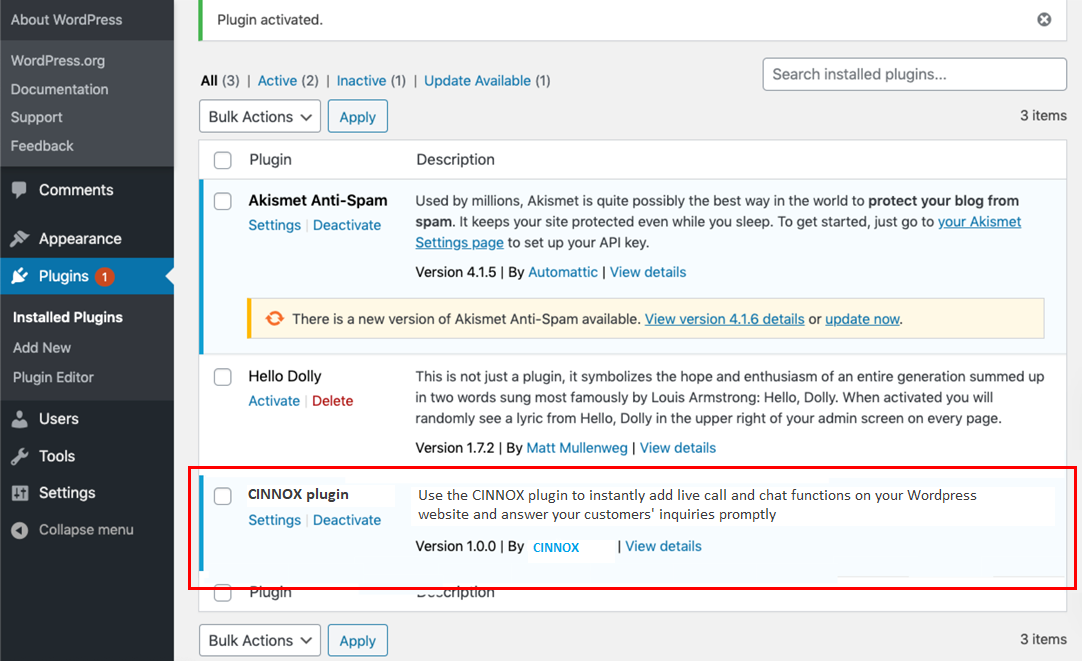
- Click on Activate. This will redirect you back to the Plugins section of your WordPress Dashboard, with CINNOX already listed among your installed WordPress plugins.
- Under the CINNOX plugin, click on Settings.
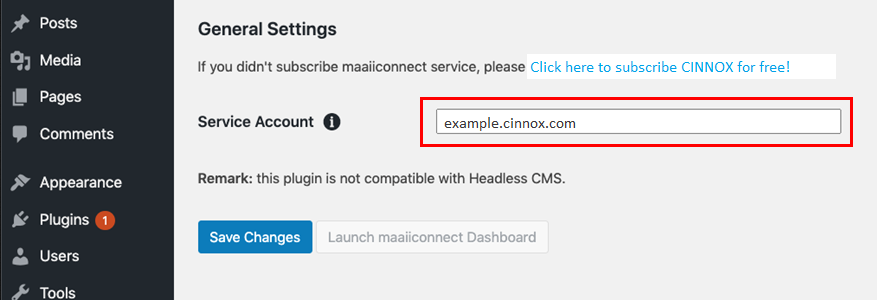
- The CINNOX plugin Settings pane will appear, then type in your CINNOX service.
- If you haven't yet signed up for a CINNOX service, click the link to go to the CINNOX website and register for one.
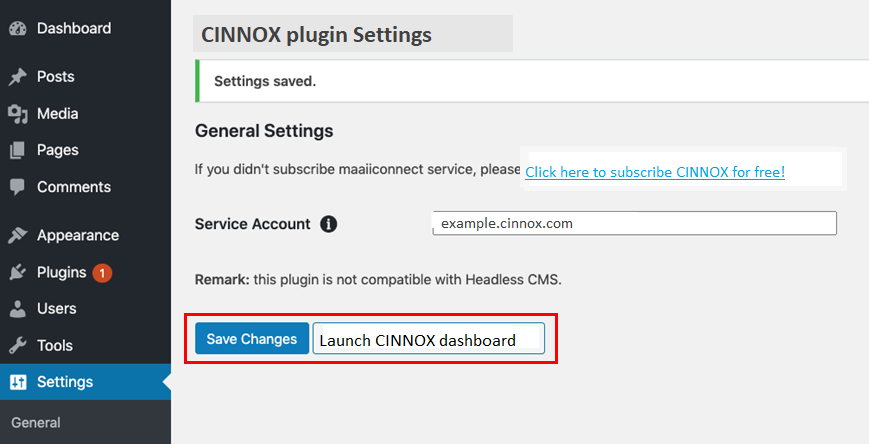
- Click on Save Changes. You may also click on Launch CINNOX Dashboard to open the Dashboard on your browser.
- Refresh your website. The CINNOX widget should appear at the bottom right corner of the page.
Please clear the cache if the widget does not display and your website uses cache plugins or CDN cache.
You may also refer to How to Install a WordPress Plugin for more tips on installing a WordPress plugin.
📘
For more information on configuring your CINNOX widget, refer to this Guide's Customising Your Widget section.