Thinkific
Need Omnichannel Live Chat Support for your Thinkific website?
CINNOX offers an omnichannel solution that seamlessly integrates with Thinkific. Engage with your website visitors in real time through live chat, providing instant support and boosting customer satisfaction. With CINNOX, you can effortlessly handle customer enquiries across various channels and devices, including social media, email, and calls. Simplify your customer service with CINNOX's omnichannel solution today.
Thinkific is a powerful, business-friendly online course creation platform that allows anyone to quickly and fully customise the look and functionality of their online course business. Thinkific is everything you need to run your education business under one roof.
For more details, go to www.thinkific.com.
The CINNOX live chat and web call lets you instantly add call and chat functions on your Thinkific site so you can promptly answer enquiries from your online visitors. It installs the CINNOX Widget on your page and lets you use its core features.
Here are the steps to follow when adding the CINNOX web widget on your Thinkific site:
- Log in to your Thinkific dashboard account.
Thinkific Login Page
- On your Dashboard menu, navigate to Settings and click the Code & analytics tab.
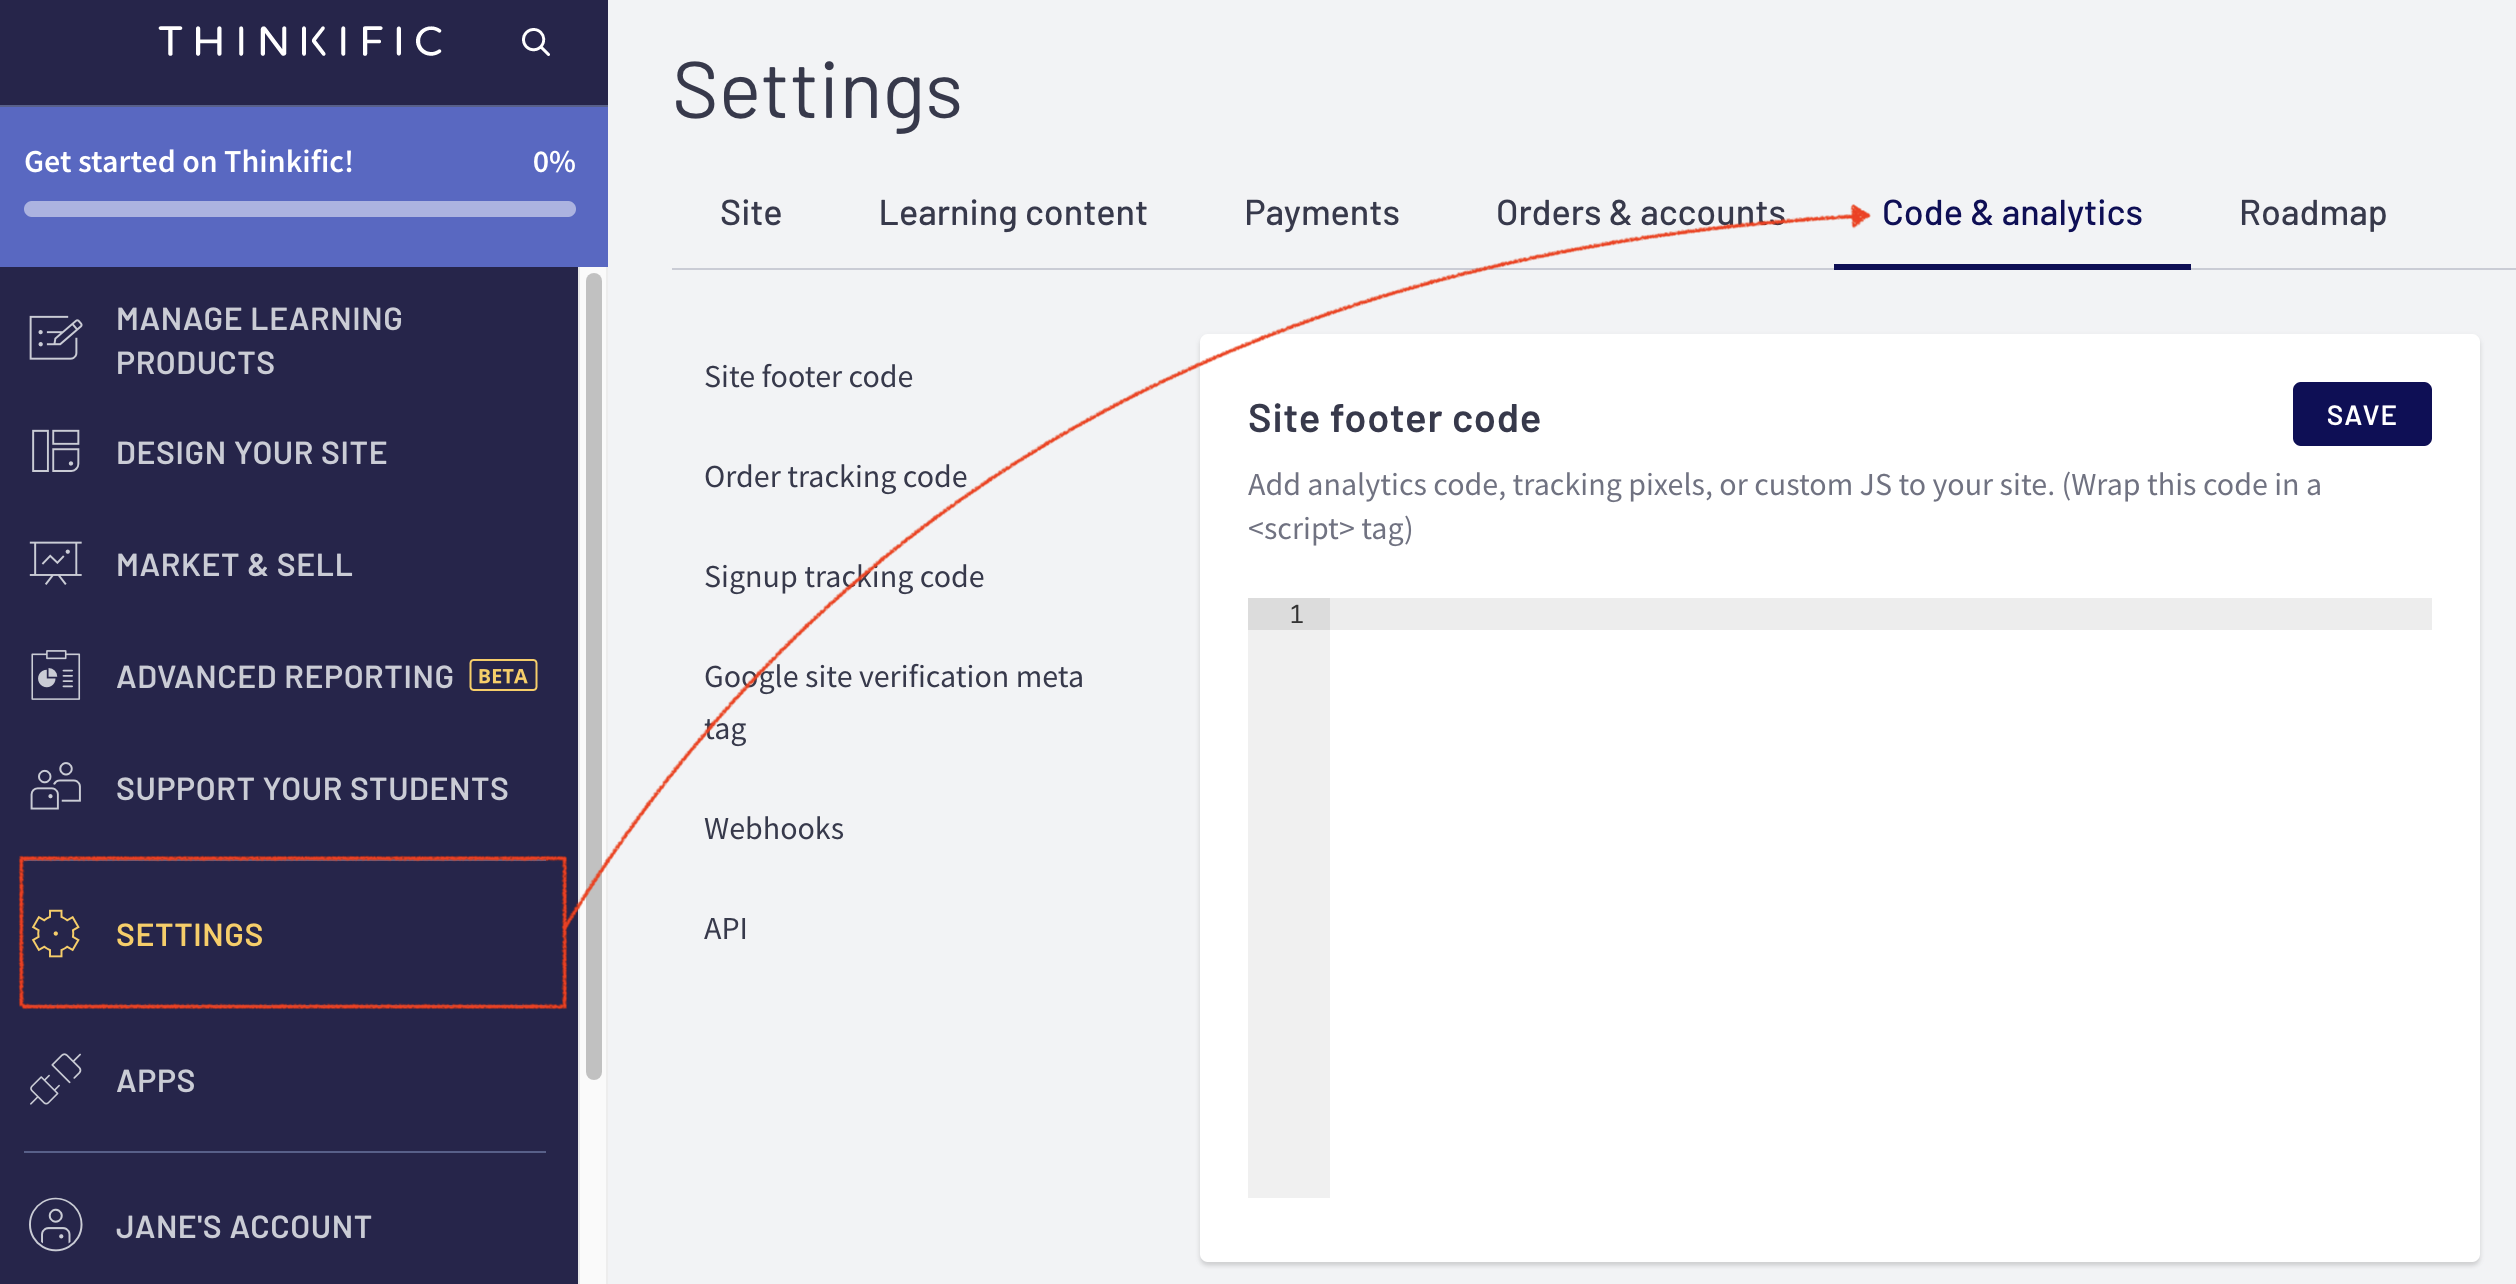
Thinkific Dashboard - Settings
- Log in to your CINNOX Web Dashboard.
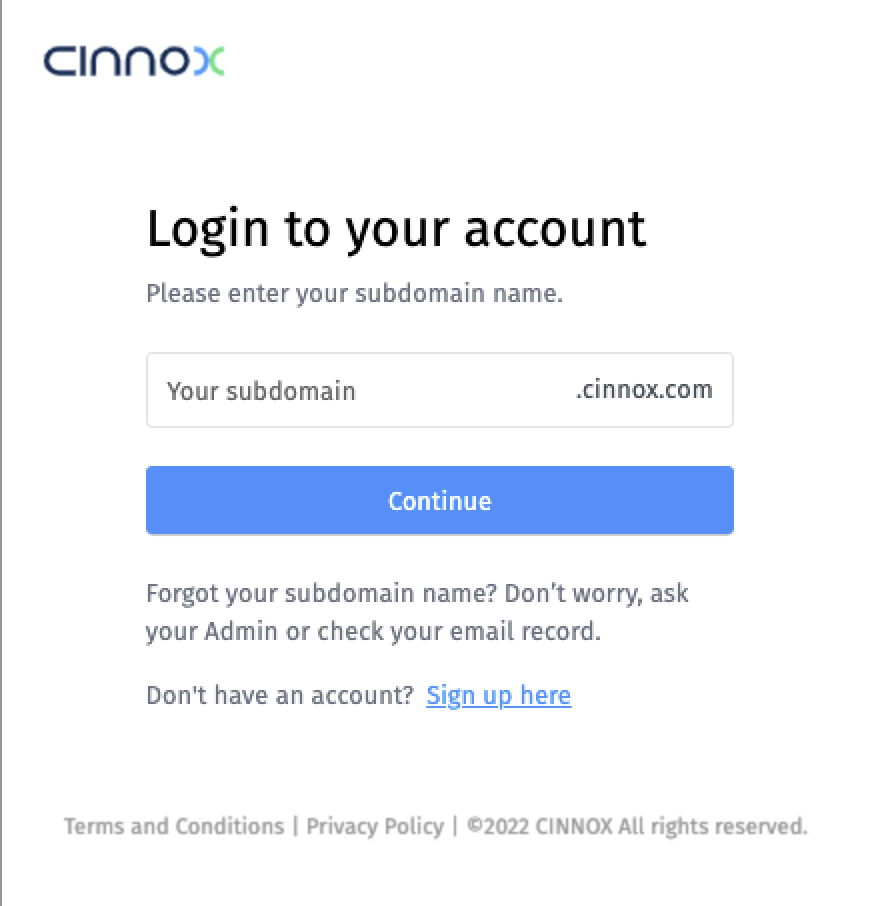
CINNOX Login Page
- Navigate to Administration > Widget > Installation. From the Widget Installation > Web Widget, click on Copy.
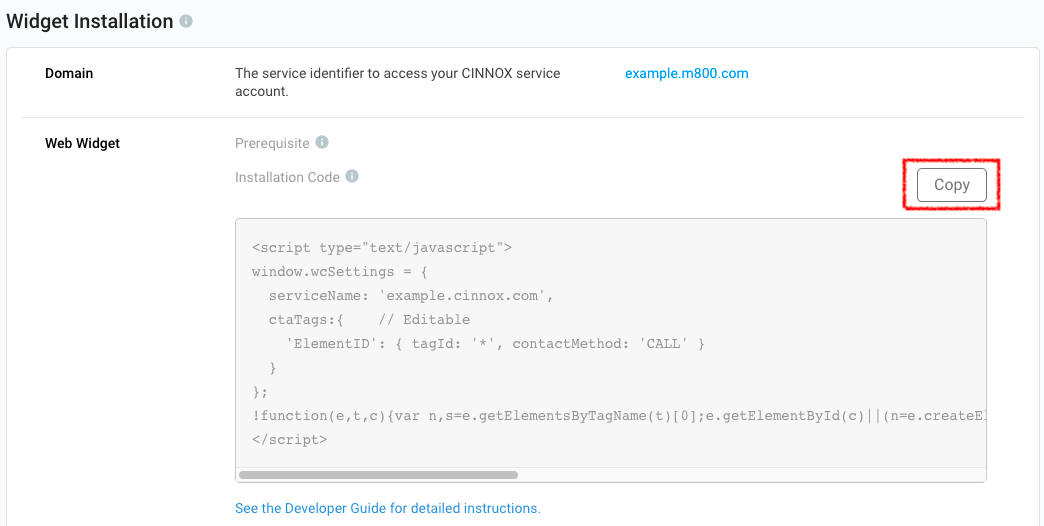
CINNOX Admin > Widget > Installation
- Back on your Thinkific, Settings > Code & analytics, and paste your CINNOX Widget code under the Site footer code.
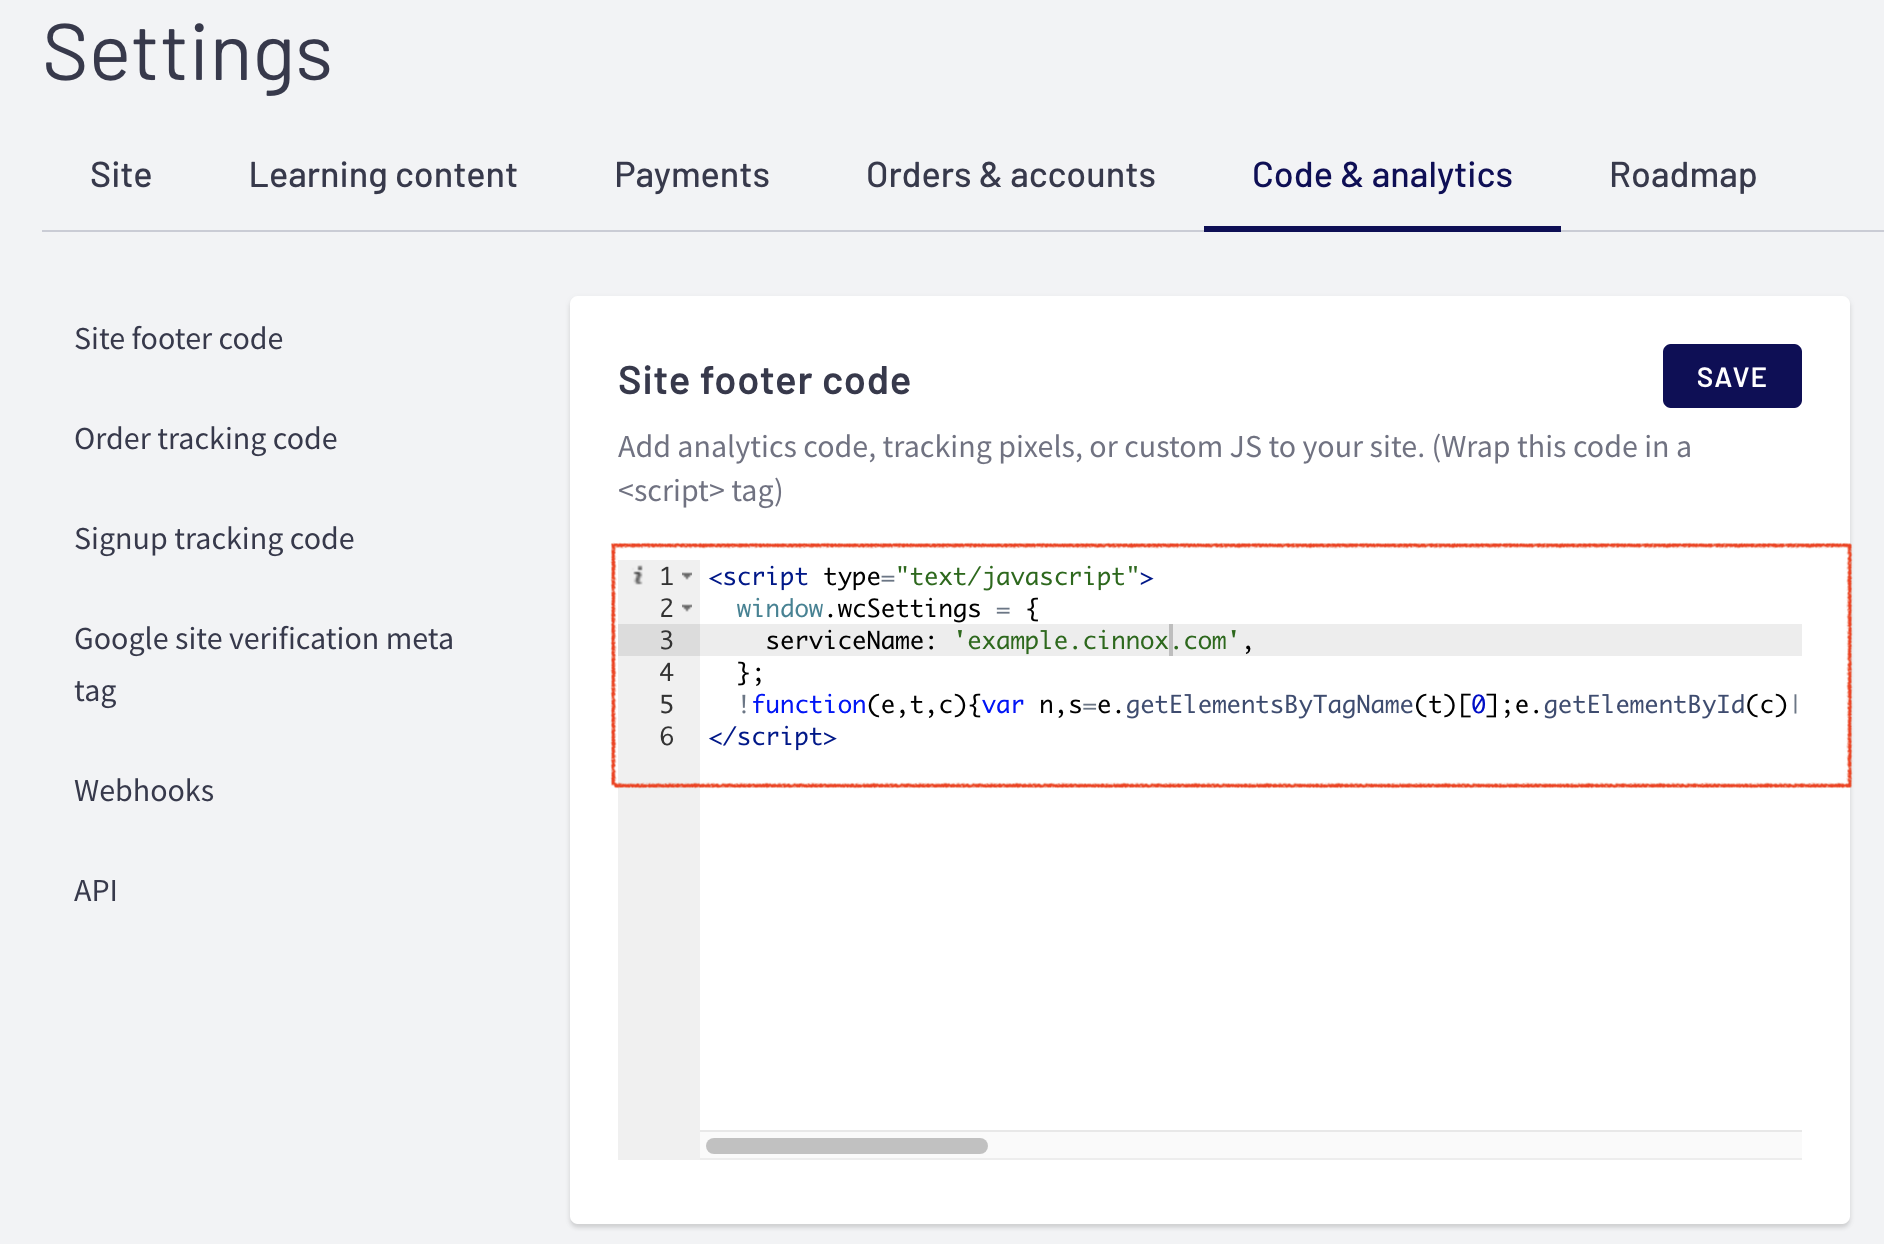
Thinkific Site Footer Code
- Click on Save.
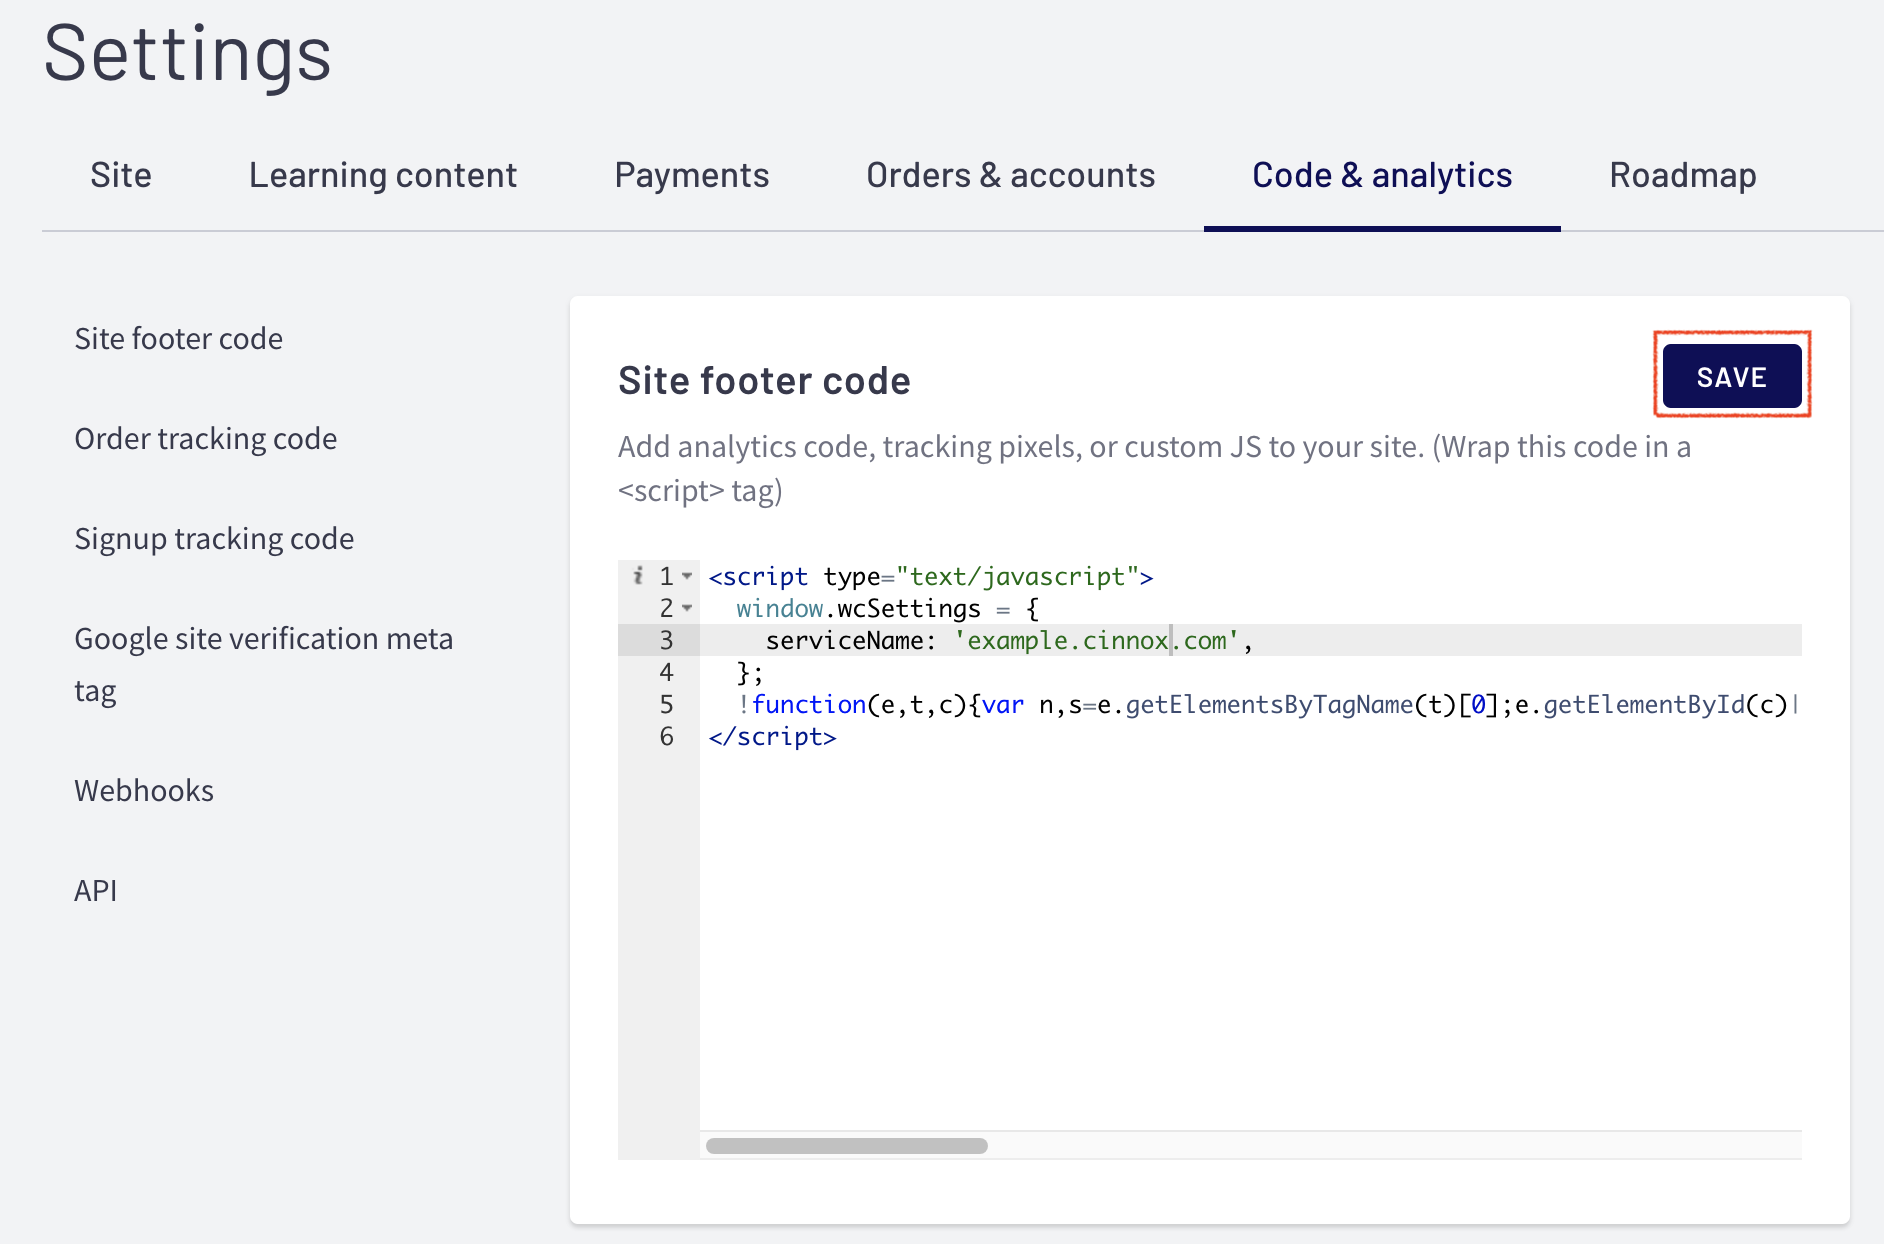
Thinkific Site Footer Code
A notification "Successfully updated your site footer code." will appear at the bottom left side of your Dashboard.
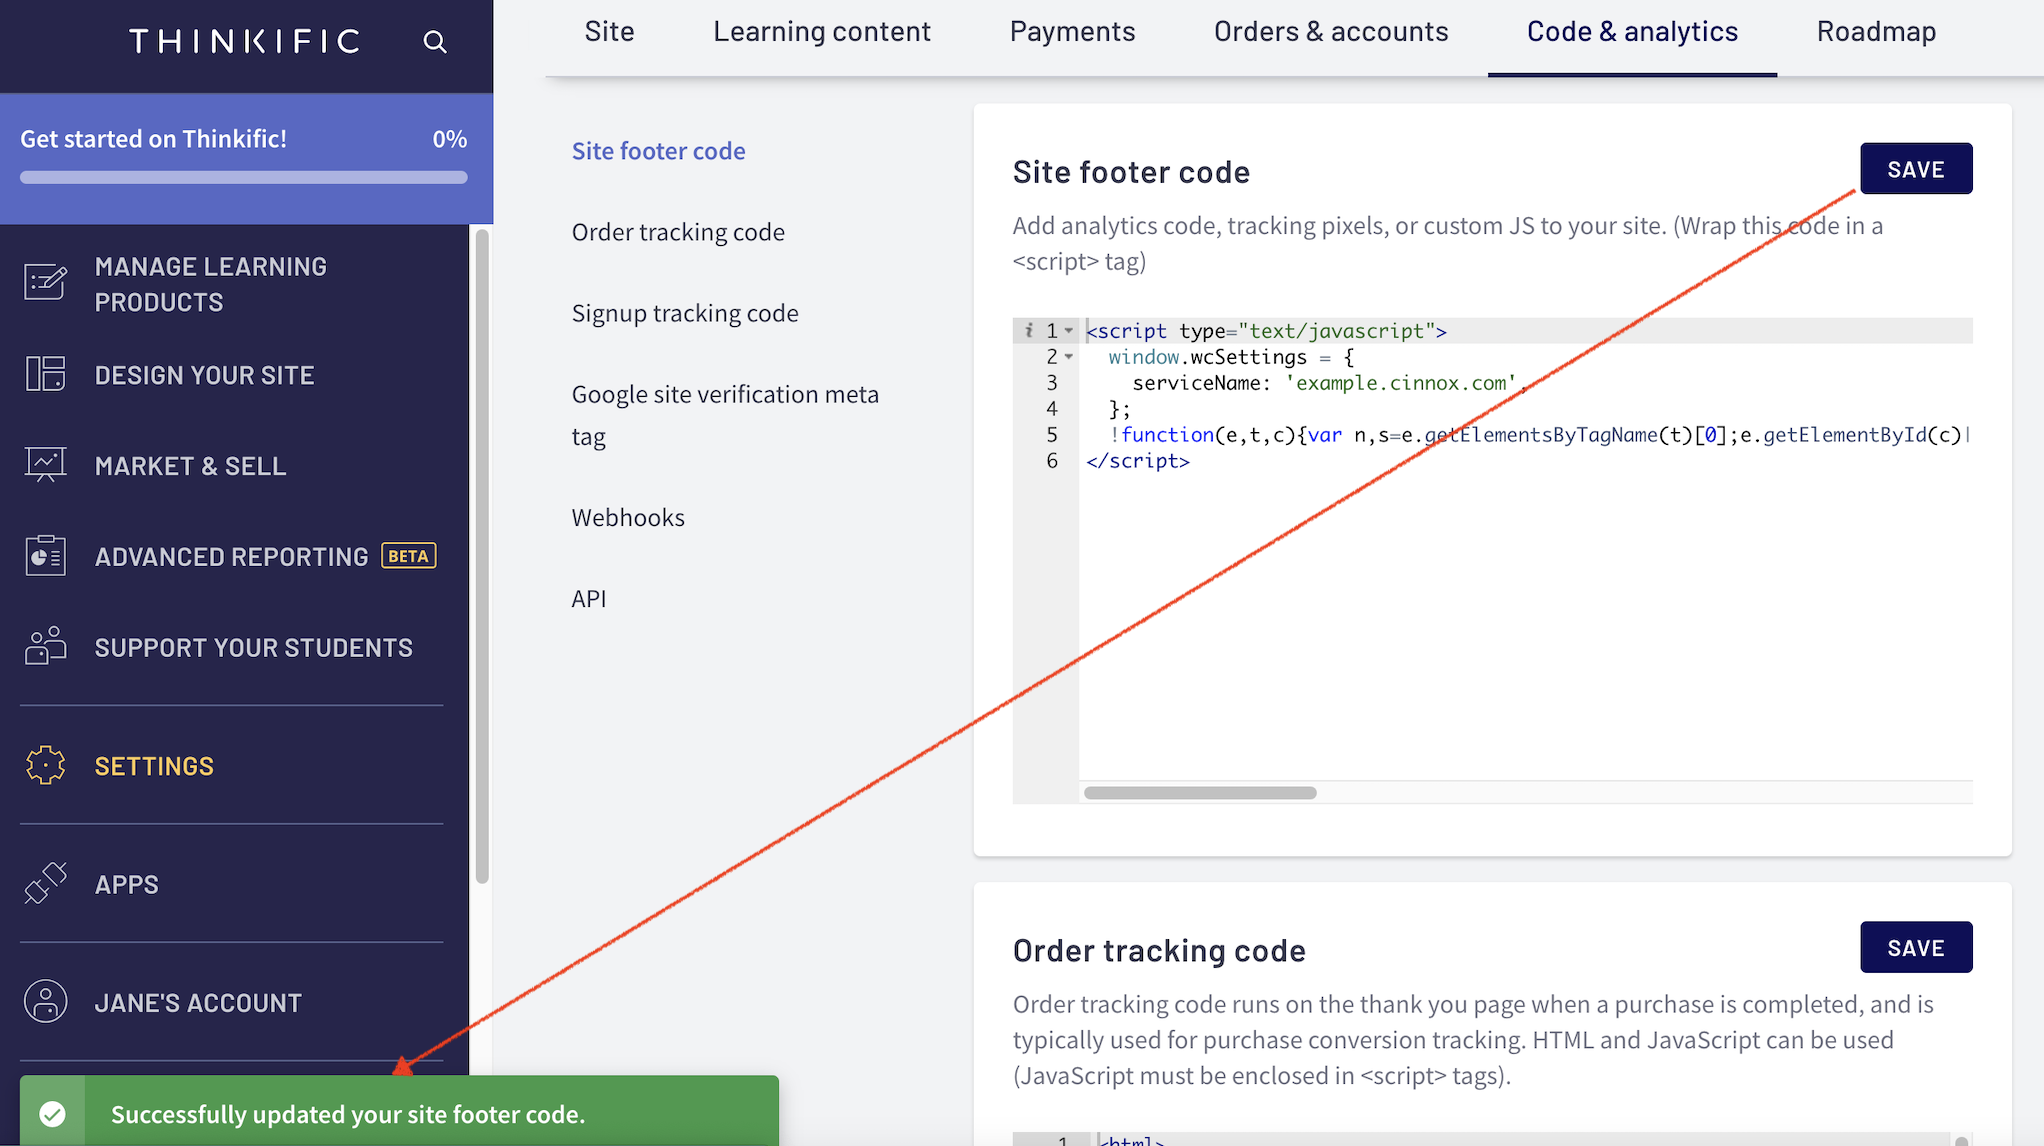
Thinkific Site Footer Code
- Open your website to preview. The CINNOX Widget should appear at the bottom right corner.
Thinkific Site with CINNOX Widget
From now on, visitors can contact you through live chat and call on your Thinkific site.
📘
For more information on configuring your CINNOX widget, refer to this Guide's Customising Your Widget section.
📘
To know how to change the widget position from right to left, refer to this Guide's Dynamic Change of Installed Widget section.