Search...
Menu
Installing Internet Information Services (Microsoft IIS)
An SSL certificate encrypts information transmitted between the client device and the server. It provides a trust seal and authenticates the identity of an organisation.
Installation of SSL certification is required to enable instant messaging and voice features.
Internet Information Services (IIS)
- In Windows Server 2016, save the SSL certificate file where the Certificate Signing Request (CSR) generated (e.g. your_domain_com.cer).
- Type ‘Internet Information Services (IIS) Manager’ in the Windows start menu to open it.
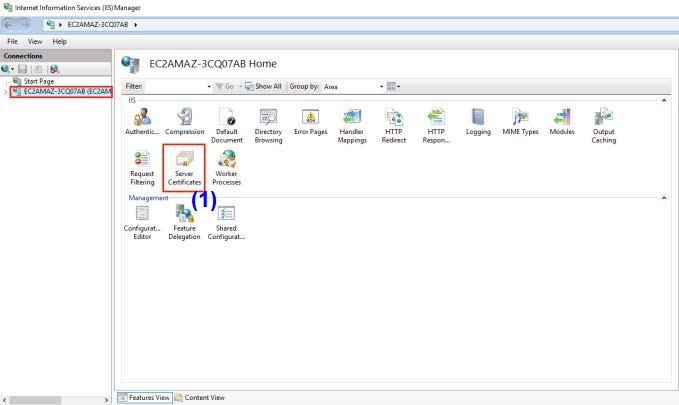
- Under the Connections menu tree in the Internet Information Services (IIS) Manager, locate and click the server name.
- On the server name Home page (centre pane), double-click Server Certificates in the IIS section. (1)
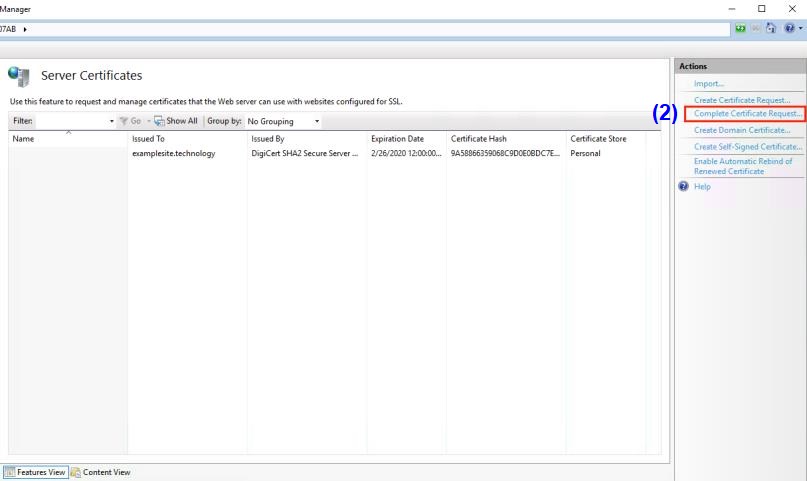
- On the Server Certificates page (centre pane), in the Actions menu (right pane), click the Complete Certificate Request… link. (2)
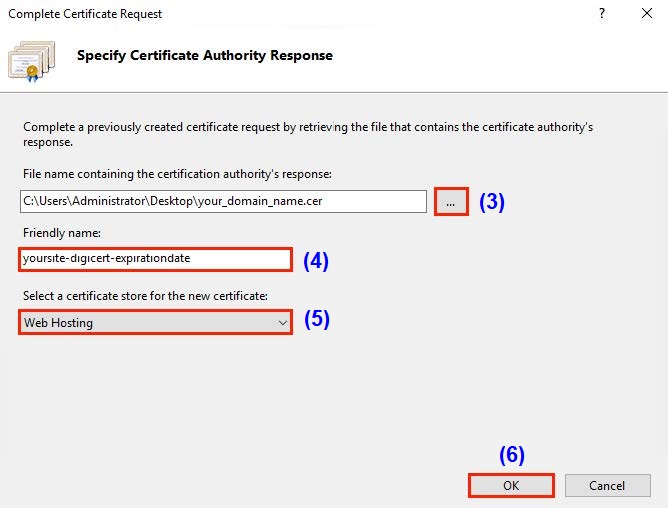
- In the Complete Certificate Request wizard, on the Specify Certificate Authority Response page, do the following:
| Item | Task |
|---|---|
| * *File name containing the certificate authority's response:** | Click the … box and browse to and select the .cer file (3) (e.g., your_domain_com.cer) that DigiCert sent to you. |
| Friendly name: | Type a friendly name for the certificate. (4) The friendly name is not part of the certificate; instead, it is used to identify the certificate. We recommend that you add DigiCert and the expiration date to the end of your friendly name, for example: yoursite-digicert-(expiration date). This information helps identify the issuer and expiration date for each certificate. It also helps distinguish multiple certificates with the same domain name. |
| Select a certificate store: | In the drop-down list, select Web Hosting. (5) Click OK. (6) |
- After the SSL certificate installation, assign the certificate to the appropriate site.
In the Internet Information Services (IIS) Manager, in the Connections (7) menu tree (left pane), expand the name of the server on which the certificate was installed. Then expand Sites (8) and click the site (9) you want to use the SSL certificate to secure.
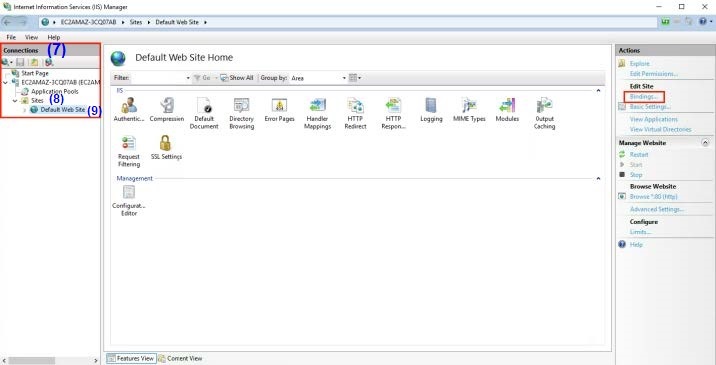
- On the website home page, in the Actions menu (right pane), under Edit Site, click the Bindings… link.
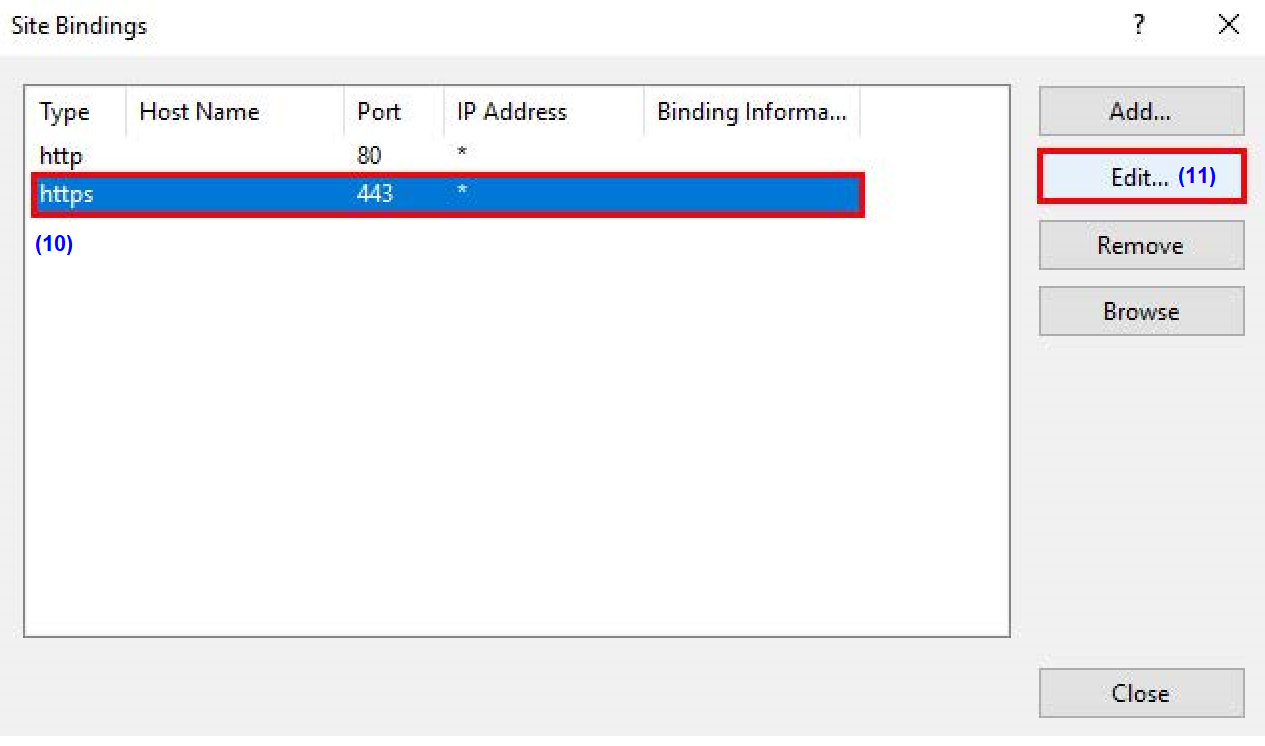
- In the Site Bindings window, select binding for https (10) and click Edit. (11)
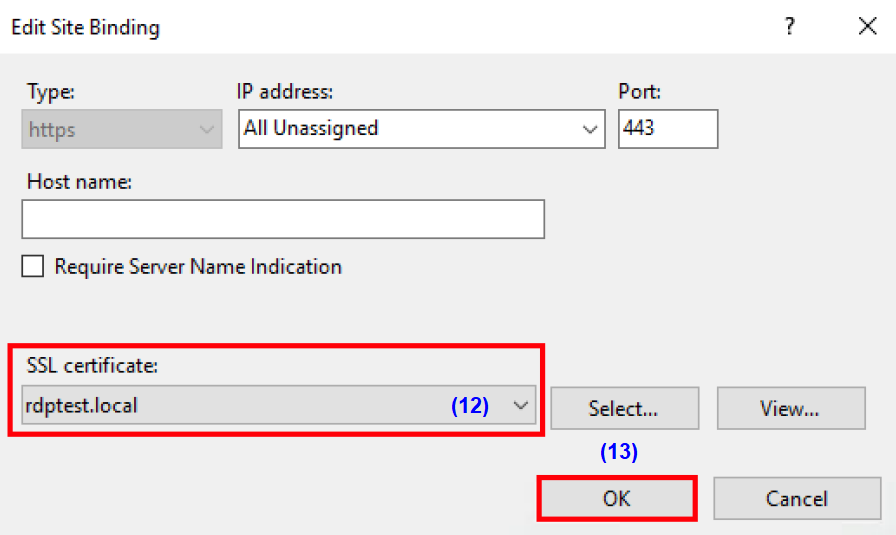
- In the Edit Site Binding window, in the SSL certificate drop-down list (12), select the newly installed SSL certificate by its friendly name and click OK. (13)
- The new SSL certificate is now installed in the website.
Previous
Tag Conditional Trigger
Next
Installing Apache Server
Last modified: 2025-12-17
Outline