Managing External Contacts
External Contacts Management lets you store and find information about people outside your organisation, including names, email addresses, phone numbers and others.
It also lets you track all your company's interactions with external contacts.
👍
External Contacts vs. Contacts
Regarding managing people outside your organisation, External Contacts and Contacts have the same features and functionalities.
However, when uploading, downloading, editing, or deleting external contacts in bulk, we recommend using External Contact Management in your Dashboard - Contacts Management menu.
Meanwhile, the Contacts in your Workspace (Dashboard and App) are best for adding, searching, editing, removing individual contacts, making calls, or sending an SMS text to them.
You can view your contacts by category (e.g., External Contacts, Internal Contacts) and keep their information up-to-date.
📘
- CINNOX External Contact Management does not automatically detect and alert your duplicate entries for your contacts. However, you can merge your contacts manually or based on the suggestions when handling an enquiry by their phone number or email address. See more details in our Merging Contact section of this Guide.
- Please note that all agents can access external contacts, and are allowed to edit, delete and merge external contacts, regardless of who created them.
Creating New External Contacts
Manually Create a Contact
To manually create an external contact
- From the navigation menu, go to Contact Management > External Contacts, then click Create Contact at the top right corner of the screen.

External Contacts
- A Create Contact pop-up window will appear.
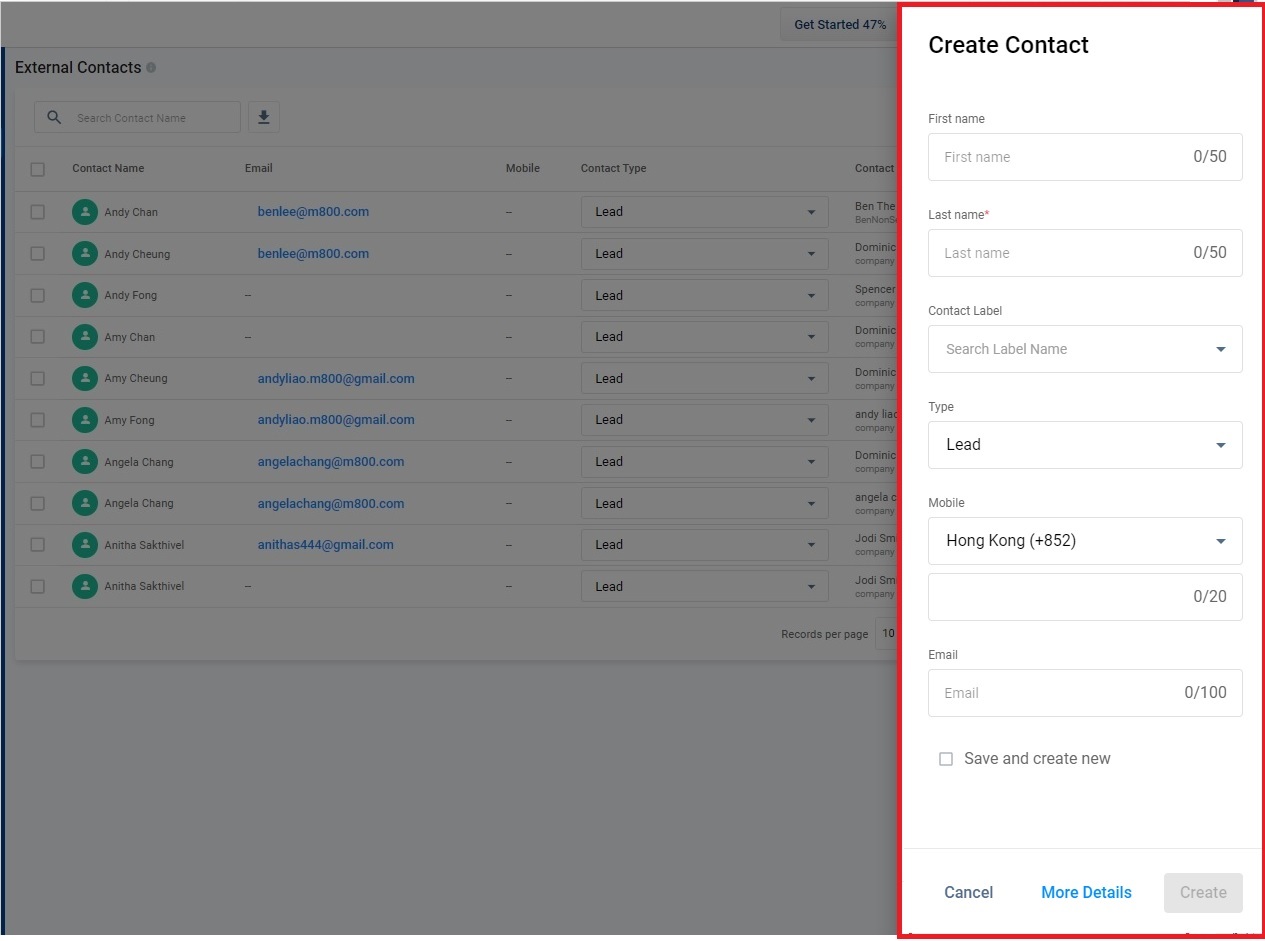
Quick Create New Contact
- Fill out or select the appropriate values for the following fields:
- First Name
- Last Name (Required)
- Contact Label (Refer to the Label External Contact in Creating External Contact section)
- Type - refers to the category of contact with your business. Select the following values: Lead (default), Prospect, Customer or Other.)
- Mobile
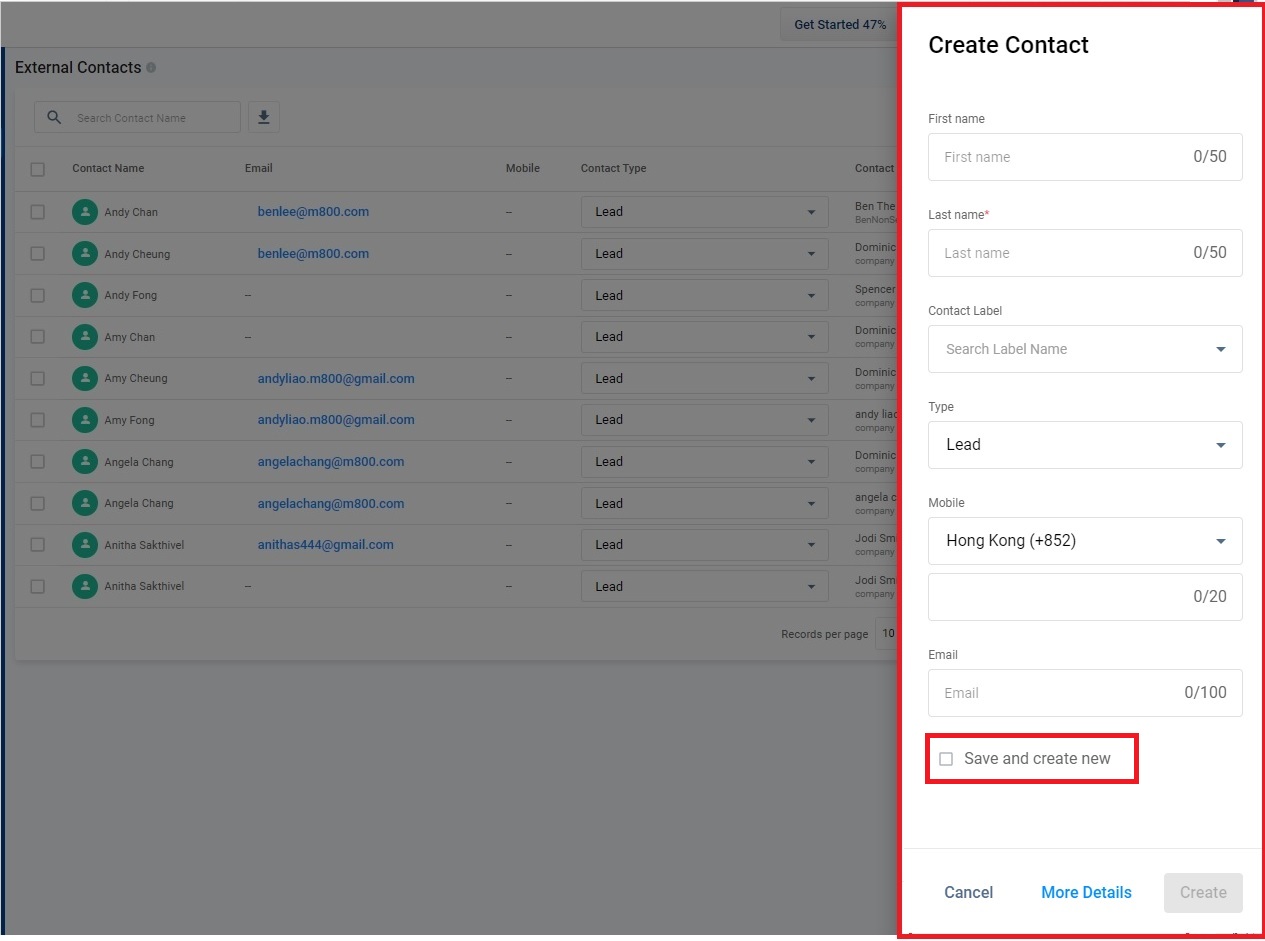
- Click Save and create new to save the entered details and create a new Contact without leaving the window.
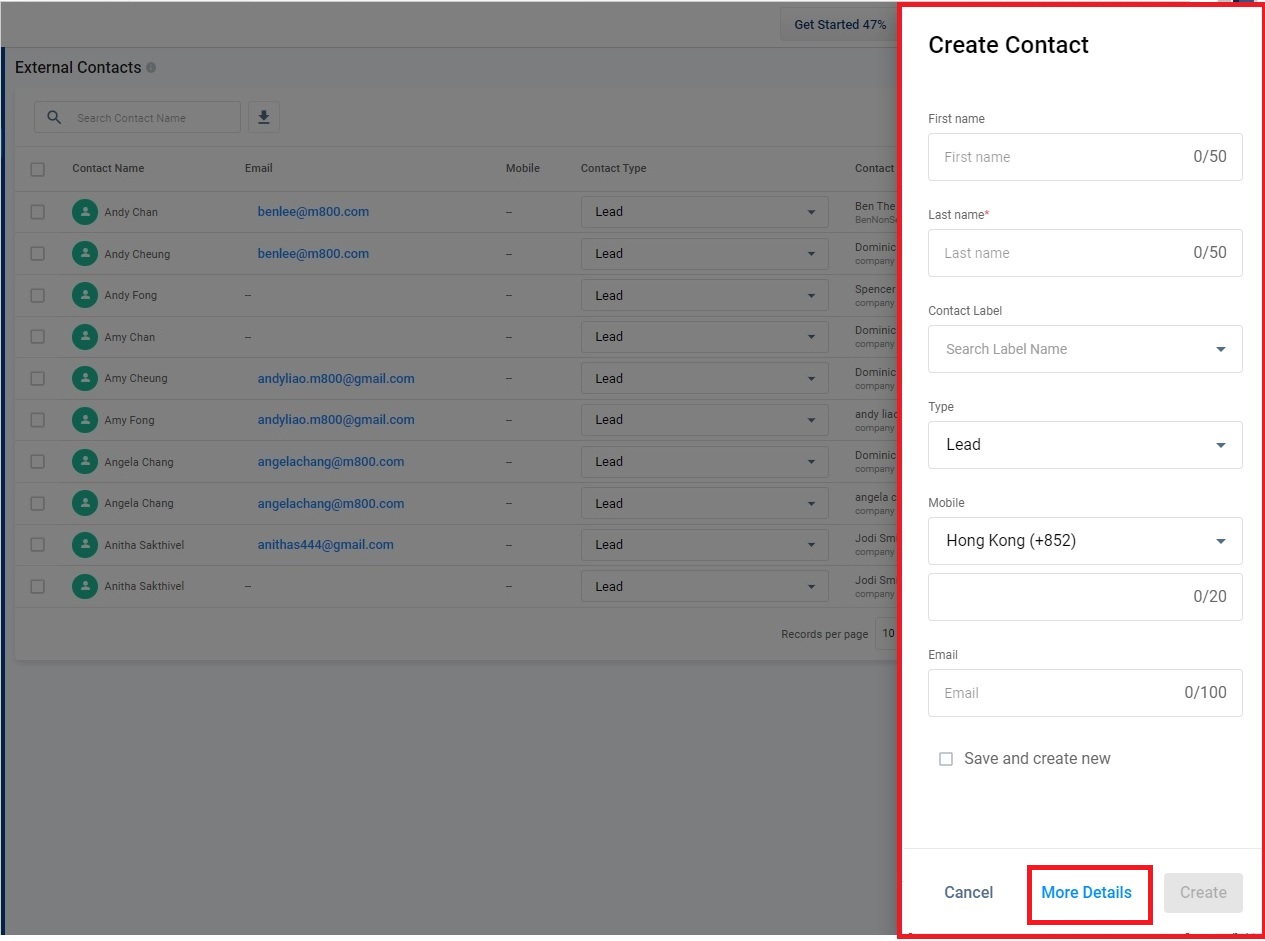
- To view and fill out additional contact details, click More Details.
Fill out the following fields displayed on the window:
Personal Information
-
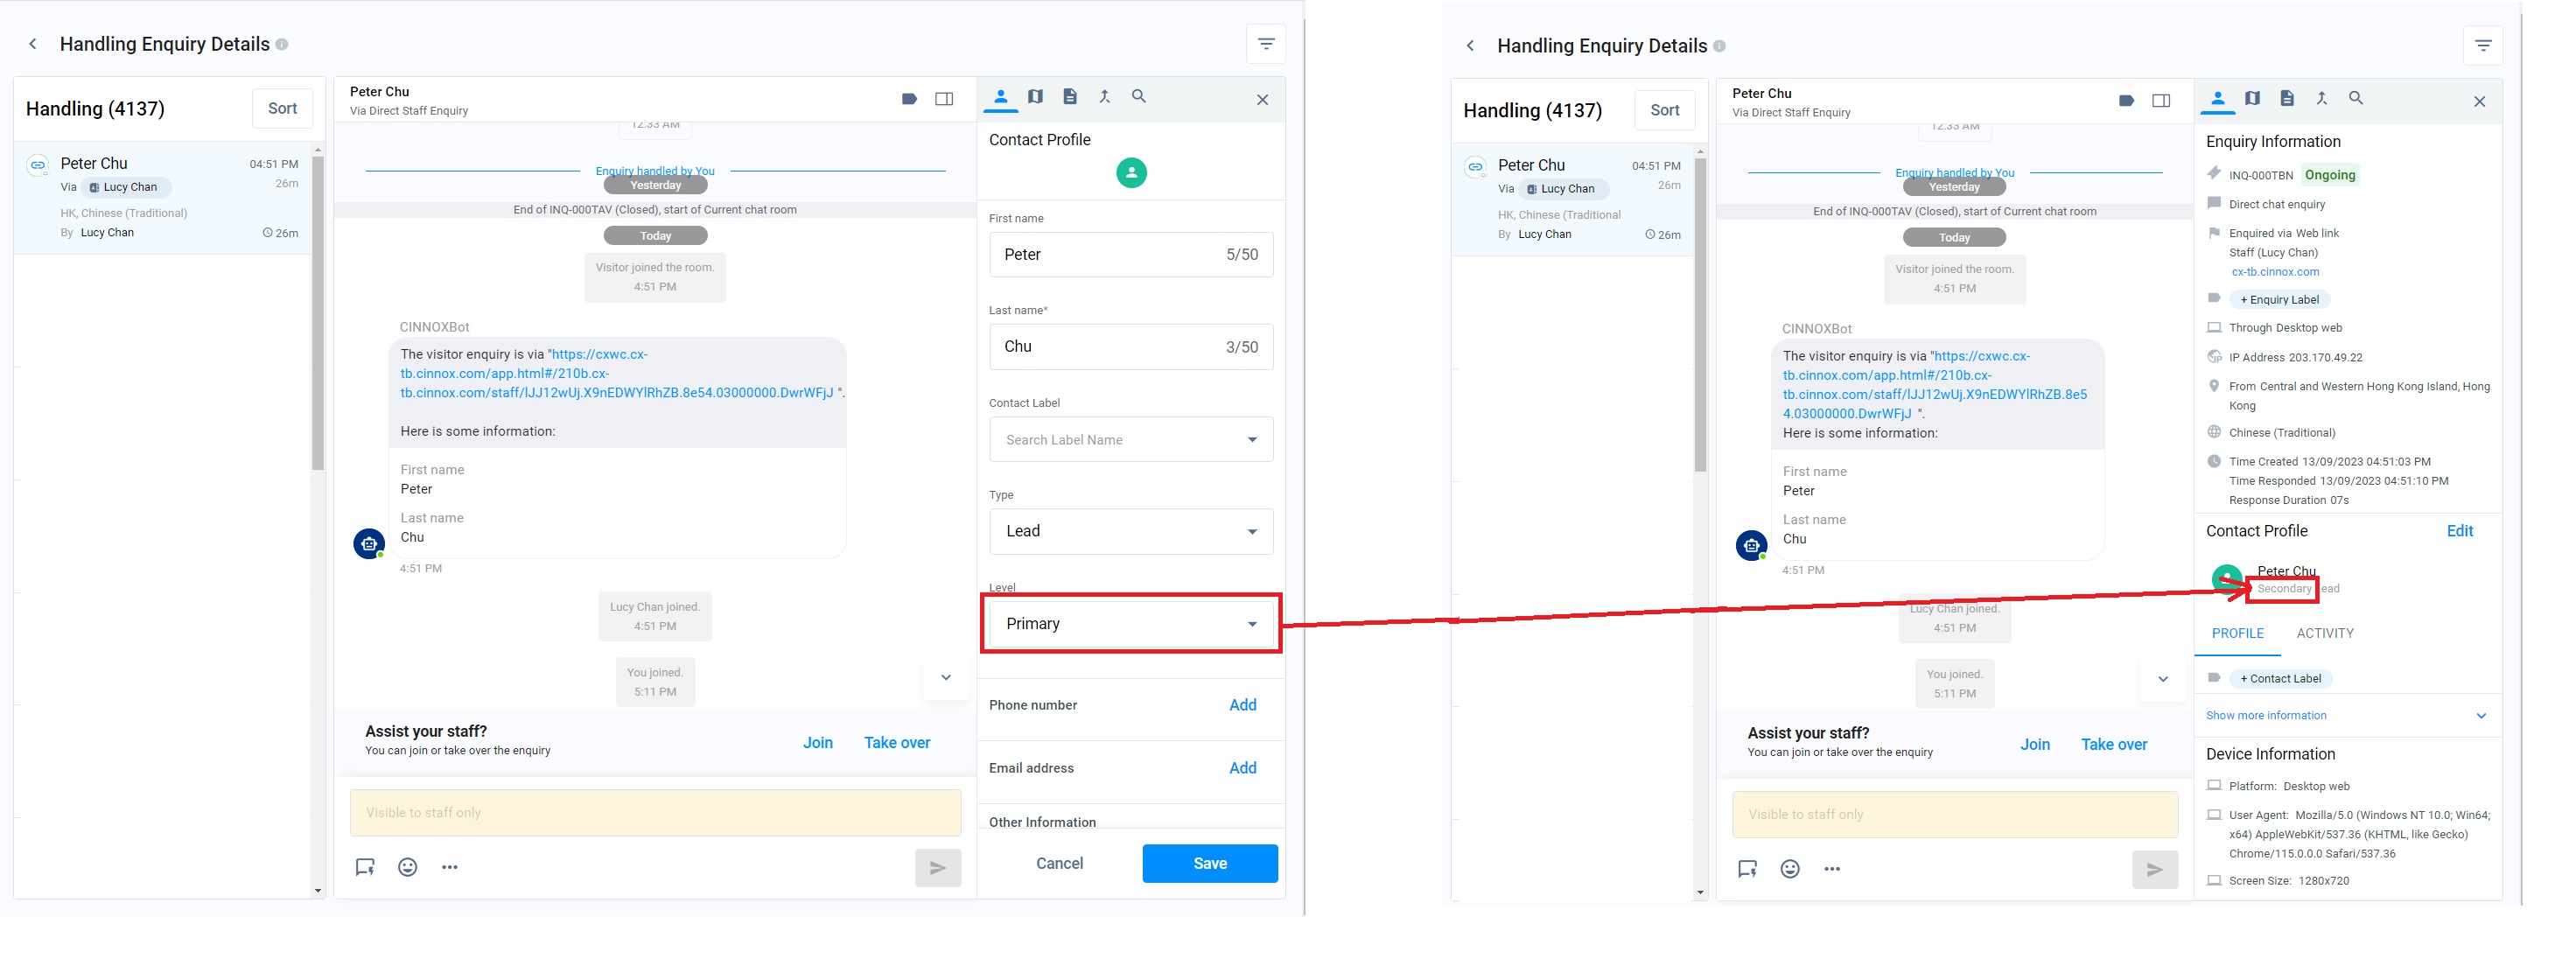
Level - refers to the contact tier with your business target. For example, John Doe is the CEO, while Jane Smith is the PA for ABC. John is the primary contact, while Jane is the secondary one.
-
Select the following values on the Level dropdown list: Primary (default selection), Secondary and Tertiary.
-
Phone number - refers to the contact number that can be reached via call or SMS. ClickAdd new phone number to select the phone number type, such as Mobile, Work, Home or Other and select the country/region. Also, fill out the phone number. Click Add if you are filling out the form.
-
Email address - refers to the email address where the contact can be reached. ClickAdd new email to select an email type, like Work, Personal and Other. And fill out the email address. Click Add if you complete filling out the form.
-
Other Information
- Company
- Job title
- Team
- Group
- Language
- Birth Date
-
Mailing Address
- Zip code
- Street
- City
- State
- Country
-
Custom Field The number of custom fields available depends on the number created. For details about the custom fields, refer toManaging Custom Field - External Contacts.
-
Social Messaging ClickAdd New Social Media to select any of the social media, such as Messenger, WhatsApp, WeChat, LINE, Twitter, LinkedIn, WOZTELL (Whatsapp Cloud), WOZTELL (Facebook) or WOZTELL (Instagram). Enter the User Name/ID of your selected social media app. Click Add if you complete filling out the form.)
- Click Create.

- The new external contact has been added to your External Contacts List.
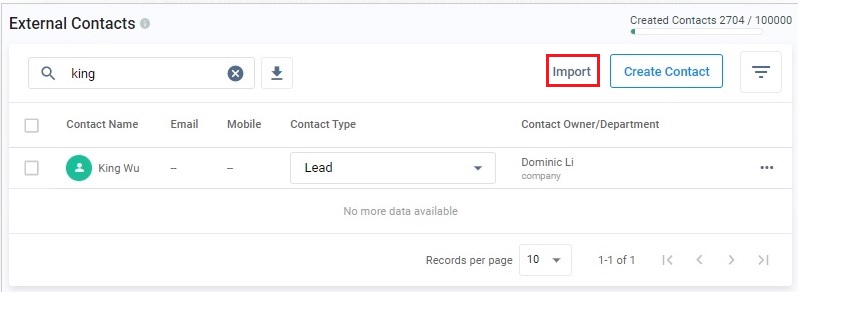
Importing Contacts
- Go to Contact Management > External Contacts from the navigation menu, then click Import at the top of the screen.
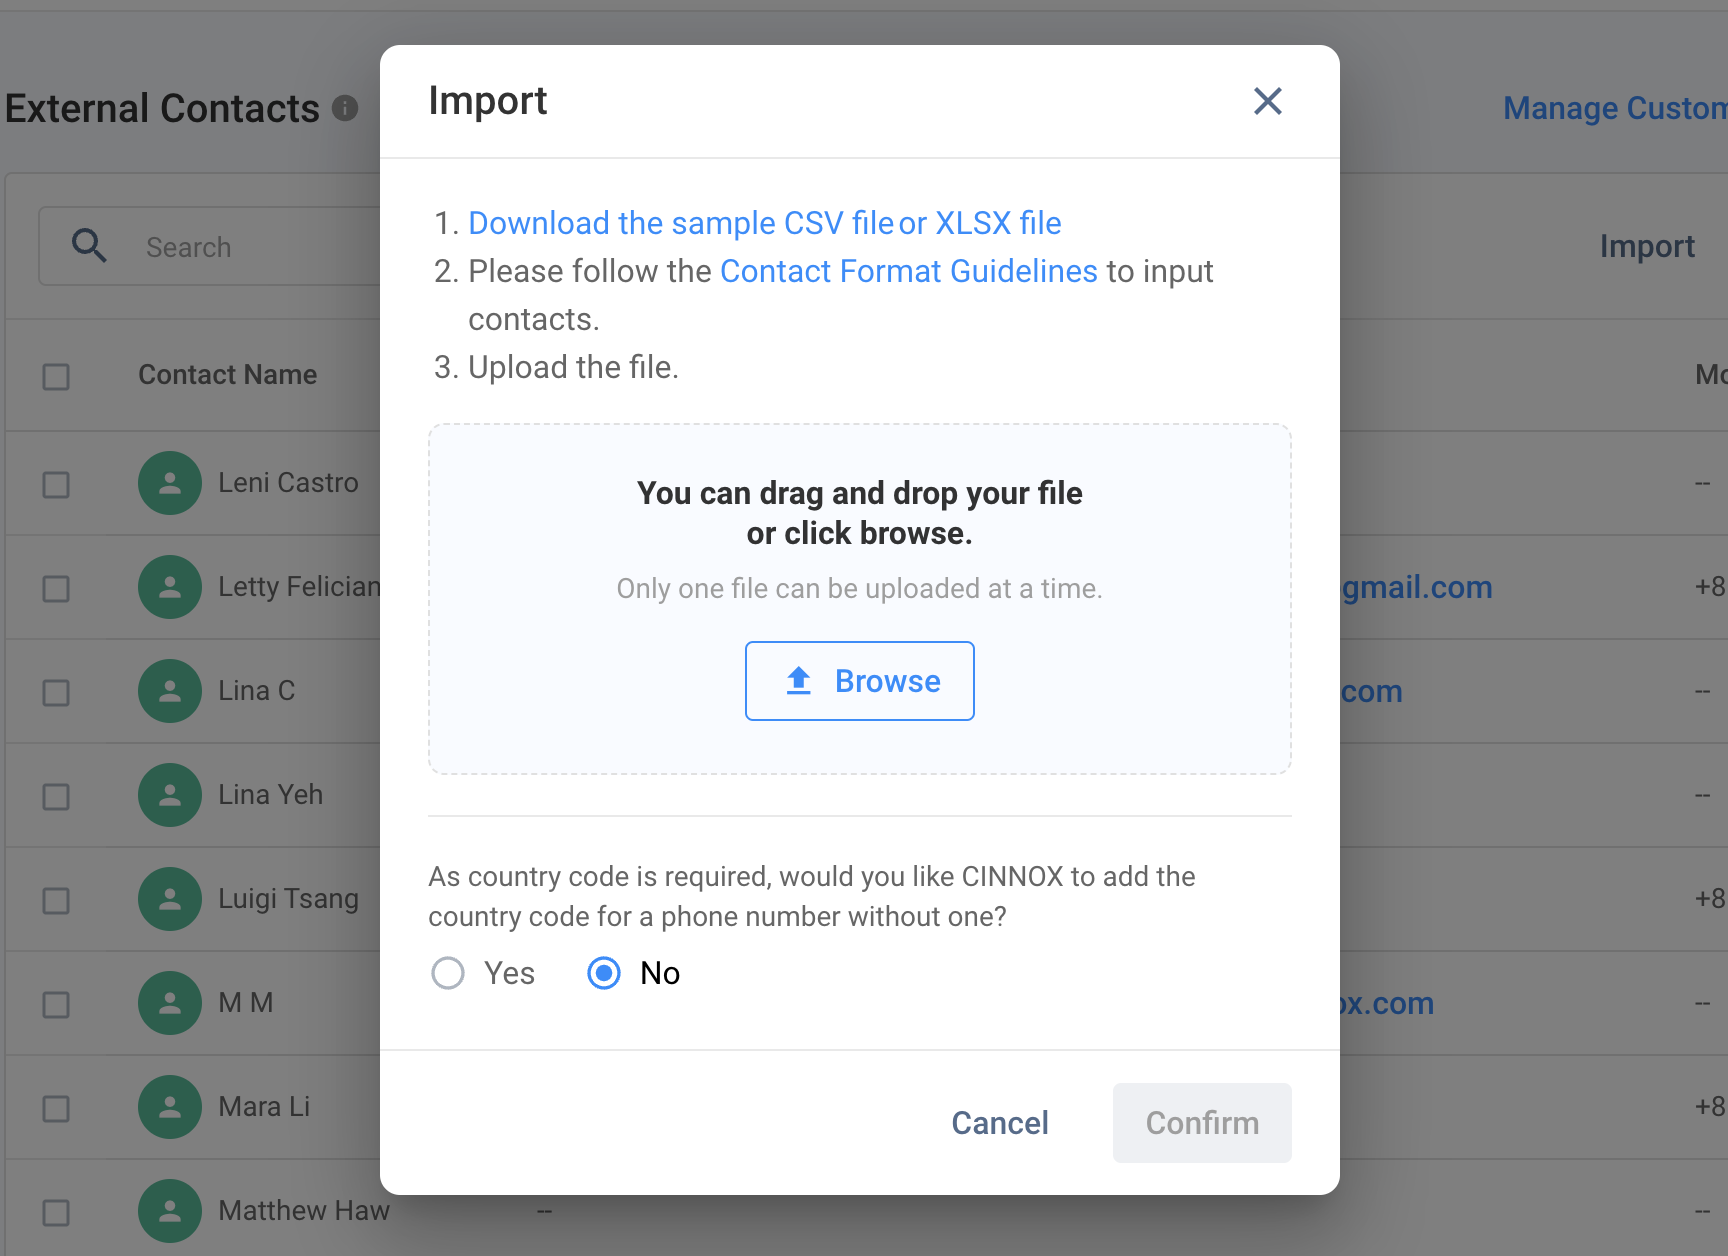
- On the Import window that will pop out, download and open the CSV template file.
- Open the downloaded CSV template file and remove the sample first record.

- Add your contact information according to the following guidelines:
| Field name | Description |
|---|---|
| First name | Input first name |
| Last name (Mandatory) | The Last Name is a mandatory field |
| - Mobile * Work * Home * Other Phone | -Enter the phone number in the following format: +[Country Code][Area Code][Phone Number], without spaces, parentheses, or hyphens (e.g., +85212345678). * Ensure that the total length of the phone number is between 8 and 20 digits. |
| - Email * Personal Email * Other Email | A valid email address consists of an email prefix, @ symbol, and an email domain |
| - Facebook * WhatsApp * WeChat * LINE * Twitter * LinkedIn * WOZTELL (WhatsApp) * WOZTELL (Facebook) * WOZTELL (Instagram) | - WhatsApp: Please refer to the phone number format requirement. * The ID of other social channels will be used as the record reference only. Besides WhatsApp, new enquiries from visitors via other social channels will not be mapped to the existing contact information. |
| Company | Input company name |
| Job Title | Input job title |
| Team | Input team |
| Birthdate | Birthdate format should be MM/DD/YYYY (e.g., 12/14/1980) |
| Language | Language must be in ISO 639-1 code with 2 letters in lowercase, such as en and zh. |
| Address | Input address |
| City | Input city |
| State | Input state |
| ZipCode | Input zip code |
| Country | The country value should be in any country name listed in https://www.iban.com/country-codes. Full name of the country, Alpha-2 code, and Alpha-3 code are all allowed. |
| Type | Contact Type value should be any of the following: Lead, Customer, Prospect, or Others. When left empty, the Contact Type value is automatically set to Lead. |
| Group | Input group |
| Level | Contact Level value should be any of the following: Primary, Secondary, or Tertiary. |
| Contact Label | Enter the label that helps you organise and manage the external contacts. |
-
Save the updated CSV file.
-
Upload the saved CSV file. Back on the Import pop-up window, drag and drop the saved CSV file into the window.
-
You may also click Browse from the pop-up window, then locate and select the CSV file from your folder.

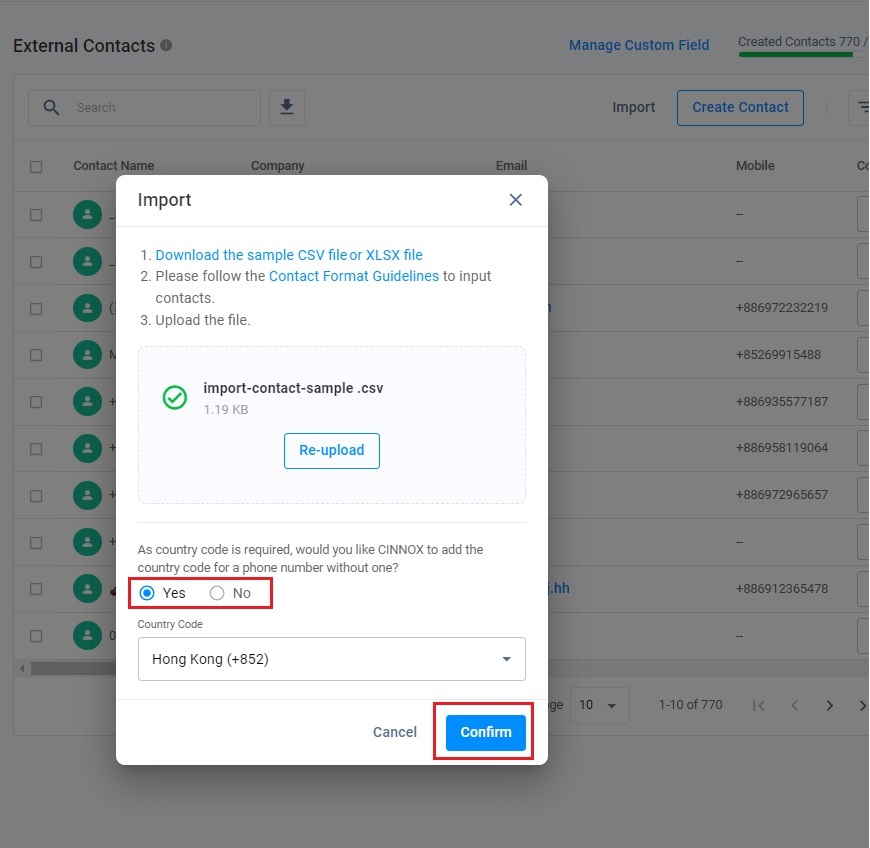
- After uploading the filed Excel file, click Confirm.
- You can select Yes and select the country code if you require CINNOX to add country codes for phone numbers without ones automatically.
- Click Confirm.
📘
Note
If the last name is missing in the Excel file, the system will automatically populate "customer" as the last name in the record displayed on the External Contacts page.
- A message will display the number of records that failed to import.
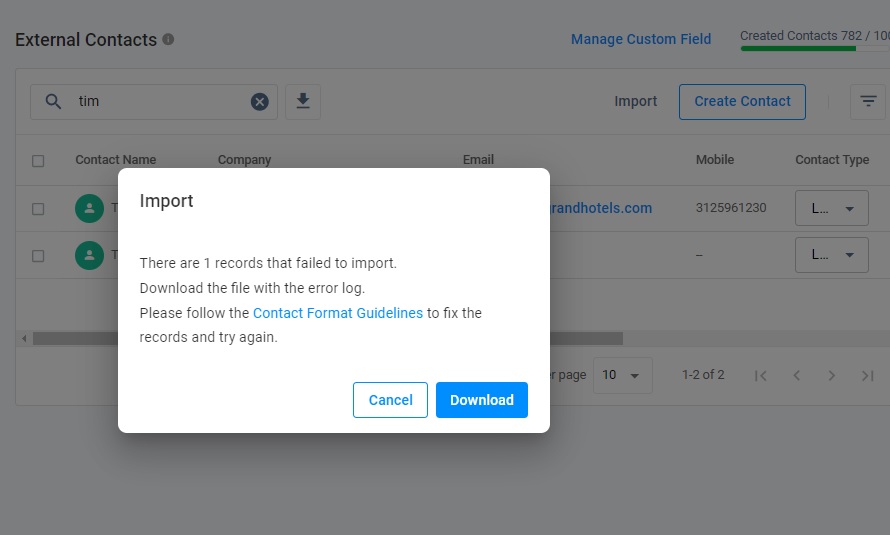
Handling Failed Records
| For example: |
|---|
| There are 2 records that failed to import. Download the file with the error log. Please follow the Contact Format Guidelines to fix the records and try again.. |
- On the pop-up window, click Download to download the file ErrorDetail.csv.
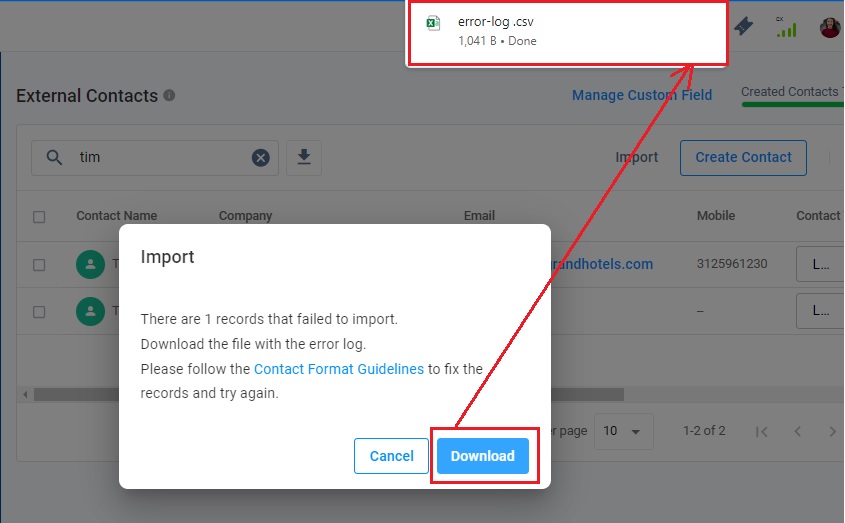
- Click Cancel to close the pop-up window.
- Open error-log.csv and check the error details in column AZ. The error message is displayed for the specific record.

- Correct the details for each record directly in the file and save the changes made.
- Back on the Import pop-up window, upload the updated file by dragging and dropping the file into the window.
- You may also click Browse from the pop-up window, then locate and select the CSV file from your folder.
- A message will display the number of records that failed to import if there are records that failed to import again.
How to handle the case of the splitting text in the CSV file
Using a comma (,) to split the text is the function of the CSV file. When importing the CSV file with the comma between texts, the text will be split into the next column in the file after the file upload.
Splitting text in the CSV file
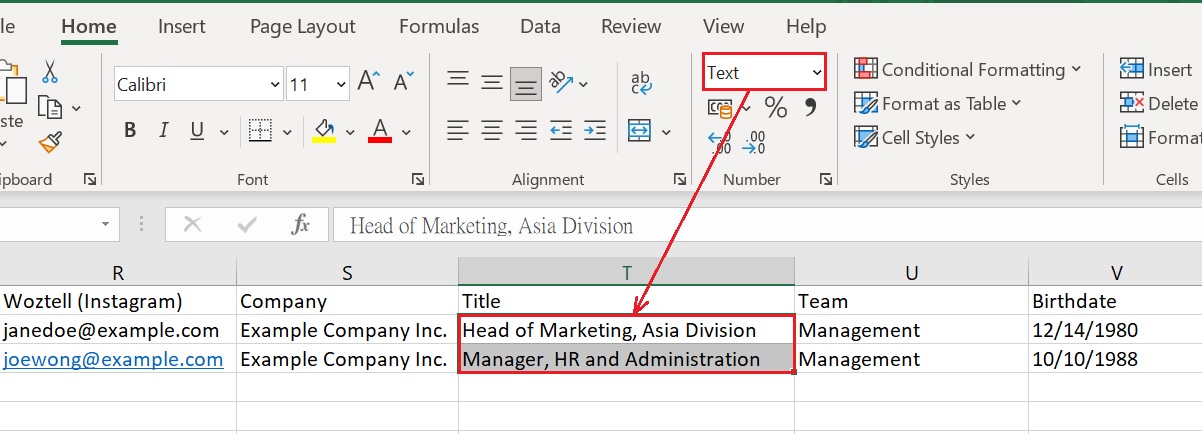
For example, when you enter Head of Marketing, Asia Division and Manager, HR and Administration
into the column Title respectively, the file is shown below:

After the file upload, the text is shown below:

As the text Head of Marketing, Asia Division and Manager, HR and Administration are added in the column Title, respectively, after the filled CSV file is uploaded, the texts are split into two columns, Head of Marketing and Manager in the column Title respectively and Asia Division and HR and Administration in the column Team respectively.
How to avoid splitting text
Using a text editor
- Put the text with a comma in the double quote "), like *" Head of Marketing, Asia Division" and"Manager, HR and Administration"** and save it as a CSV file when you upload the file.
Using Excel or style sheet editors
- Fill in the text in the text format.
- Save the sheet as a CSV file and upload it to the CINNOX.
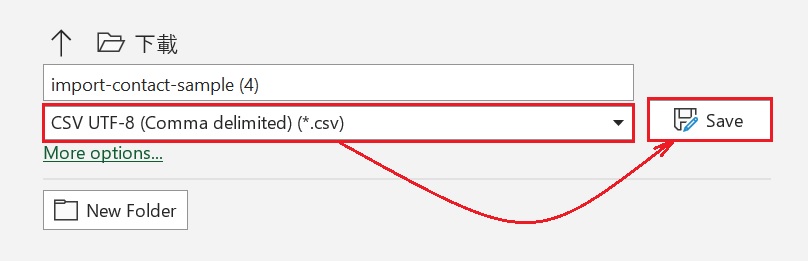
- The double quote should be added automatically to the file.

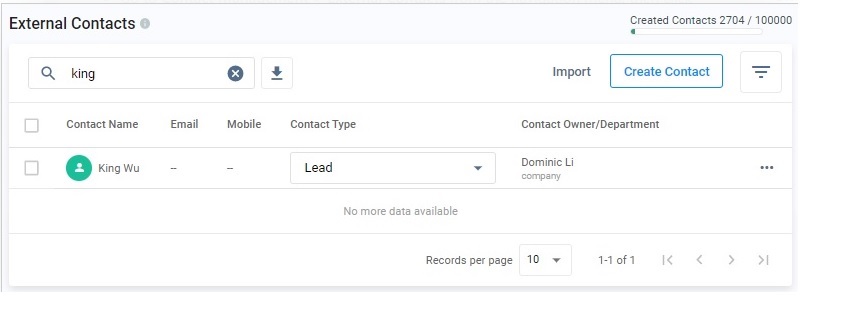
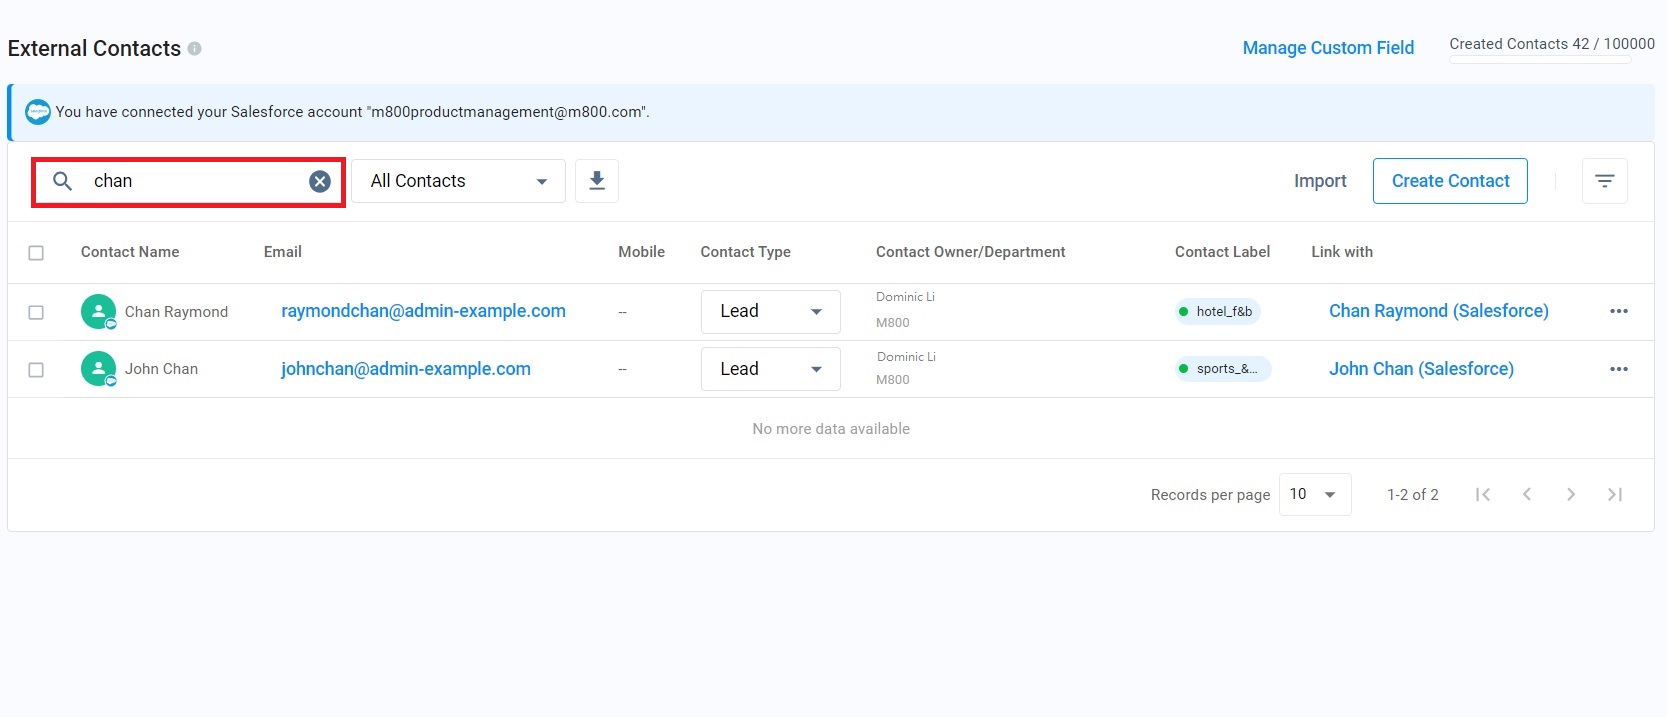
Searching External Contacts
In the search bar, you can search for individual contacts by typing their Contact Name, Company Name or Email Address.
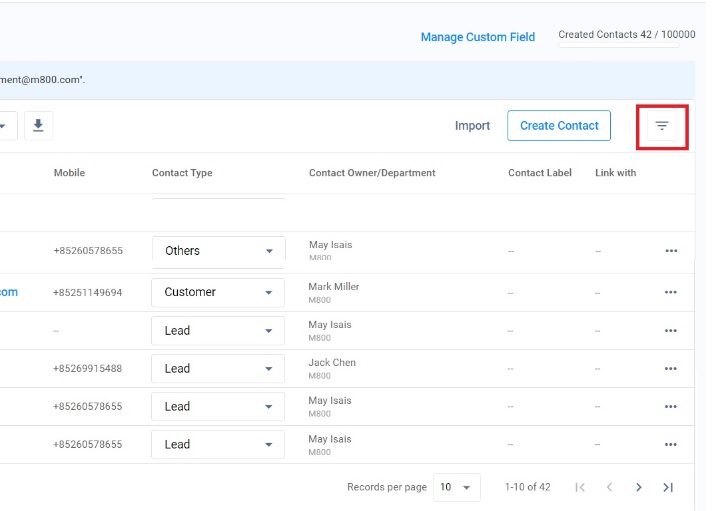
You can also search for individual contacts by Contact Label using Filter.
- Click the Filter icon.
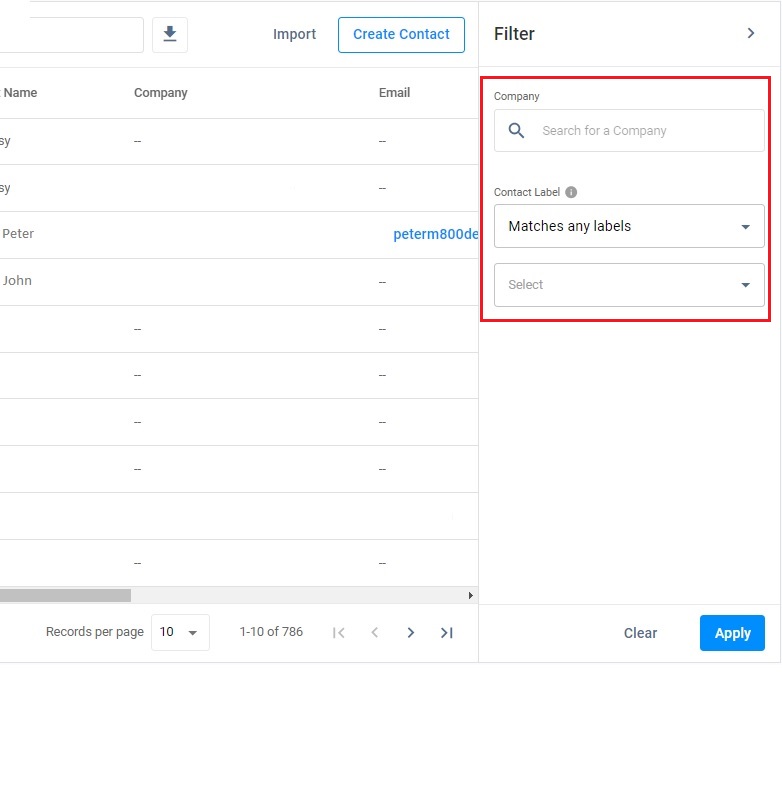
- Enter the company name of the external contents of the filter.
- If you select Matches any labels, the external contacts with any selected contact labels will be shown. In contrast, if you choose Matches all labels, the external contact with all selected contact labels will be shown in the table.
- Click Apply.
📘
Note
Search results depend on the order of the Search Bar and Filter you use. Search and filter cannot be used concurrently. Please choose one method to apply.
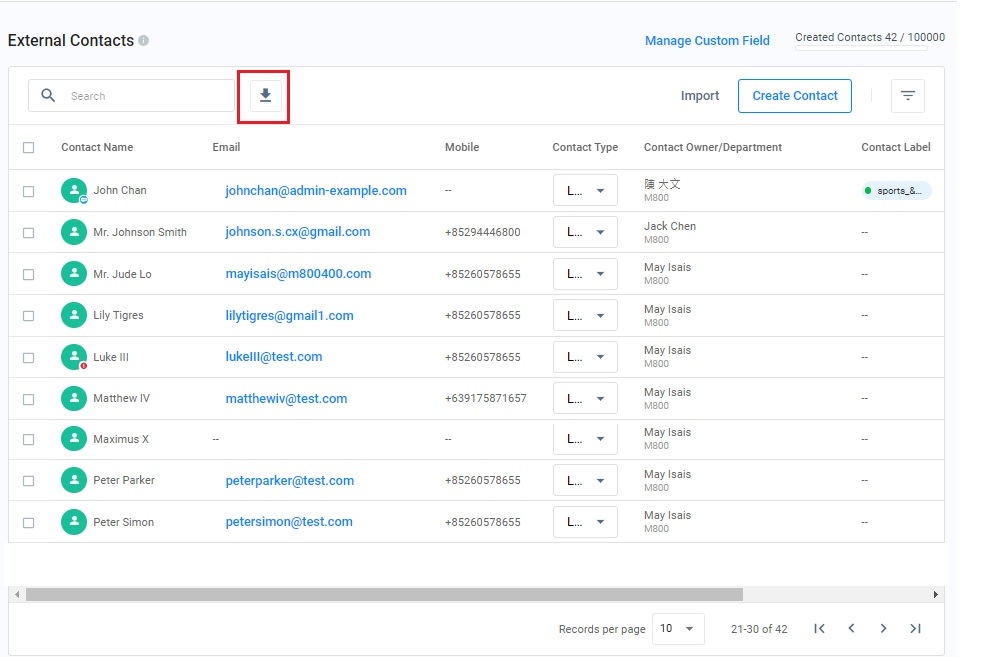
Export External Contact
To export external contacts into a CSV file:
- Go to Contact Management > External Contacts from the navigation menu, then click Download at the top of the screen.
- The file Contact.csv will be downloaded to your default Downloads folder. This CSV file contains the external contact records you created and shared with you.
External Contact Details
- On the External Contacts page, click an external contact's name or More(...) and select View contact.
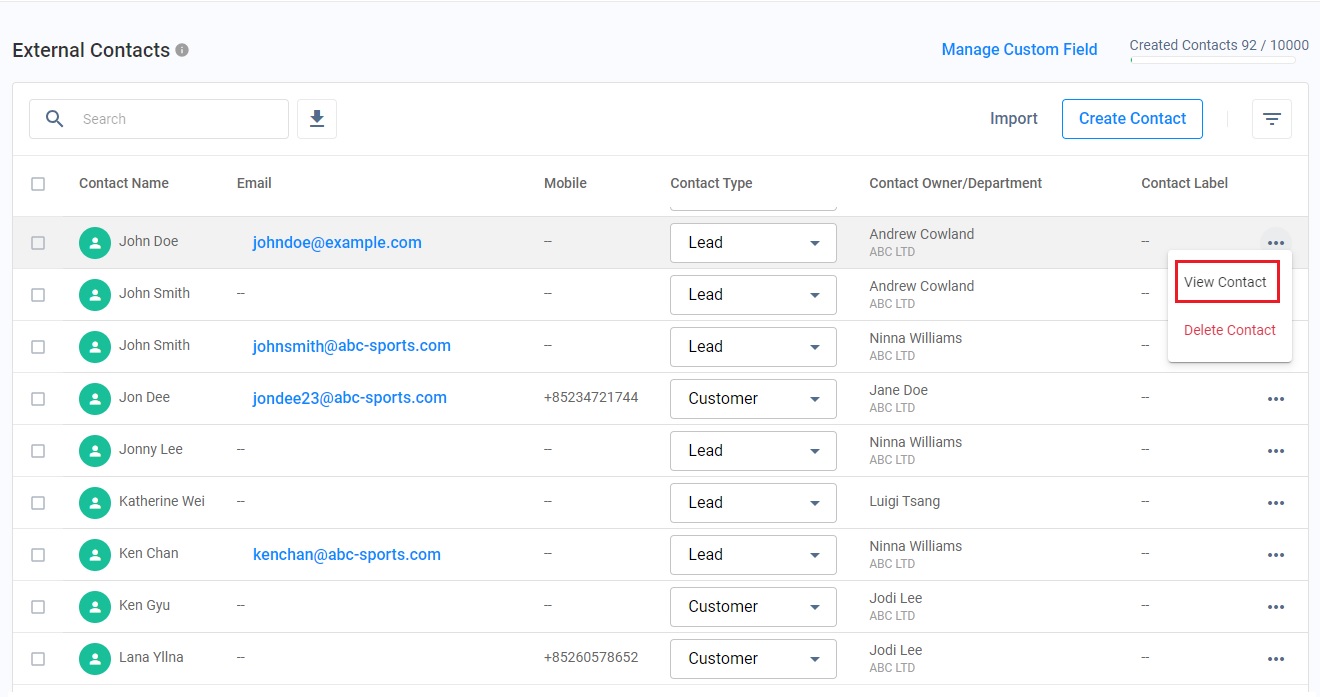
- The External Contact Details have the following tabs:
- Profile
- Activity
- Change Log
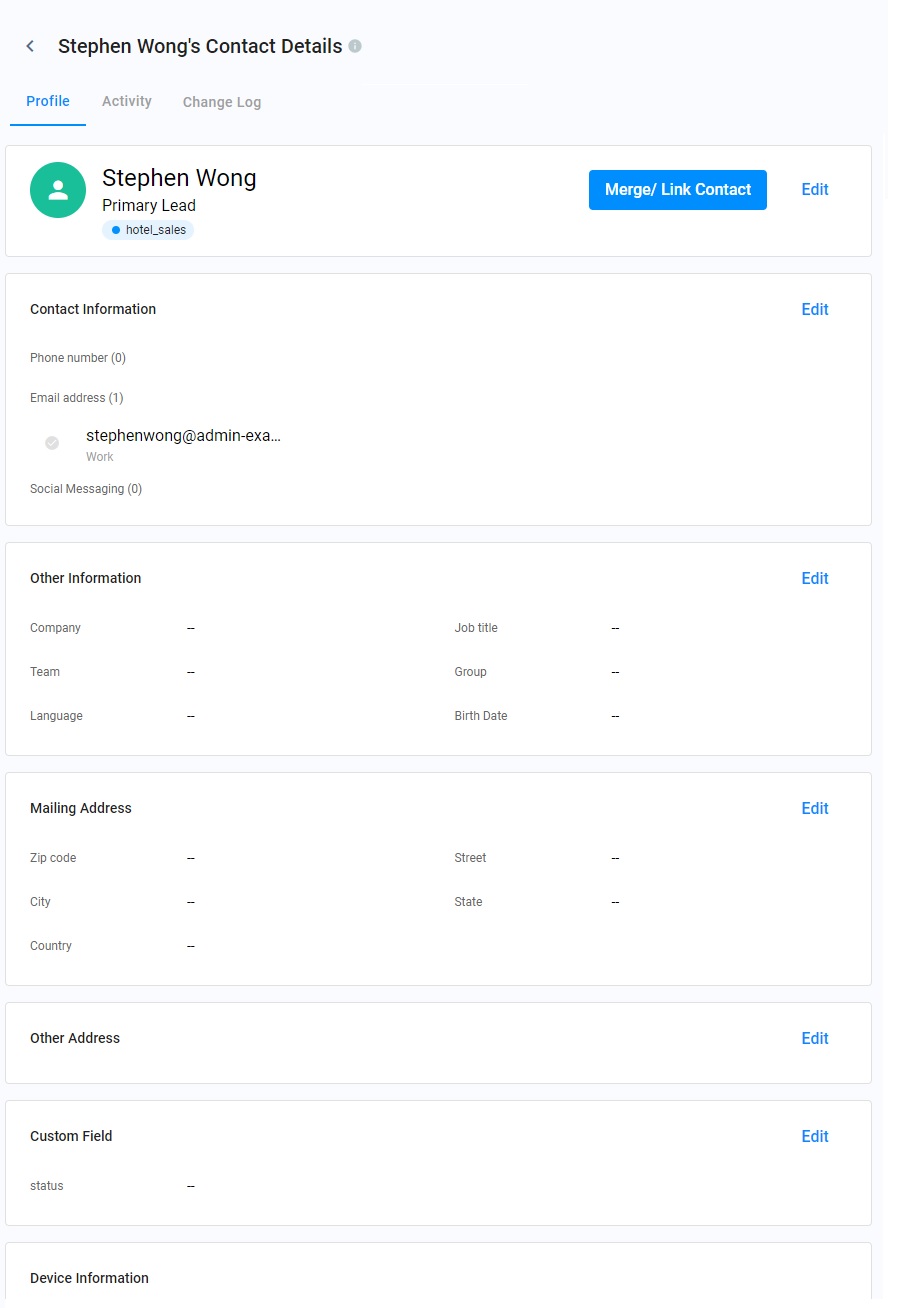
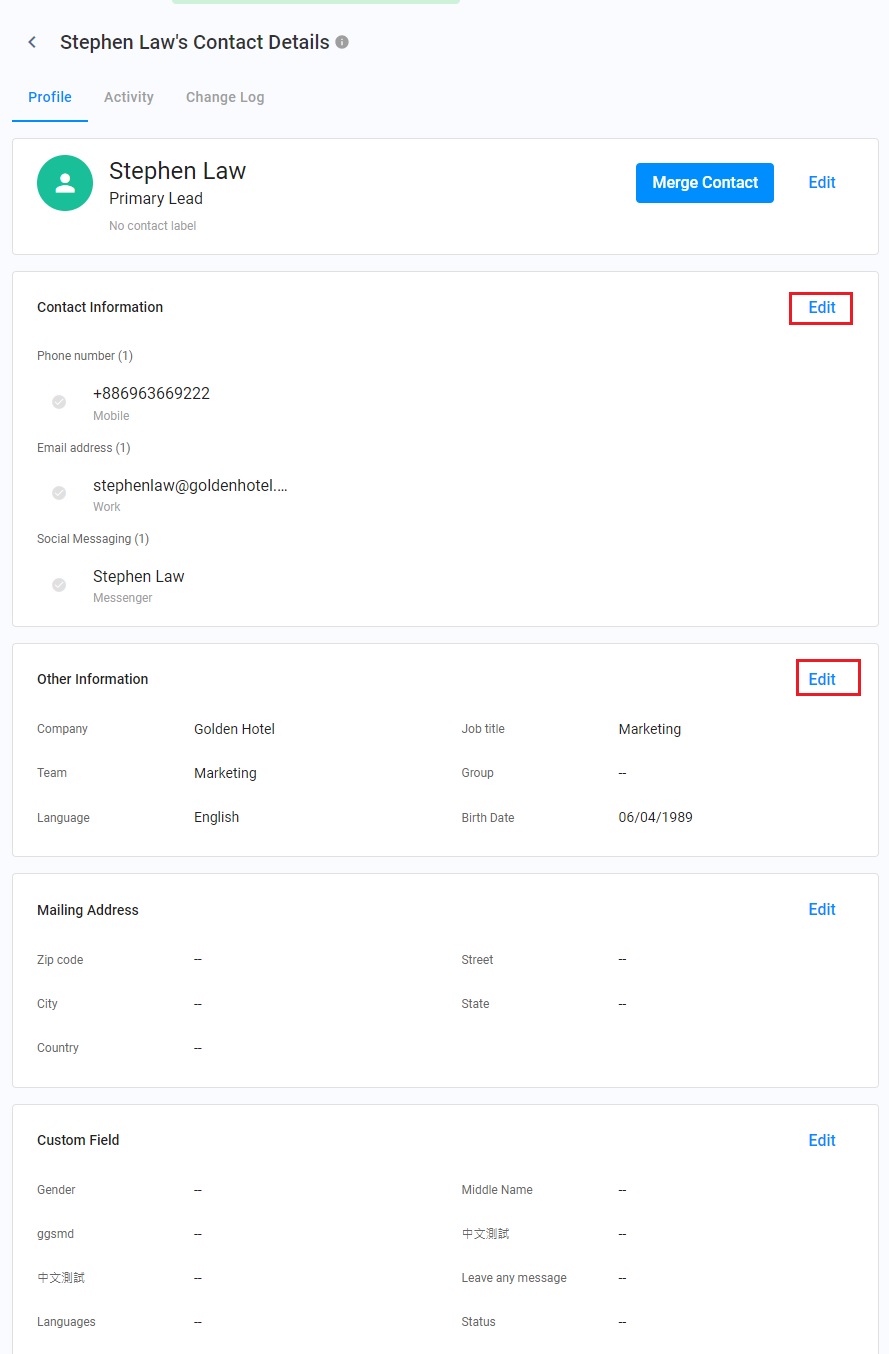
External Contact Profile
The Profile tab has the Personal Information entered by the external contact on the pre-chat form, offline support form, or manually entered by the staff member.
- Phone Numbers
- Personal Information
- First name and other first names selected from merge contact
- Last name and other last names selected from merge contact
- Phone number
- Email address
- Other Information
- Custom field
- Social Messaging
- Messenger
- LINE
- WOZTELL (WhatsApp Cloud)
- WOZTELL (Facebook)
- WOZTELL (Instagram)
- Device Information
- Notes (If any)
🚧
Important
You cannot edit verified phone numbers and social media IDs.

External Contact Profile Information
Editing External Contact Profile
- On the External Contacts page, click a Contact Name or More (...) and select View Contact. The Contact Details will then display four categories.
- Under the Profile tab, click Edit to enable the editing mode.
Edit Contact details
- Enter the details you must add or update in the contact's profile.
- Click Save.
Or, you can edit the External Contact details in the side panel in the Enquiry Room.
- Edit the required External Contact details.
- Click Save.
- The ability to edit and view external contacts for different enquiry statuses is indicated in the table below.
| Enquiry Status | Agents | Available Actions to be Taken to External Contacts | Action Locations |
|---|---|---|---|
| Open | All staff members who hunt open enquiries | View | - Visitor Information of the Open Enquiry via the Enquiry Overview Page. |
| Handling | All staff members in enquiry rooms. | View and Edit | - Contact Profile in the enquiry room panel via the Enquiry Overview Page. |
| Missed | All staff members are assigned the destination endpoints. | View | - Contact Profile in the enquiry room panels via the Enquiry Overview Page. * Visitor Information of the Missed Enquiry via the Enquiry Centre. |
| Closed | All staff members have access to close enquiries. | View | - Contact Profiles via the Enquiry Overview Page in the enquiry room panel. * Chat History via Enquiry Reports. |
Activity
- The Activity tab has the Enquiry History, Engagement, and Journey sections, which are separated into three columns:
| Section | Description |
|---|---|
| Enquiry History | Lists all the enquiries made by the External Contact (closed and ongoing). |
| Engagement | Lists all the outbound calls and SMS the staff member sends to the External Contact. |
| Journey | Displays the pages visited by the External Contact on the website. |

Activity Details
- A blue-coloured hyperlink denotes a closed. Clicking on it opens the enquiry's chat conversation history.

View of chat conversation from Enquiry History
Change Log
The Change Log tab details the updates made to the External Contact. It displays the last five records.

Change Log
Merging External Contacts
If you have duplicate contacts for the same person, you can merge them.
To merge contacts:
- On the External Contacts page, search and click a Contact Name or More (...) and select View Contact for the contact you want to merge.
- On the Profile tab, click the Merge Contact button. A pop-up window will show the list of Contacts that could merge.
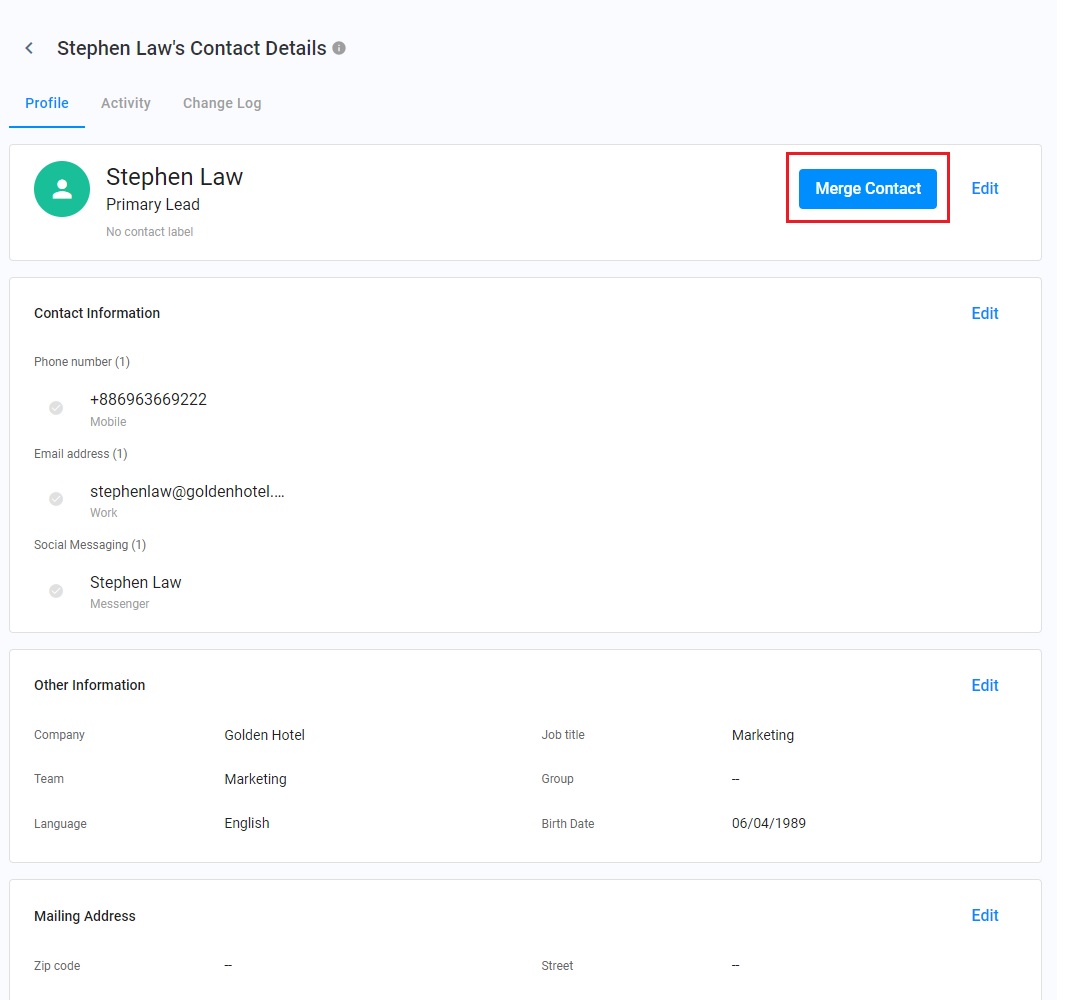
Click Merge Contact
- Search and choose the contact to merge.
- Click the Next button. It will display two contacts' information. The first selected contact will be the Master Contact, who will erase the second contact records.
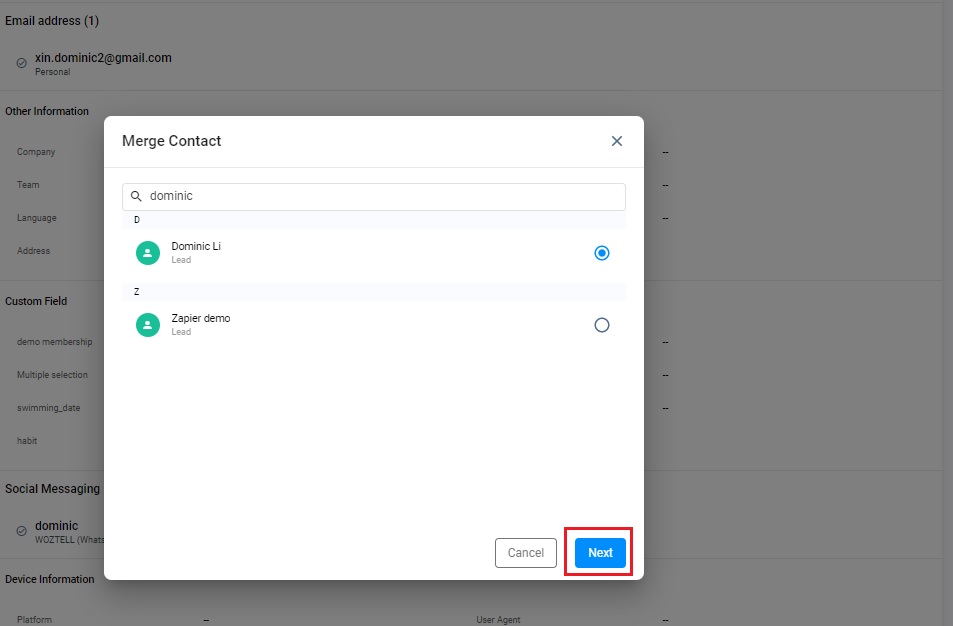
Click Next
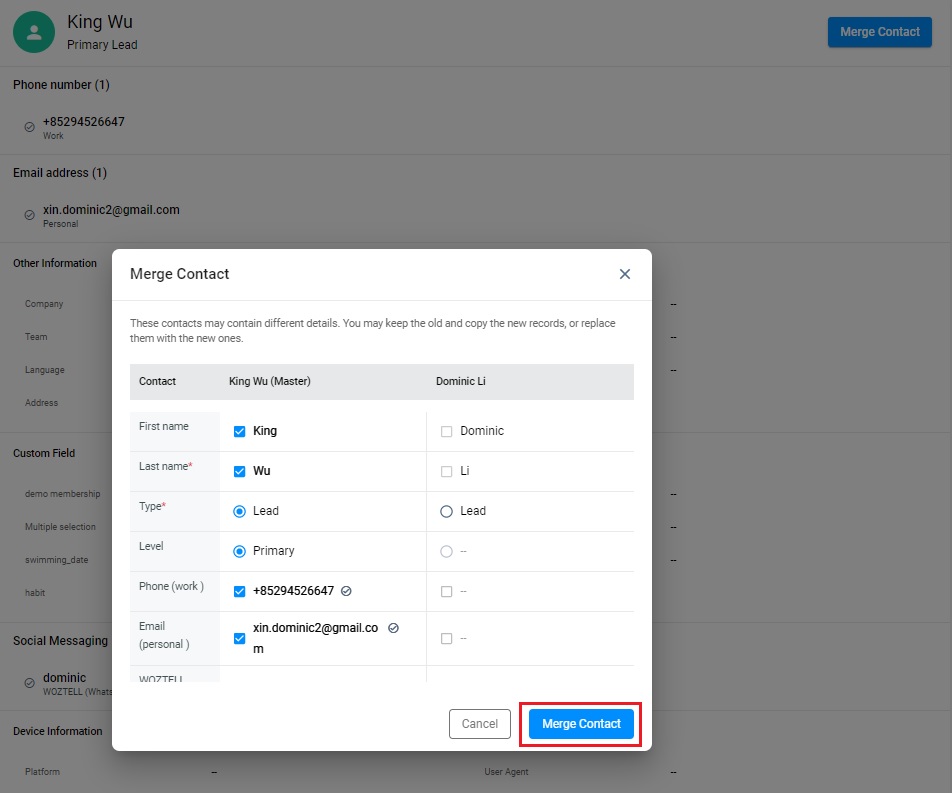
- These contacts may contain different details. You may keep the old and copy the new records or replace them with the new ones.
- Select the records you want to keep and replace
- Click the Merge Contact button to complete the steps. Once completed, the toast message "Merge Contact successfully" will be displayed.
- The Contact's Profile is updated with what has been selected to be kept and updated.
Click Merge Contact
All activities and enquiries will be merged and viewed on just one page for merge contacts. For more details about merging contacts and room views, see the Merging Contacts section of this Guide.
Deleting External Contacts
Staff can delete External Contacts.
- On the External Contacts page, click More(...) and select Delete Contact. A pop-up message will appear, asking you to confirm the action.
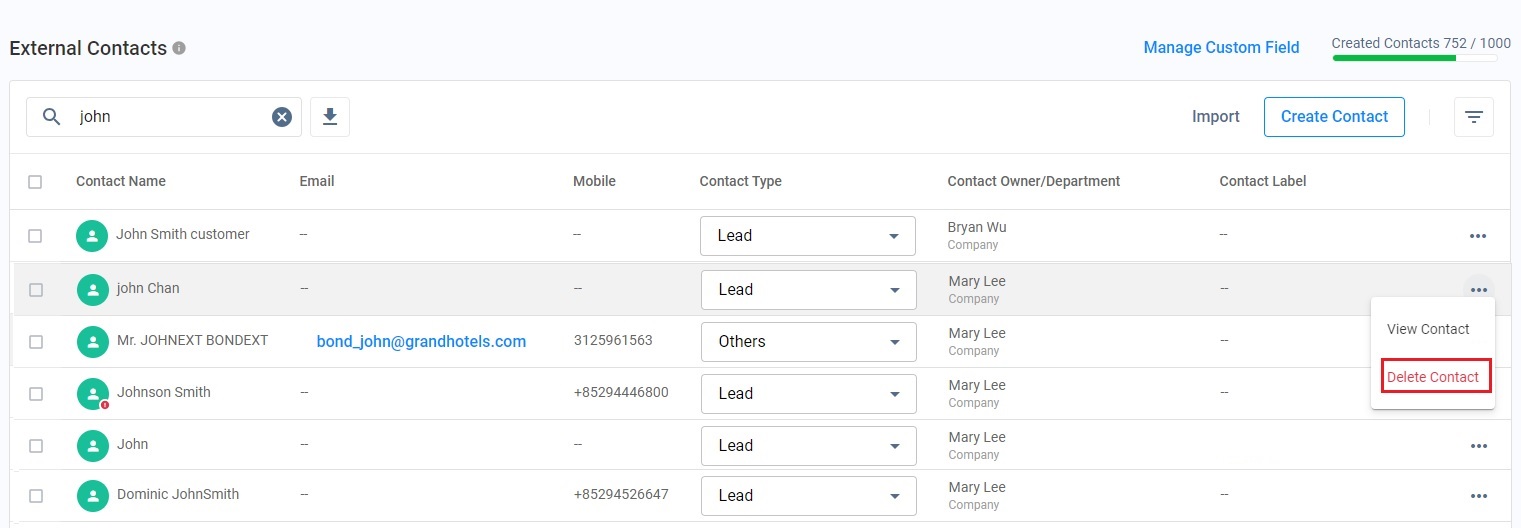
Delete a Contact
- Click Delete.

Delete a Contact Confirmation
📘
When you delete an External Contact from your Contacts List, your chat room with them will remain in your Recent list unless their enquiry has been resolved and closed.